It lurks in any art room, in a dark corner or cabinet, left behind and forgotten by a well-intentioned art teacher. It is rock solid and heavy. No, it is not a pot of gold, but instead a sad mass of nearly fossilized dry clay. “What a waste!” you say as you struggle to roll it from its hiding place.
Never fear! With a little work, and a bit of sweat you can get that seemingly hopeless lump resurrected (without a pricey pug mill!) and into your students’ creative hands in no time. Here’s how.
Step 1. Create a Clay Bath

Find a plastic tub or container and place the clay inside. A twelve-quart container works well for a twenty-five-pound block of clay. Fill the container with water until it covers about two-thirds of the block. Let it sit.
Step 2. Flip it a Few Times
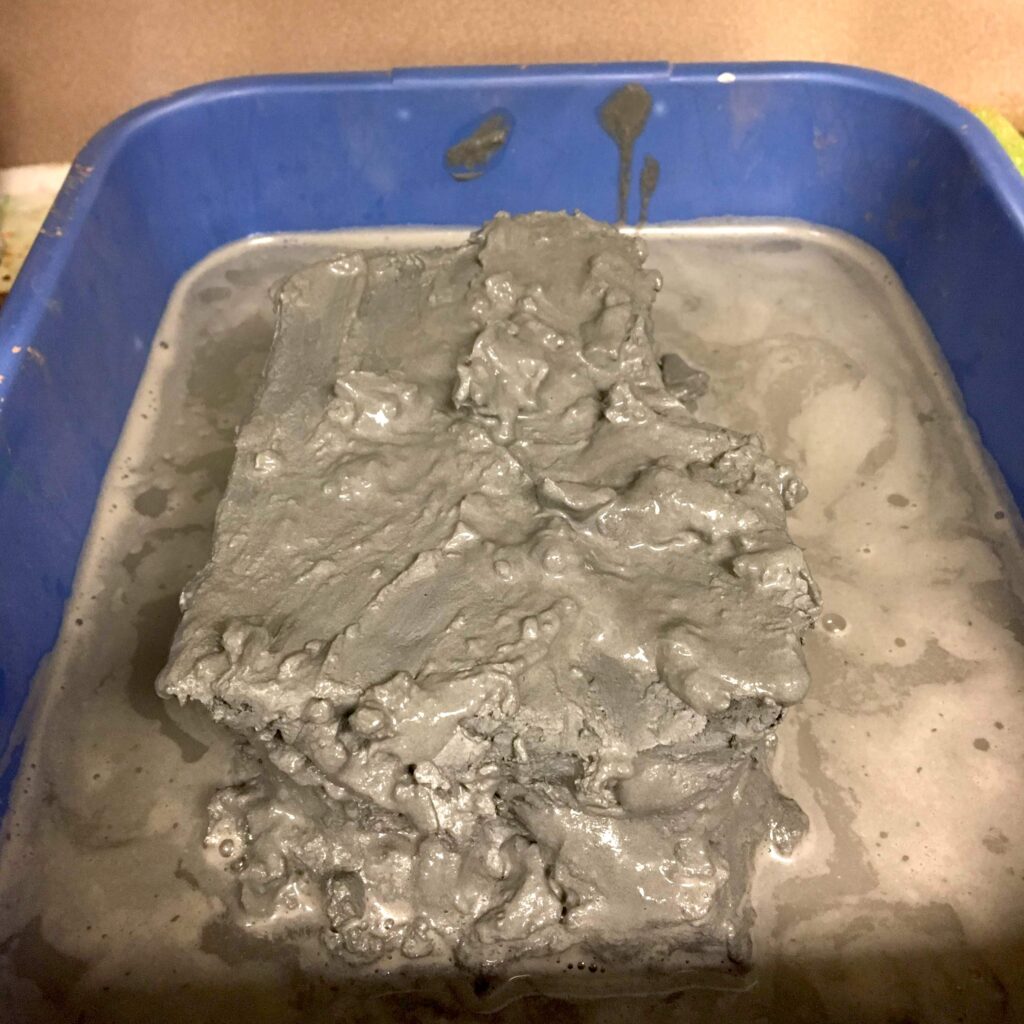
After eight to twelve hours or so in the clay bath, flip it so the drier part is now submerged. The reason to not completely submerge the block in the first place is because you want to monitor the amount of water the clay absorbs.
Step 3. Break the Clay into Lumps
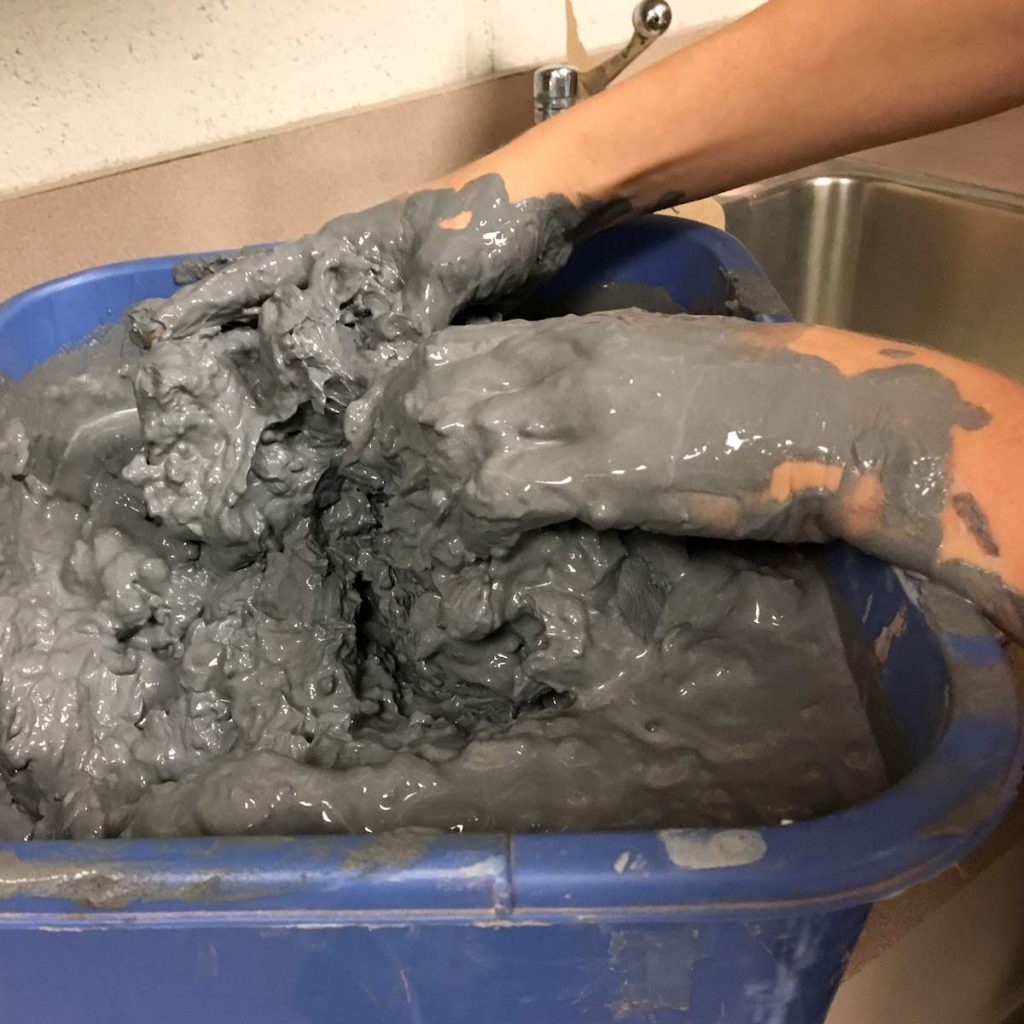
Now that the dried block of clay is soggy and falling apart, it is time to get those hands dirty. Start mixing the lumps and water while simultaneously breaking apart the lumps with your hands. Full disclosure: Things are going to get messy. If you are brave, you can let your students help with this step.
Step 4. Mix it Like Crazy
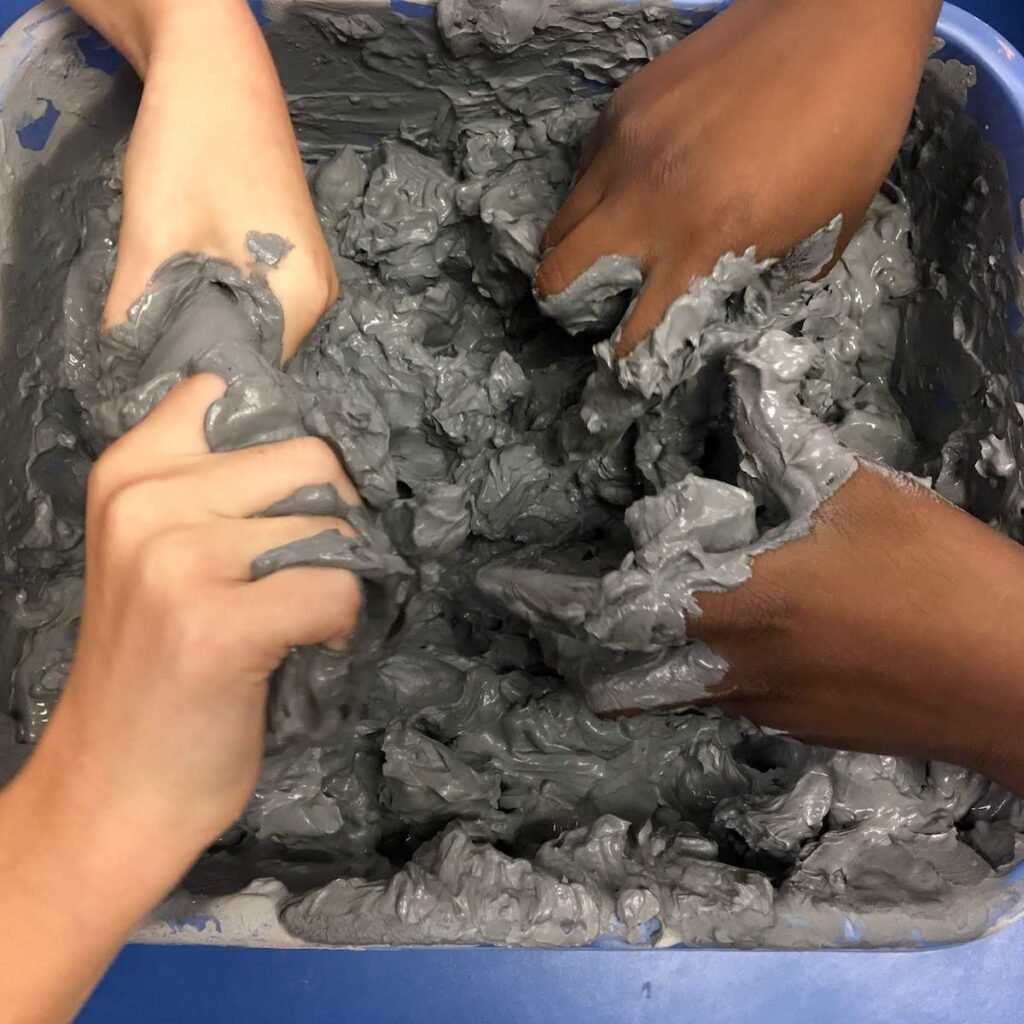
Students LOVE to help break up and squeeze the crazy wet clay mess. They will mix it like they are playing in a forbidden mud puddle. Get them in on the fun, and it will be less of a burden for you. As the clay is mixed, it will start coming together and have the consistency of pudding. The time required for this depends on the amount of clay and the strength of the person/people mixing. Mix and squeeze the clay until you find little to no lumps, and you now have basically a huge batch of slip.
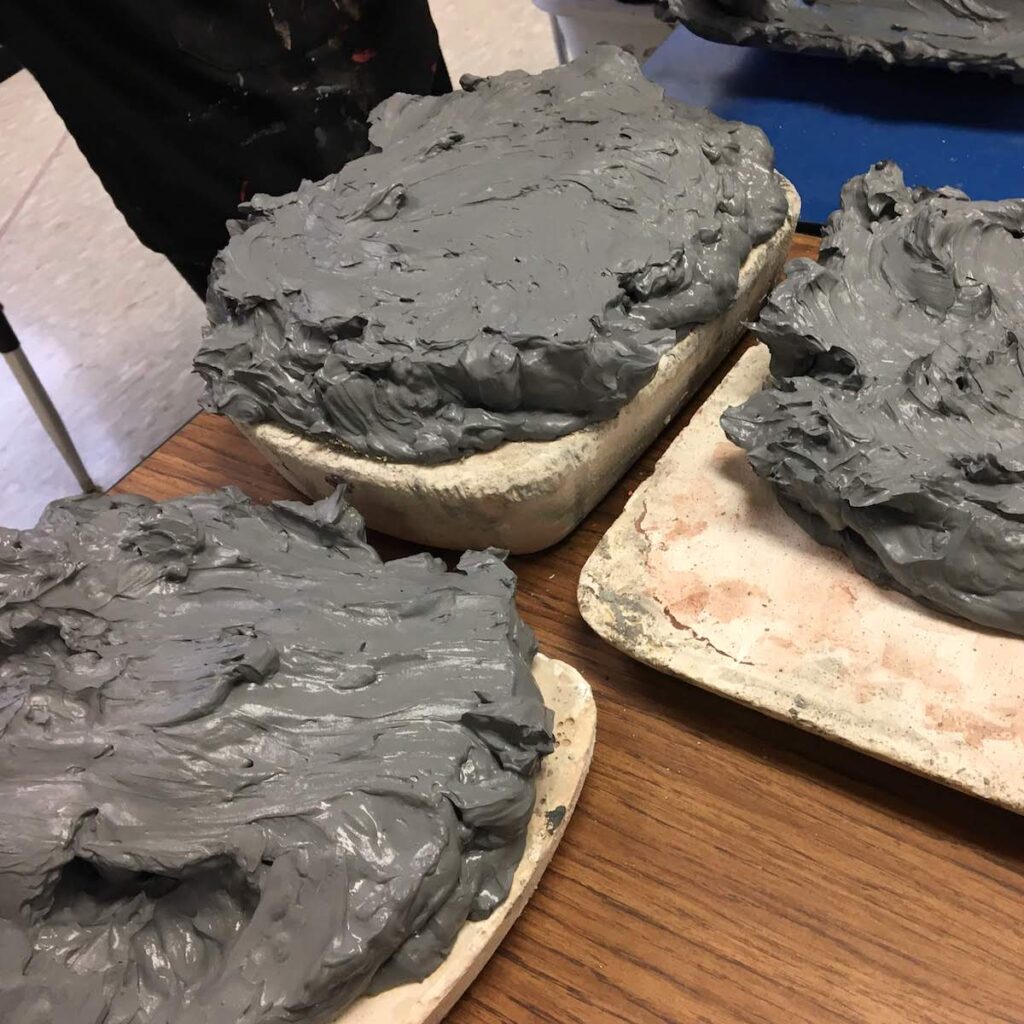
Step 5. Lay it out on Plaster Trays
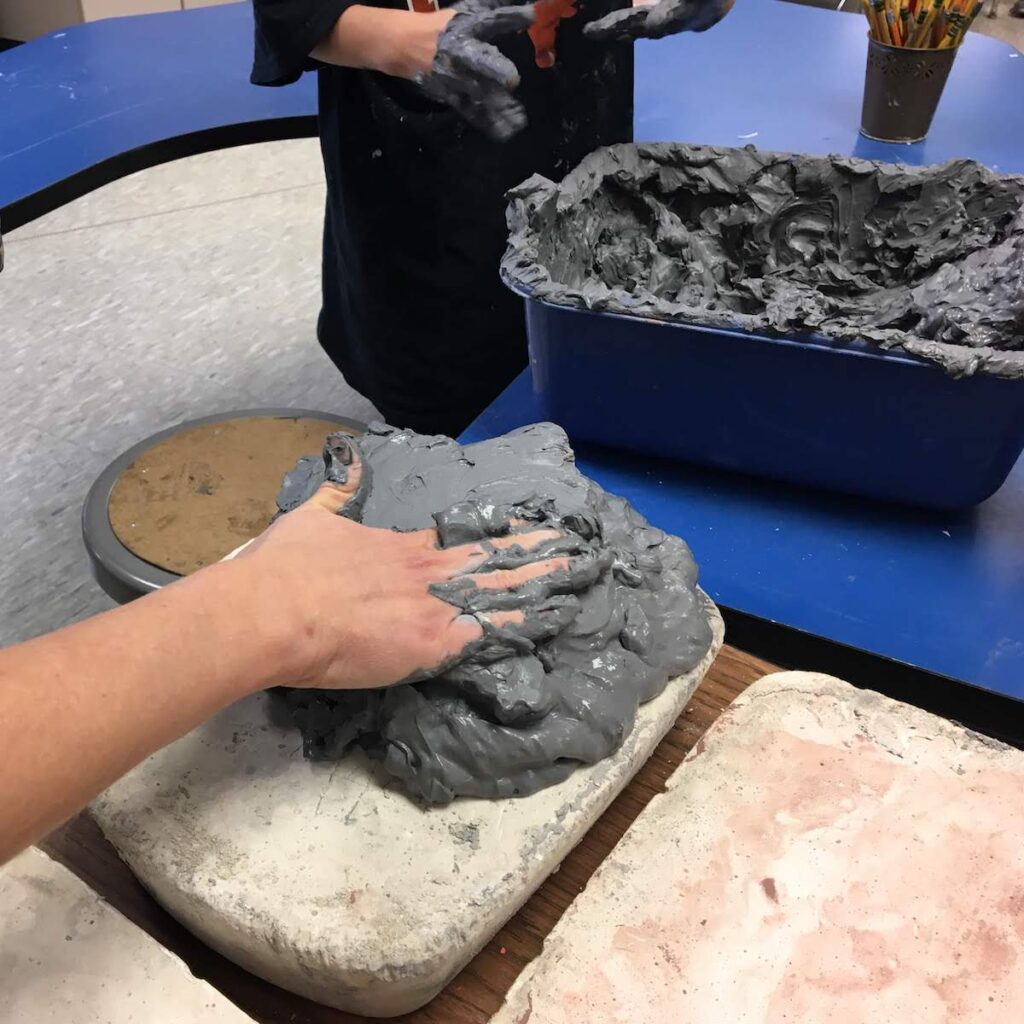
Now that the clay is once again evenly wet, it must be evenly dried to get it back to a plastic state. Plaster “trays” made of Plaster of Paris will absorb the moisture of the clay at an even rate. Once you make them, you can reuse them again and again.
How to Make a Plaster “Tray”

1. To create a plaster “tray,” start with a mold. Find a cardboard box and cut it down to about two to three inches high. The top of a copy paper box works great and is already the perfect height.
2. Line the cardboard mold with plastic and allow for plenty of overhang. A cut garbage bag will do the trick.
3. Mix plaster in a separate container according to the package instructions. Typically, one quart of water mixes well with almost three pounds of dry plaster. Always pour the plaster into the water and mix it until it is the consistency of heavy cream.
4. Pour liquid plaster into the mold.
5. Leave plaster to dry overnight.
6. Once dry, lift the plastic or tear away the cardboard to reveal your reusable plaster “tray” to reclaim clay!

Step 6: Let the Clay Dry
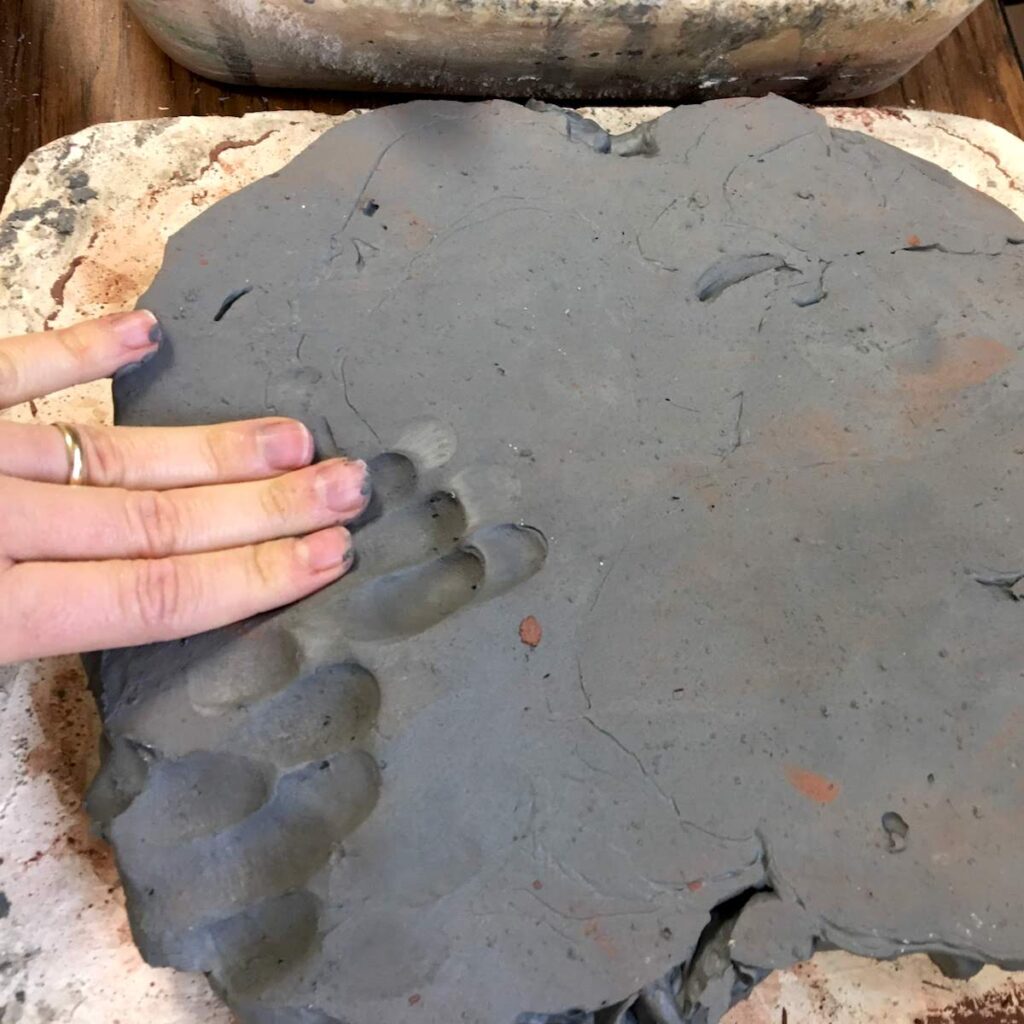
Using generous handfuls, lump the wet, pudding-like clay onto the plaster tray and spread until it is about two inches high. Leave uncovered to dry overnight. Depending on the moisture in the environment, the clay body may or may not be ready to flip over in twenty-four hours.
Once the clay is no longer a soupy mess and has some structure to it, flip it to dry out on the other side. Check the clay until it is almost a plastic consistency and ready for use.
Step 7: Wrap It Back Up
After all that work, transfer the clay from the plaster tray to an air-tight container or wrap it tightly with plastic.
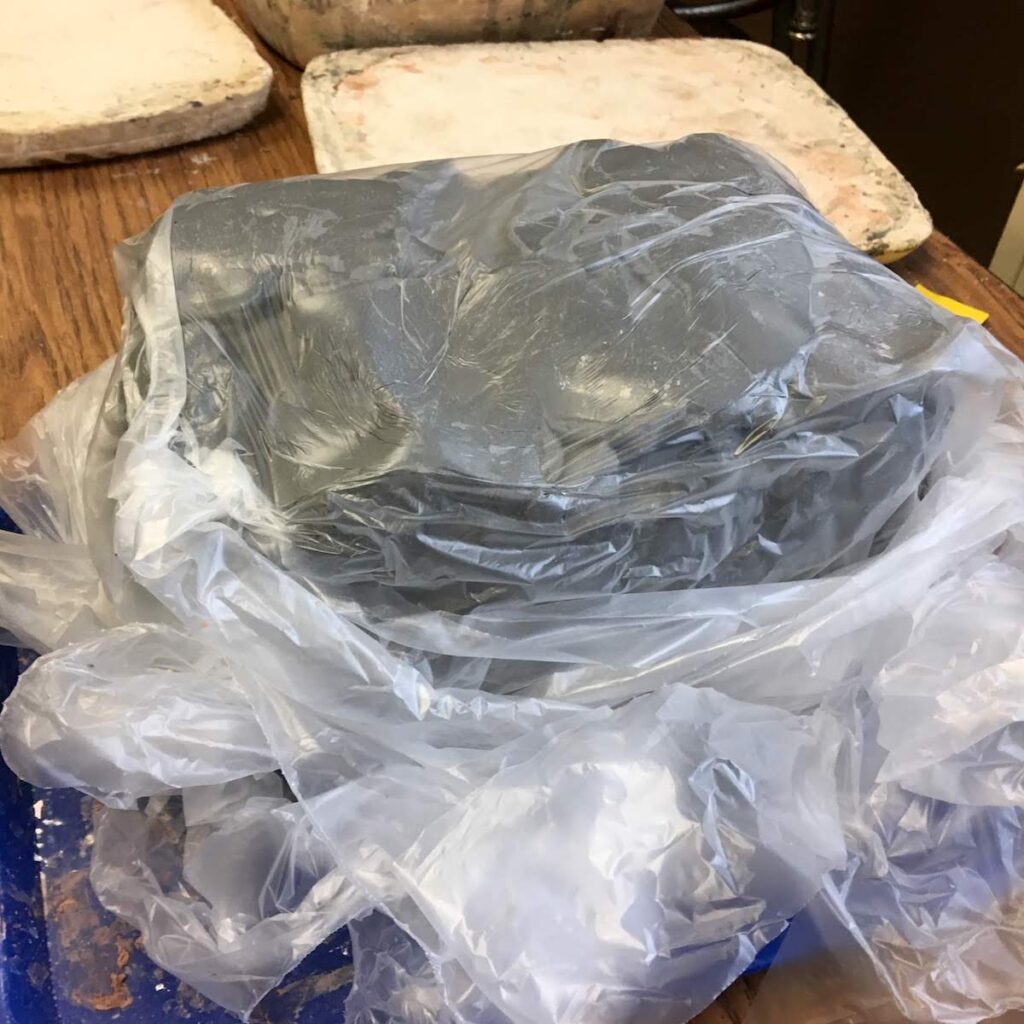
It okay if it is a bit softer than clay “right from the box” as you will need to wedge it before use. Also, don’t forget about it and leave it to slowly solidify in that dark corner again!
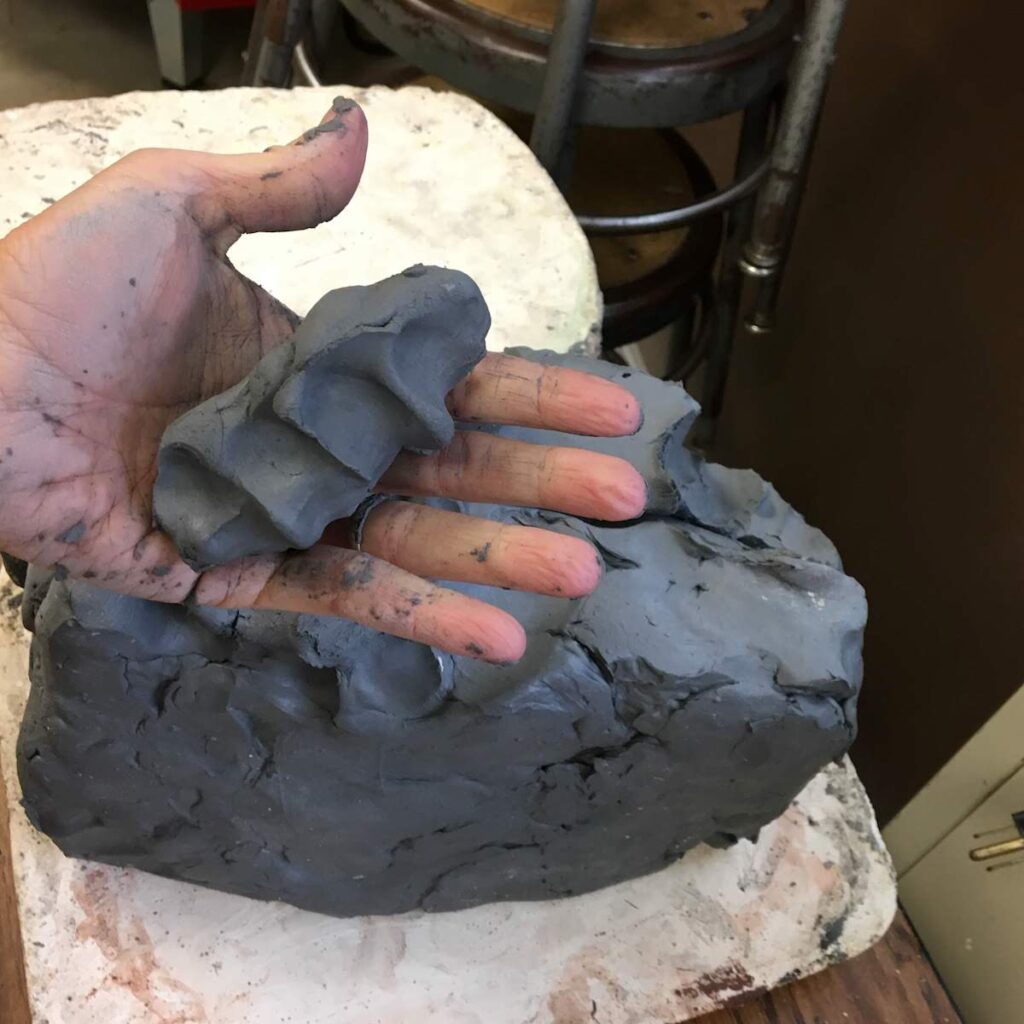
Step 8: Wedge It
Once ready to use, wedge the clay in smaller batches to eliminate any remaining air bubbles from the reclaiming process. If you find a large lump, extract it and put it with clay to be reclaimed again.
Step 9: Use It
Now that the clay is properly wedged, it should be at the ideal plastic state. You and your students are ready to create!
Phew! Now that was quite a bit of work, but worth it. It’s not a pot of gold, but your students and your budget will be grateful for the opportunity to work with extra clay. Plus, as an art educator, there is a certain badge of honor for not letting anything go to waste.
Because the process can be repeated again and again, reclaiming clay can become a part of the clay unit and cycle for the art classroom. Furthermore, this method of reclaiming clay is not reserved for solid blocks, but also the little bits of dried odds and ends that inevitably accumulate in the classroom. Simply pour all those bits into the dishpan container, submerge them in water and begin with Step 3.
What are your methods for reclaiming dry clay?
How involved are your students in the maintenance and care for clay?
Magazine articles and podcasts are opinions of professional education contributors and do not necessarily represent the position of the Art of Education University (AOEU) or its academic offerings. Contributors use terms in the way they are most often talked about in the scope of their educational experiences.