I love introducing still-life studies to my students. I’ve done still life work with elementary all the way through advanced high school students. No matter the age, the results are always exciting! That said, sometimes doing the same still-life project over and over can get repetitive. Today I’m sharing a fun twist on an old classic.
Art History Still Lifes
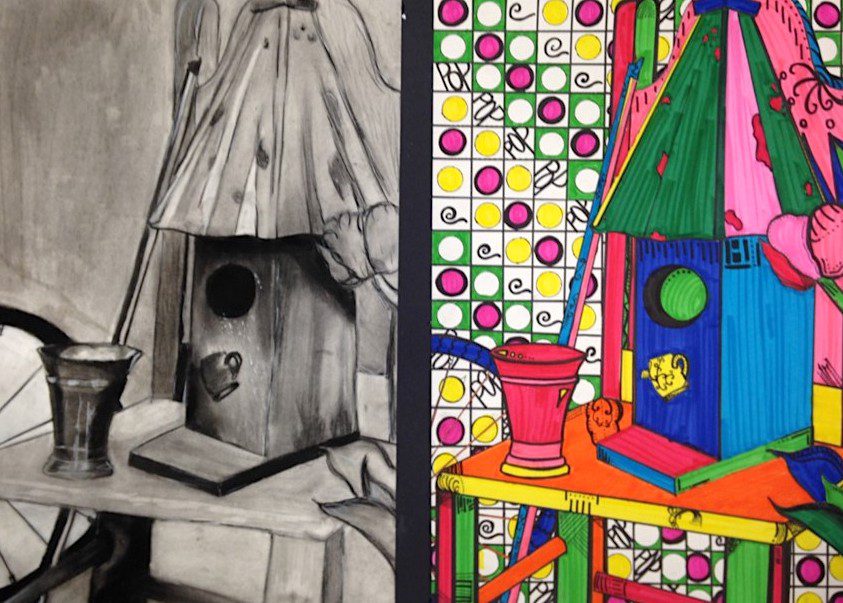
This project has students creating two still lifes, one traditional and one based on the work of a famous artist. Here are some helpful tips!

Setting up the Still Life Arrangement
My goal is for my students to create a still-life setup that will inspire and push them to their personal best. It’s also important to me to have my students practice drawing many different textures.
For these reasons, I include my students in the setup process from Day One and invite them to bring in some of their favorite objects to add to our display.
To create a dynamic array of objects that pushes your students to experiment, I suggest you also incorporate things from the list below.
- Cloth folds
- Glass
- Metal
- Foliage
- Wood
- Vases
- Mirrors
- Wooden mannequins
- Plaster columns
- Musical instruments
- A step-stool ladder
You will also want to think about varying the sizes of the objects you choose, which makes for more exciting compositions.
Helping Students Find an Interesting Composition
If you can, it’s nice to set up the still life in the middle of the room so it can be viewed from all angles. I had an island in my room, but you could also push a few tables together.
Once the initial setup of the still life is complete, invite students to move their seats and walk around the arrangement to find a spot that’s inspiring to them. Encourage them to experiment. You might provide tables, easels, and drawing boards so they can work from a variety of perspectives. In addition, provide viewfinders to help them hone in on interesting areas.
Completing the First Still Life
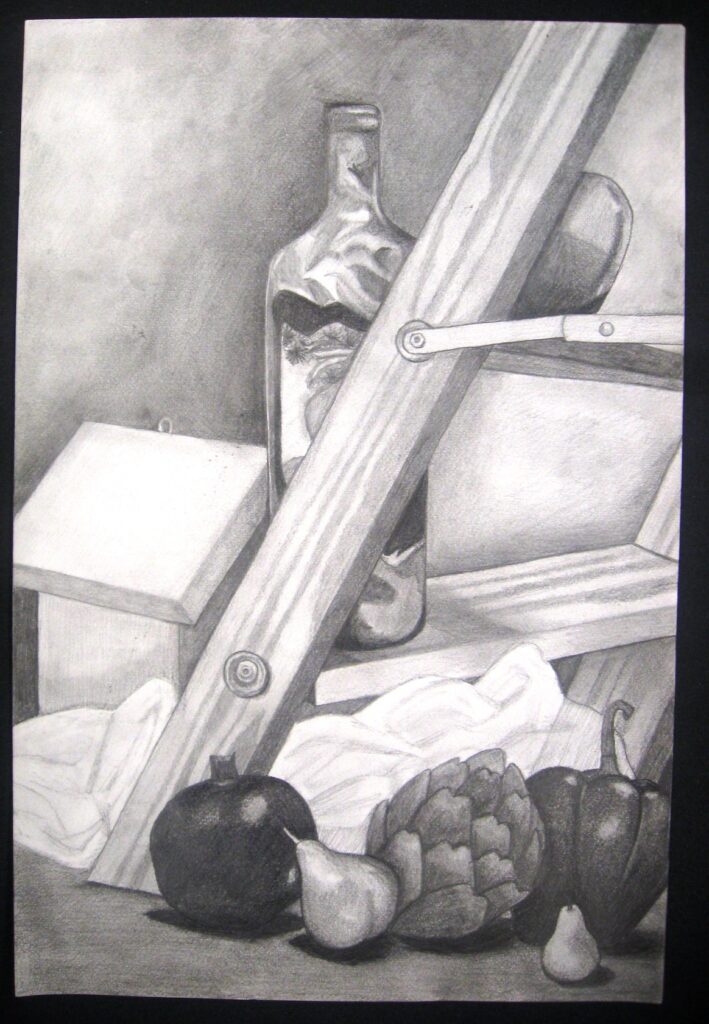
Depending on how much time you have, you could stretch this lesson into three still lifes, one graphite, one charcoal, and one inspired by art history. I used to run the project this way. But, as my time was cut, I invited students to do their first drawing with graphite and/or charcoal. I find 12″ x 18″ drawing paper to be a good size for this project. The first drawing usually takes a little over a week.
As your students work each day, be sure to reiterate how important it is to measure! The more I remind students to use their fingers and eyes to measure the placement of objects, the more their final drawings are spot-on!
Completing the Art History Still Life
Once the first still lifes are complete, it’s time to dive into art history. You’ll want to discuss different art history eras with your students. I had my students conduct their research at home, but you could use class time if you have it. Either way, we have a great download in this article if you want to give your students some structure to take notes. The goal is for each student to find a master artist that inspires and challenges them.
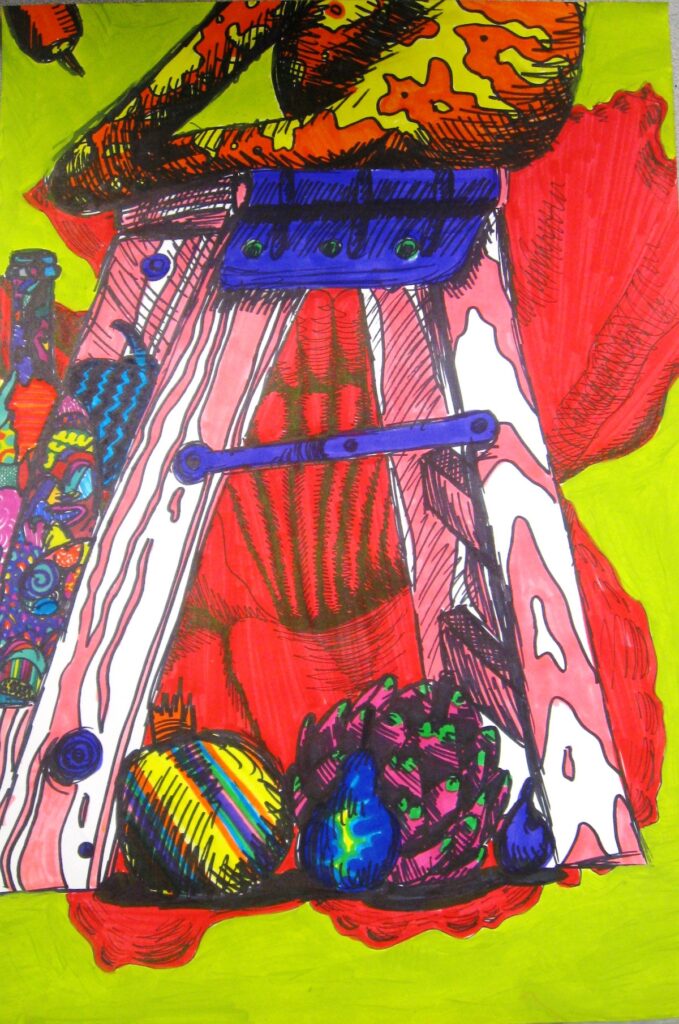
Then, have students bring in samples of their master artist’s work. Using it as inspiration, they will need to plan their second still life. Students should draw areas close to their first still-life studies. I let my students use any media they choose, depending on what or who inspired them. I also suggest keeping the size to 12” x 18” so these can be hung together for a nice compare/contrast lesson. The results are always incredible.
At first, my students were very resistant when I told them they would be drawing two still-life studies. But, when they realized their second one was more about incorporating creativity with the technical skills, it generated a lot of excitement!
I loved exhibiting these beautiful studies in the hall and had my students write a quick compare/contrast paragraph to go with their work.
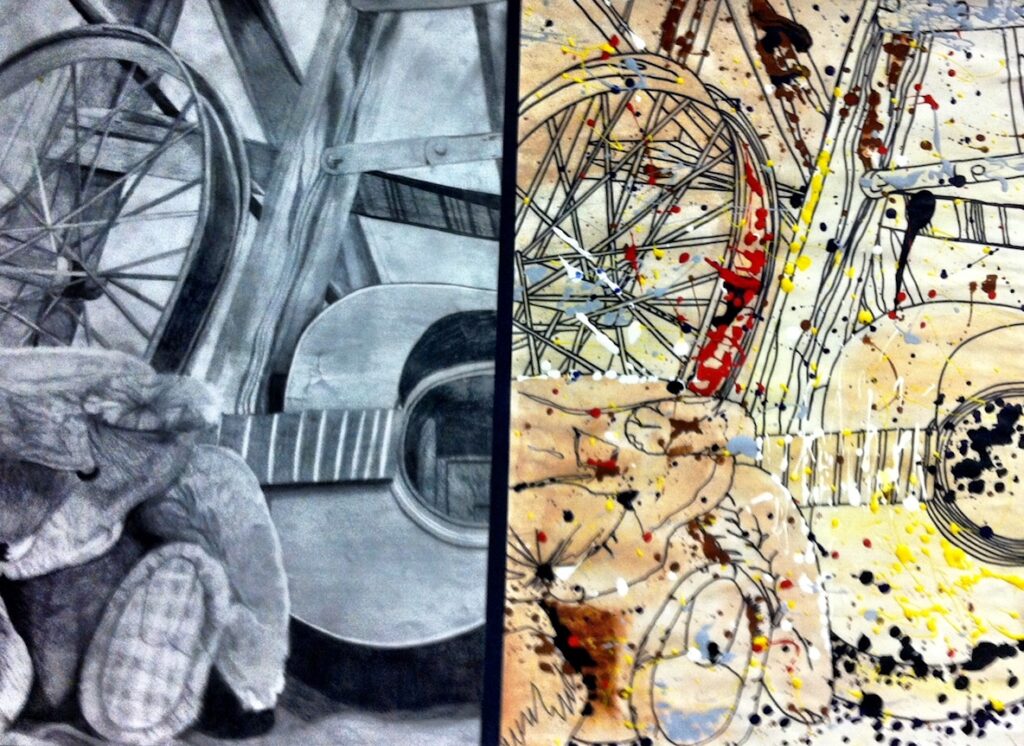
Taking the often dreaded still-life study to this new arena pushed my students to think creatively, dive into art history, and take their work to the next level! If you’re looking for even more ways to infuse art history into your curriculum, check out the Art History in the Secondary Art Room PRO Learning Pack. You’ll discover new ways to further students’ understanding of big ideas while maintaining your current curriculum.
How do you incorporate art history into your visual art curriculum?
Do you do still-life work with your students?
Magazine articles and podcasts are opinions of professional education contributors and do not necessarily represent the position of the Art of Education University (AOEU) or its academic offerings. Contributors use terms in the way they are most often talked about in the scope of their educational experiences.