Visualizing things from various angles and perspectives isn’t something most people do in their day-to-day activities. Making three-dimensional objects can be tough for students, and building spatial awareness can be a real challenge for art teachers.
One great way to practice is by using a material that is forgiving, yet still holds its shape and structure. That is why wire is such an excellent choice. Wire allows students a lot of creative freedom. It also comes in a wide variety of forms that work for various ages and ability levels.
Here are some wire tips for students of all ages.
For Younger Students
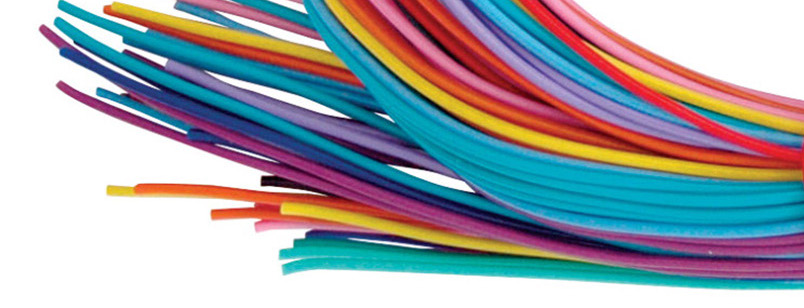
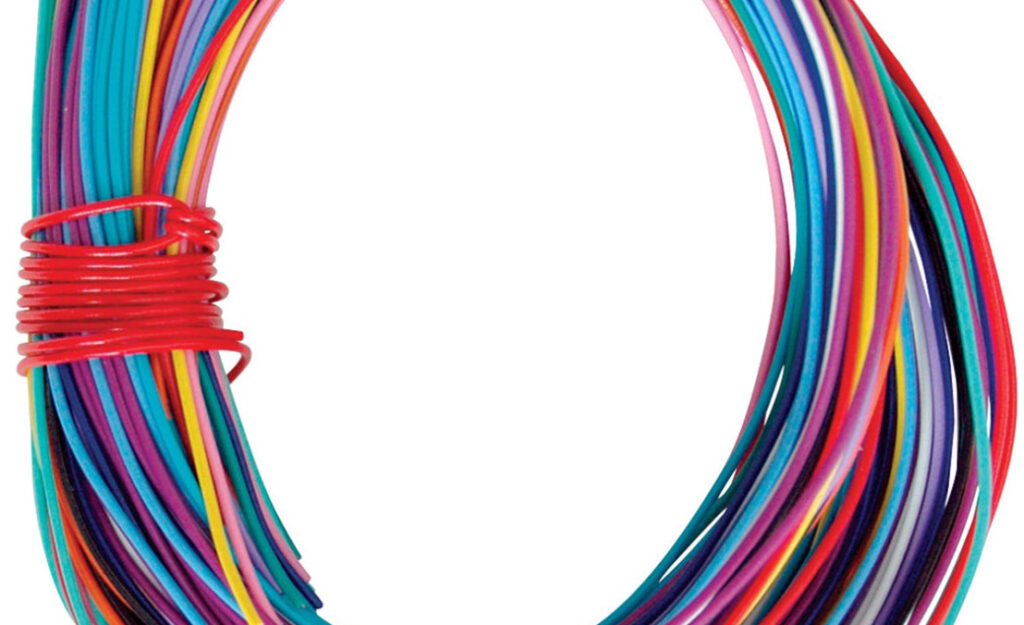
Wire can be a challenge for younger students if they can’t easily manipulate it with their hands. Twisteezwire and Wikki Stix are two great options for this. (While Wikki Stix are not technically “wire,” they give students a similar feel.) Both materials are pliable and easy to work with. They come in a range of bright colors that work for many projects.
Wire Portraits
My favorite project with Twisteezwire is a simple portrait project.
Here are the project steps:
- Begin by discussing contour lines and what a contour drawing looks like.
This is an excellent way to re-emphasize basic art elements. You may say something like, “Look at the lines! See how we create shapes?” - Have students draw portraits of themselves or a partner using only contour lines.
Encourage them to work only with line. You can even add the challenge of making the portraits continuous line drawings, where they aren’t able to pick up their pencils while drawing. - Have students sculpt with the wire.
Hand out the Twisteezwire. Demonstrate how to shape the wire into a portrait, using the drawing as a guide. Also, show students how they can attach two pieces of wire together by twisting the ends together. Then, let students get to work.
Once complete, students can pick up the entire wire portrait as a single piece. The sculptures can be attached to wire hangers or hooks and displayed as three-dimensional hanging works!
Adding Challenges for Older Students
When working with older students, you can provide heavier and thicker wire they can manipulate with their hands or with tools like pliers. This added wire strength allows works to become larger and more intricate.
Choosing the Right Wire
Wire thickness is measured in gauges. The higher the gauge number, the thinner the wire. I’ve found 14 gauge wire to be ideal for high school students. It can be manipulated by hand relatively easily but still holds its shape. If you’re looking for something more pliable, you could go to 16 or 18 gauge. If you need something to hold its shape more firmly, 12 or 10 gauge would be the way to go. Just remember, you will likely need specialized tools to bend it.
Working Carefully
As students begin working with wire, it’s easy to lose track of the cut ends or extended loops, and injuries to neighbors may occur. Safety goggles are recommended, especially if students begin cutting smaller pieces of wire. And make sure everyone has ample room around them as they work to keep accidental pokes and scratches to a minimum.
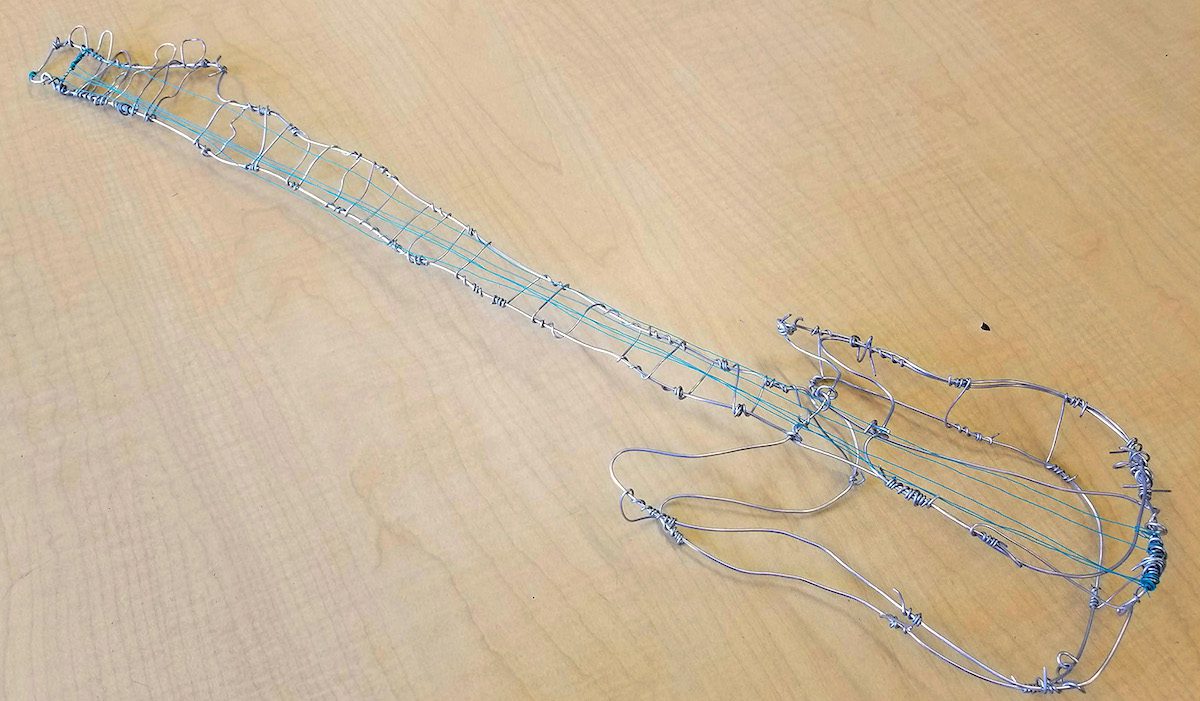
Lesson Idea: Recreating Everyday Objects

My favorite wire project to do with older students is to recreate everyday objects. To keep it interesting, students recreate these objects on a larger scale, usually at least twice the original size.
Working larger allows them to observe fine details they might otherwise miss. This focus on detail encourages students to spend more time looking at and observing their object, a skill every artist can continue to cultivate.
Have students choose something they use every day. Mugs and glasses are fun pieces to recreate. Problem-solving how to create shapes and forms takes time, and learning how to connect or weave the wire together using tools can enhance the forms a great deal.
Once their final object is created, the wire sculpture can be enhanced with color and structure by using colored tape or paper. Fill in large areas to flesh out the objects, or add additional details. Not all students will want to lose the appearance of the wire, so this could serve as an extension for the project.
Helping students develop their spatial awareness as they sculpt isn’t without its challenges, but using the right material can help them to begin to think and create in 3-D!
What other projects can you envision with wire?
How do you get students to start thinking three-dimensionally?
Magazine articles and podcasts are opinions of professional education contributors and do not necessarily represent the position of the Art of Education University (AOEU) or its academic offerings. Contributors use terms in the way they are most often talked about in the scope of their educational experiences.