The end of the school year is rapidly approaching. If your art room is anything like mine, you are currently scraping the bottom of the barrel when it comes to supplies. Your budget is spent for the year, and you simply have to make do with what you have.
In my case, my clay is long gone, I’ve used a spatula on the last of the printing ink, and the watercolor pans are non-existent. Add in the “Summer is so soon!” excitement, and a supply shortage can derail your already distractible students.
Stretch your supplies with recycled marker painting!
How does it work?
This technique can pair with almost any drawing assignment you or your students can dream up, making it a perfect fit for a traditional or choice-based classroom.
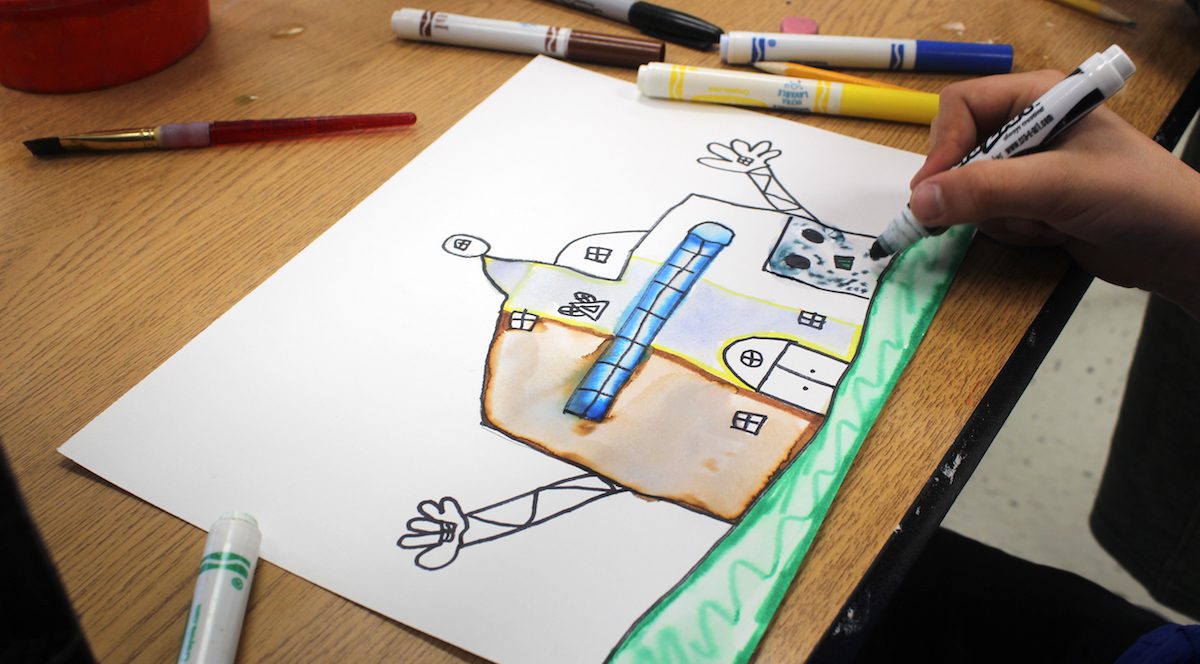
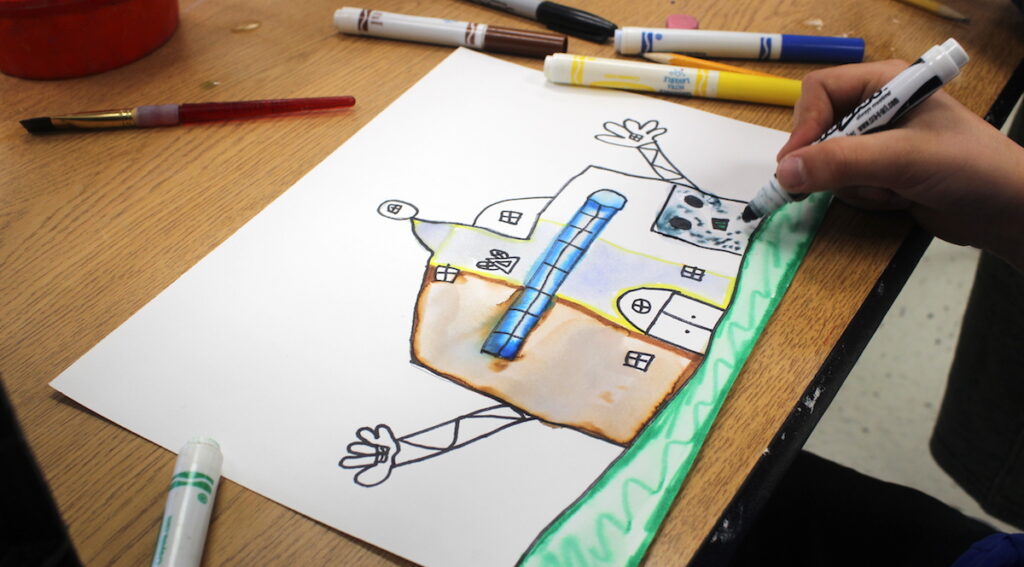
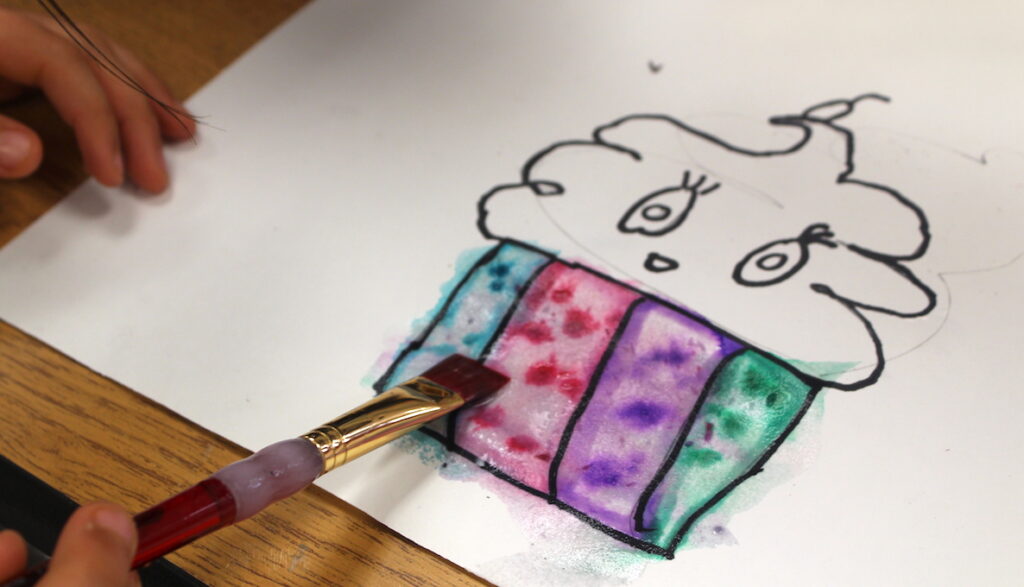
Once the initial drawing is completed, students choose sections to color with any water-based marker. Then, using a brush and a small cup of water, they activate the marker pigment, causing it to run and blend similar to paint.
Students can choose to color the entire composition, or strategically color individual sections to create value, color mixing, patterning, or invent their own techniques.
Embedded Skills
While painting with markers is just plain fun, it also has lots of potential for reinforcing concepts you have been emphasizing throughout the school year.
Here are 3 key ideas you can review using the marker painting technique.
- The difference between water-soluble and permanent pigments
Consider providing students with a mixture of permanent and water-soluble markers. Encourage them to experiment, and then discuss the similarities and differences. How could both types of markers be used to an artist’s advantage on the same artwork? - How to create a value scale
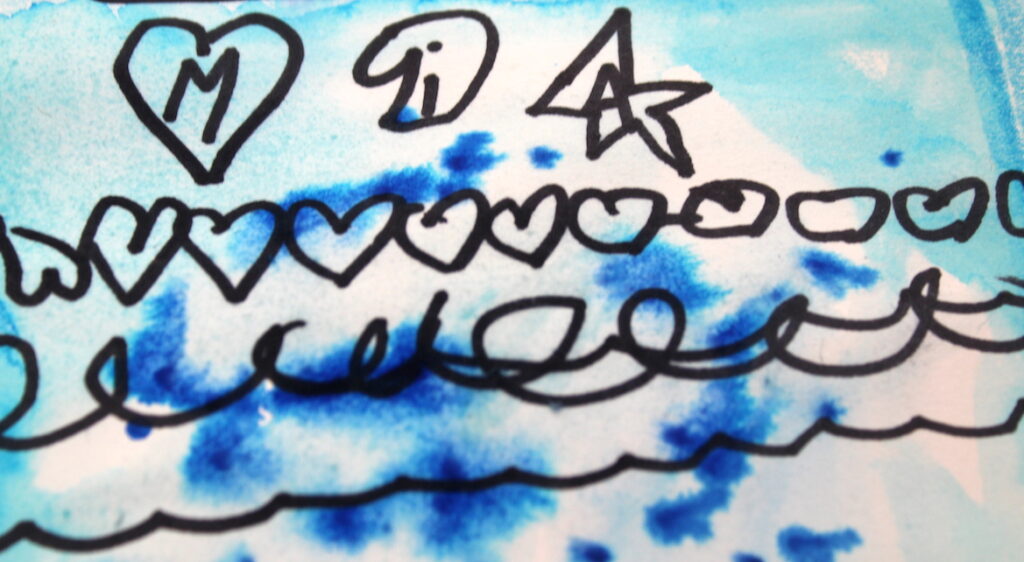
Demonstrate how a value scale can be produced by varying the amounts of ink and water used. Challenge your students to develop as many different values as possible, using just a single marker, brush, and cup of water. - A review of color mixing
Help your students solidify their color mixing knowledge. Encourage them to use combinations of markers near one another. Then, mix the colors by lightly brushing water over the top of both. Be aware that sometimes marker pigments react differently than paint pigments. This fact can offer even more topics for discovery-based discussion.
3 Tips for Student Success
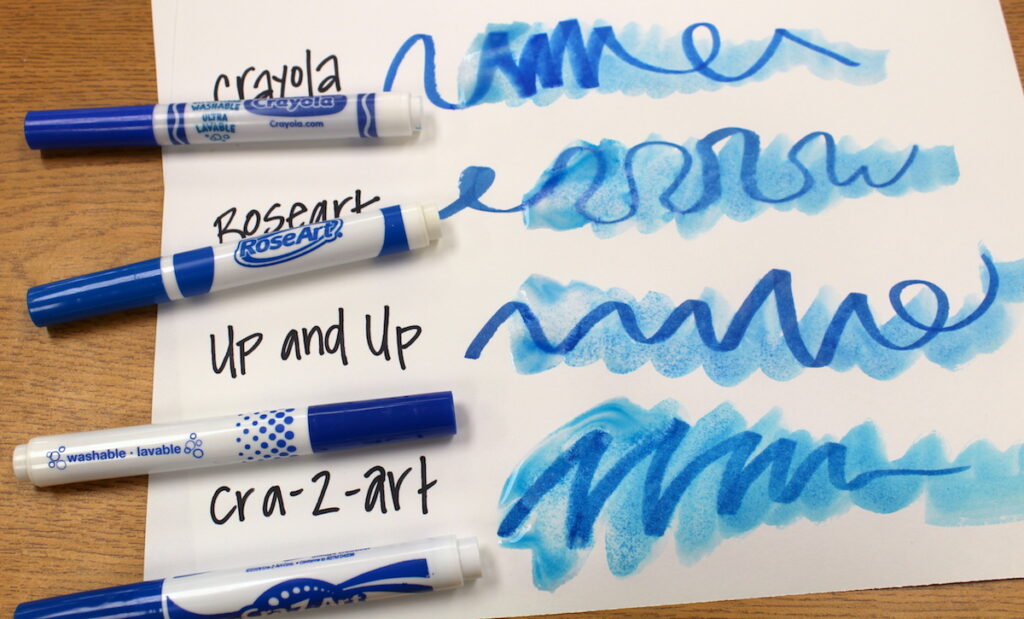
1. Consider using a variety of marker brands.
My classroom marker collection is the result of family donations, so my students are fortunate to have access to a variety of brands. While all water soluble marker brands work, my students developed opinions about which they prefer. Some students believed the pigments seem to separate or blend differently, depending on the type of marker. This could be great fodder for an inquiry-based STEAM lesson!
2. Recycle older markers.
Marker painting works best with free-flowing ink, but it can also be used to squeak a little extra life out of markers that are on their “last legs.” If a marker is no longer coloring efficiently and is leaving a dry, spotty mark on the paper, it can still be used for this technique! As long as SOME pigment makes it onto the paper, SOME paint will be produced.
3. Work on one section at a time.
Remind your students this process has some similarities to working with traditional watercolors. If they do not want their pigments to mix, they should strategically work on opposite portions of the artwork. This gives adjacent areas the chance to dry.
Advancing Equity for our Students
As summer approaches, art teachers are acutely aware of the disparate art experiences their students will have over the coming months. Some fortunate students can attend enriching camps and are given high-quality supplies by highly-invested parents. And, sadly, many students are from a socioeconomic situation that doesn’t make summer art experiences affordable.
This is another reason why I love teaching this technique during the last days of school; it provides an art opportunity for kids who might otherwise not have one.
Almost every kid in the building has access to worn out markers they are preparing to throw away as they clean out their desk for the fall. If you teach this technique, suddenly every student has access to “paint” over the summer, just by being resourceful.
As with so many aspects of teaching, your best ideas for this technique will come from your students. Demonstration of this simple idea will take only minutes. Then, you can watch students invent and create new ways to incorporate this into their artwork. In my classroom, a resourceful second grader commented, “Hey, we could make our own paint with water books for the kindergarten classes by outlining the picture and leaving it dry!” It sounds like our next steps for this technique will be collaborative!
What techniques do you have for using up supplies at the end of the school year?
How do you stretch your supply budget during the last months of school?
Magazine articles and podcasts are opinions of professional education contributors and do not necessarily represent the position of the Art of Education University (AOEU) or its academic offerings. Contributors use terms in the way they are most often talked about in the scope of their educational experiences.