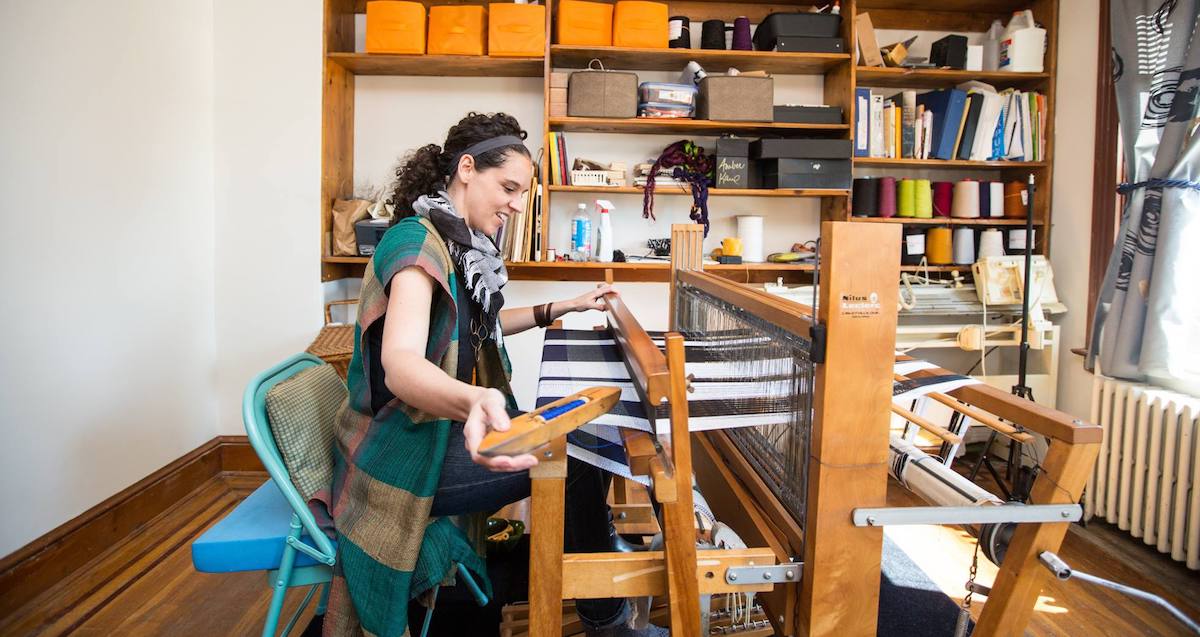
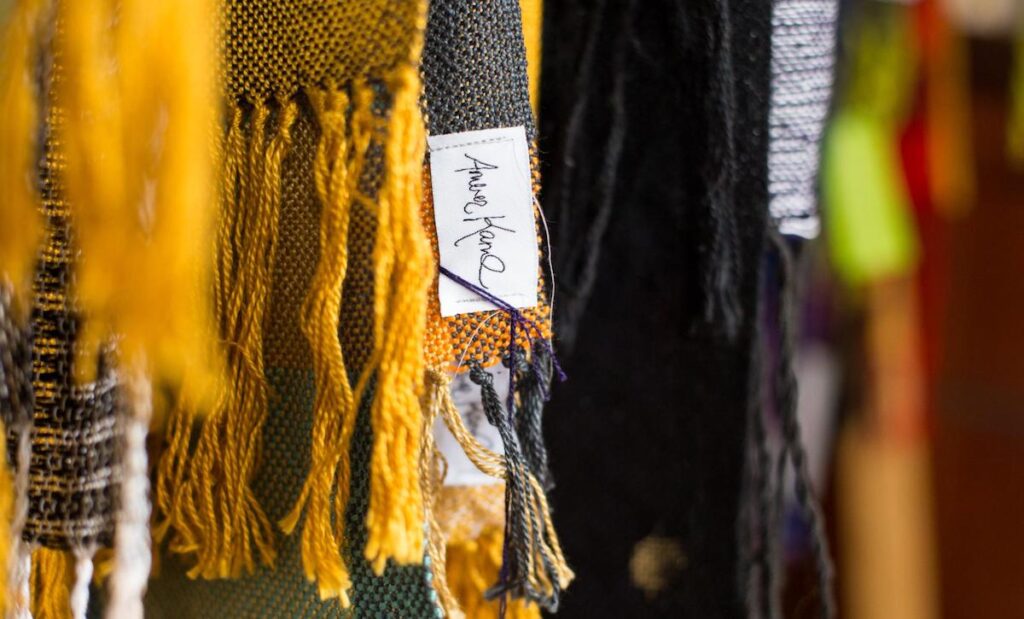
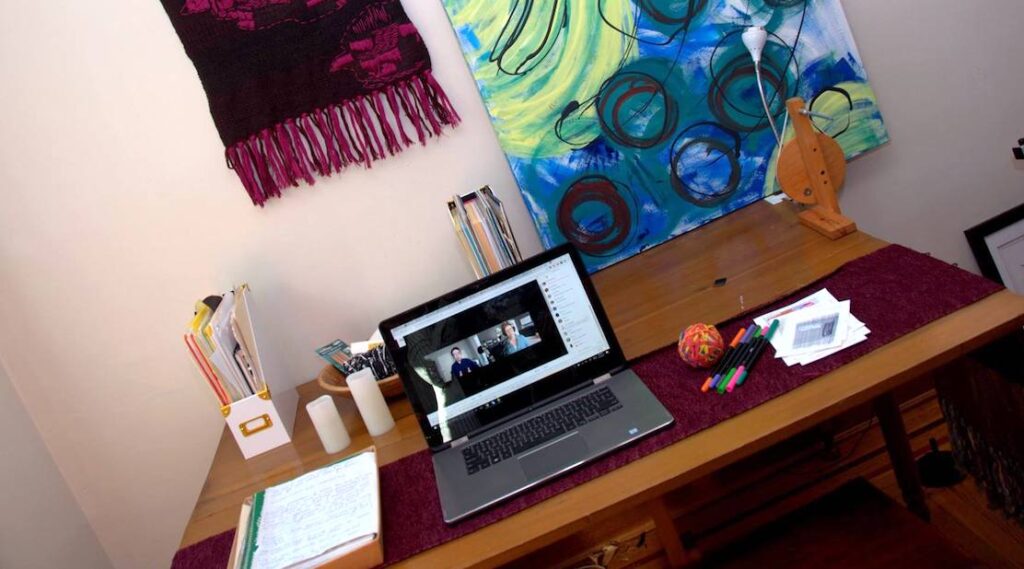
My students and I walked to a local gallery, many admitting they’d never been to an art gallery or museum before. The owner greeted the students, encouraging them to explore and ask questions. They started by admiring the work, turned a corner and noticed woven scarves, labeled with my name. While students know I’m a textile designer, it doesn’t sink in until they see the work for sale.
Then they see the price tag….$200. “Mrs. Kane, why is your work SO expensive?”
They’re ready for a lesson on pricing.

Teaching your students about pricing matters even if they never plan to sell their work. Understanding pricing helps students become informed buyers and increases their appreciation of art.
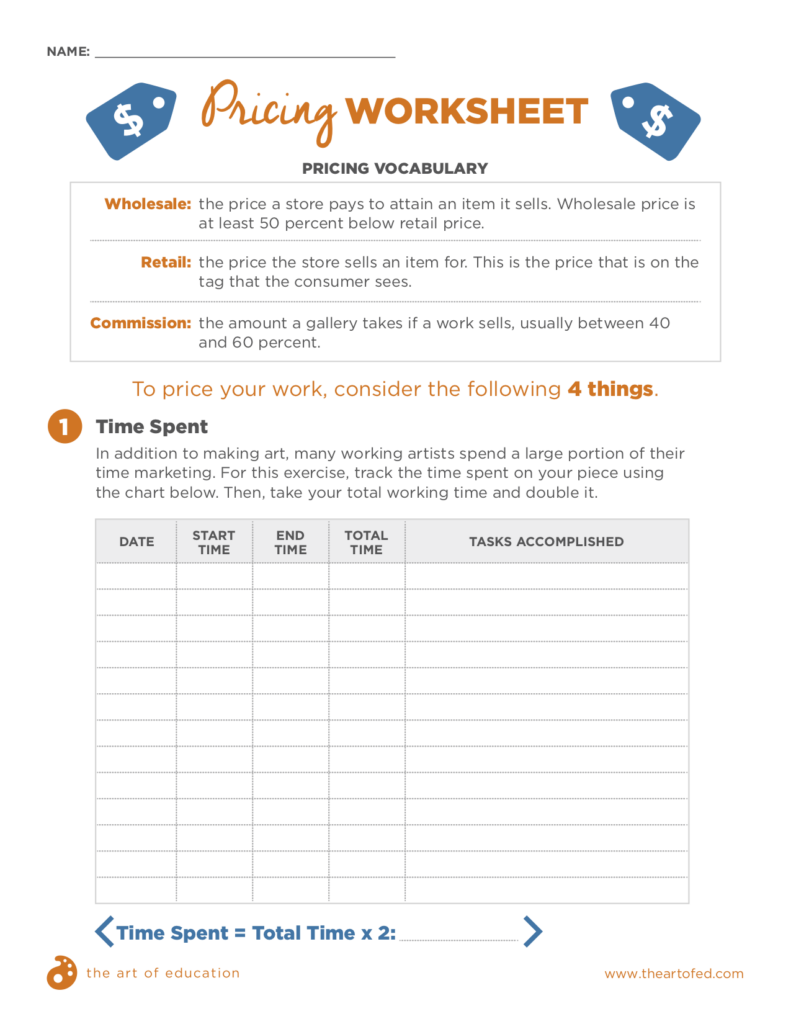
Start by teaching your students about the difference between wholesale, retail, and selling on commission.
Wholesale
Wholesale is the price stores pay to attain the items they sell in their store, usually 50 percent less than the retail price. Using my scarves as an example, if the tag in the store says $200, I (the designer) only receive $100 (the wholesale price). When selling wholesale, the artist gets paid by the store or gallery up front.
Retail
Retail is the price the consumer pays. It’s the price you see on the tag. The retail price needs to be set, so both the store and the artist make money.
Commission
Many galleries work with artists on commission, meaning, no one makes money until the work sells. The artist provides the gallery with the work, usually for a set amount of time, as well as an agreed upon split if the piece sells. Most galleries take anywhere between 40 to 60 percent commission.
When students understand the pricing structure, it’s time to teach them a formula so they can price their work.
They will need to consider the cost of materials, time spent, hourly wage, and non-consumables. You can download a handy sheet that guides them step-by-step through this process below!
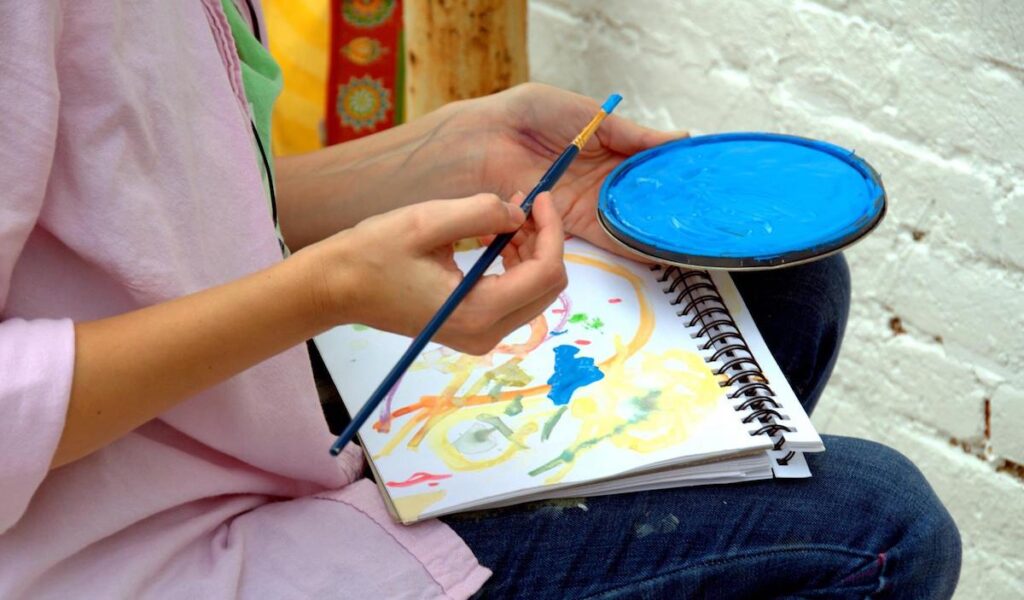
Cost
Have students research how much the materials they’re using cost. It’s easy to determine how much a canvas costs, but it gets a bit trickier when it comes to the paint that goes onto the canvas. To figure this out, students will need to take the cost of the tube of paint and divide by how much the tube of paint weighs. Weighing the tube of paint at the start and end of the painting will determine how much was used.
For example:
Let’s say a six-ounce tube of paint cost $10.00. If you take $10.00 divided by six ounces, you’ll find one ounce of paint costs $1.67 (10/6 = 1.67). After the painting is complete, weigh the tube of paint again. If students used two ounces, the cost of paint on the canvas is $3.34.
Time
As students create, have them fill out a timesheet. Make sure they keep track of all the time from ideation to the finished product. Some will be tempted to work slowly so they can charge more. However, they often realize if they work too slowly their price skyrockets to a place where the piece will never sell.
When determining how much time goes into a piece, it’s important to keep marketing and selling in mind as well. Many artists spend 20% of their time creating and 80% of their time marketing and selling. To account for marketing and selling, estimate and have students double their time.
For example, if a student spends ten hours on a painting, his or her total time working should be twenty hours.
Hourly Wage
When pricing work, it’s important to make sure students are paying themselves. This might seem obvious, but many artists and craftsman skip this step when starting out. Tell students they need to pay themselves at least minimum wage. You’ll also want to create a cap. I set mine at $20. You might also explore the median hourly wage in your area and have students use that.
Cost of Non-Consumables
When first selling artwork, non-consumables are easy to ignore, but if students want to be working artists, it’s essential to keep them in mind. Non-consumables are the things needed to create the work but don’t go into it, like studio space, electricity, heat, and the internet. This category would also include tools like paint brushes, a pottery wheel, or kiln. Large ticket items are depreciated over time. To keep this somewhat simple in our classroom exercise, I have students add $10.00 to their final price.
Professional artists also consider things like perceived value, their level of fame or notoriety, and what the market can bear. While all of these things matter, they’re rather abstract. So for students’ first lesson in pricing, we stick with concrete numbers and calculations. By the end of this lesson, students fully understand why my work costs what it does and begin looking at price tags with a critical and inquisitive mindset.
How do you respond to students when they ask why art cost so much?
What’s your favorite piece of art or a craft you’ve purchased or received?
Magazine articles and podcasts are opinions of professional education contributors and do not necessarily represent the position of the Art of Education University (AOEU) or its academic offerings. Contributors use terms in the way they are most often talked about in the scope of their educational experiences.