As first-year teachers, we all run into things for which we are not prepared. For me, one of those experiences was teaching an adaptive art class to 20+ students with severe and profound needs on my very first day of school. Needless to say, coming in with no formal special education training, it was a train wreck. It took many weeks of failure before I finally figured it out.
Walking into the art room is a fantastic experience because there is a place for all students to thrive. For many students with special needs, the art room might be the only inclusive part of their day. However, trying to meet the needs of all students can be difficult and time-consuming. The key is to start with the same materials and subject matter the rest of the class is using. This method will prevent you from having to start from scratch.
Here are 4 concrete examples to help you get started.
1. Use technology and transparencies to modify portrait lessons.
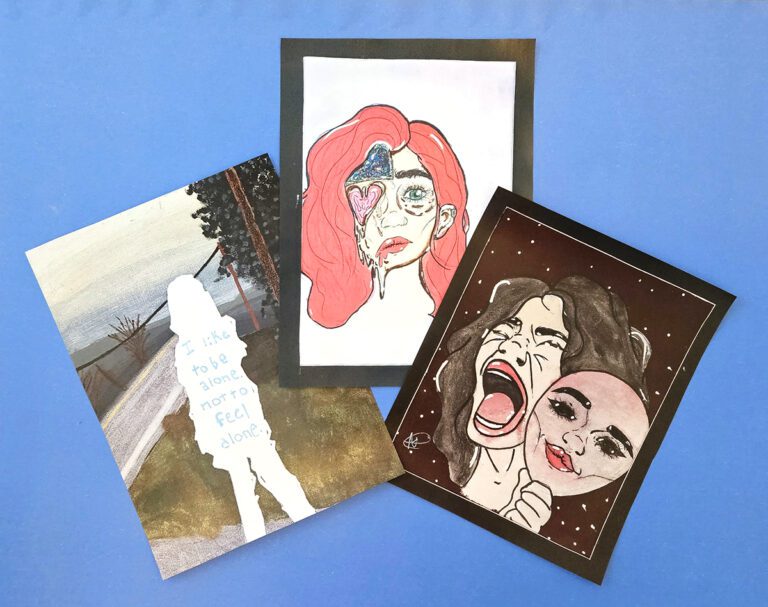
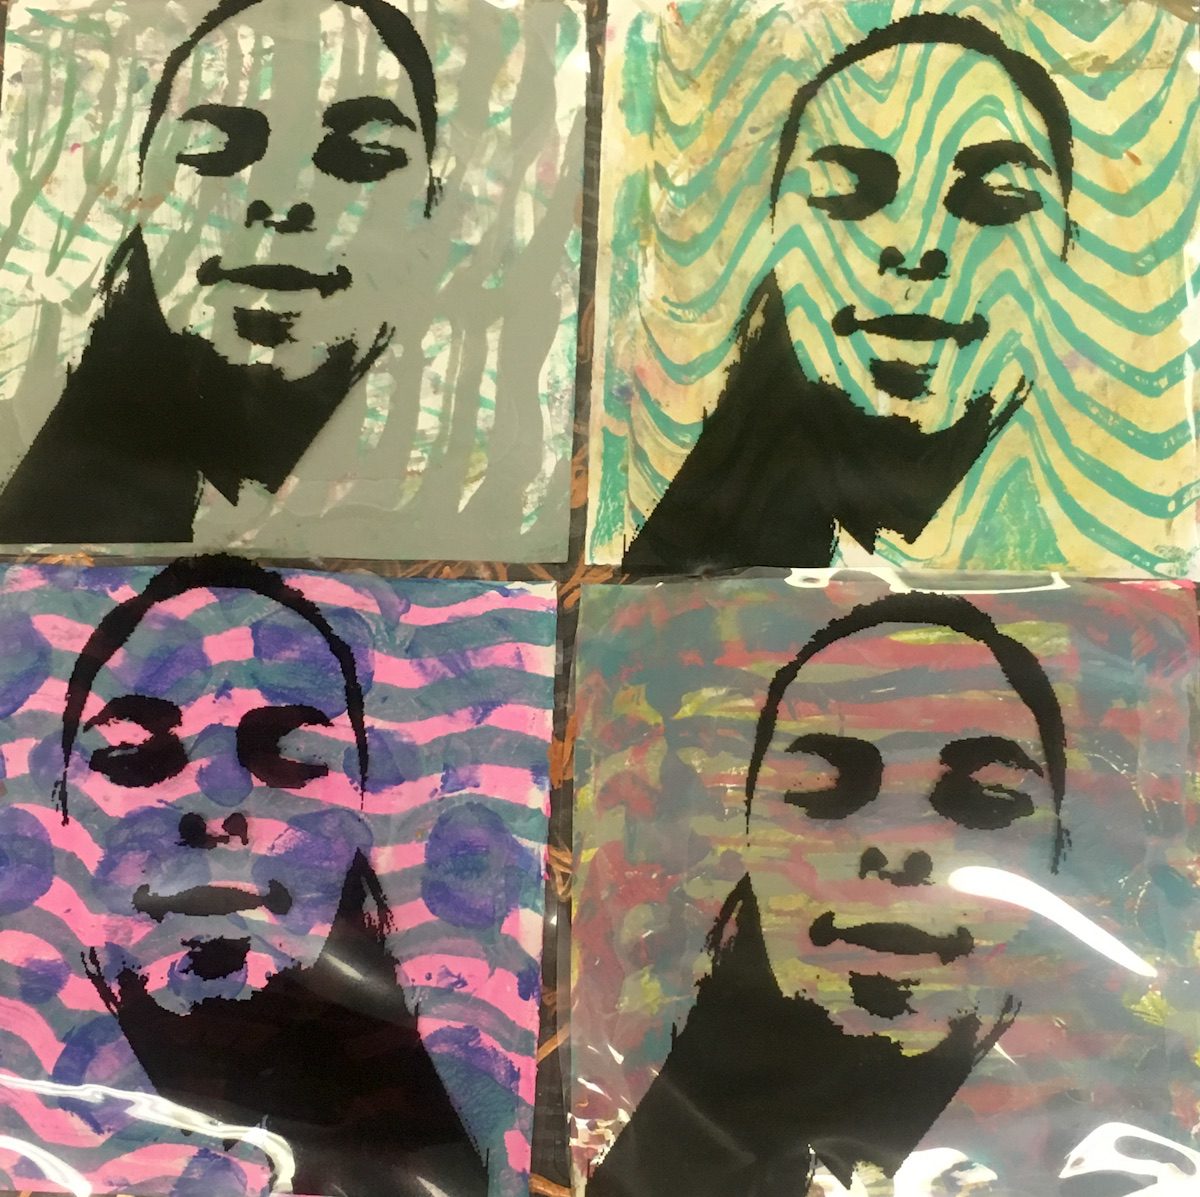
Creating portraits is challenging for almost all students whether they have special needs or not. Above, you can see the results of a smashed portrait project with a painted background. Here, students used the grid method to draw the portrait.
You can easily modify a portrait lesson like this one with the help of technology. Start by taking a photo of your student. Then, have them transfer that photo onto a transparency. Depending on the student’s needs, they could trace their photo onto the transparency using a permanent marker, or they could print the photo directly onto the transparency using a digital printer. If they do the latter, you could have them digitally edit the photo first.
Finally, instead of painting a detailed background, students could use a Gelli plate to create a monoprint to which their transparency could be attached.

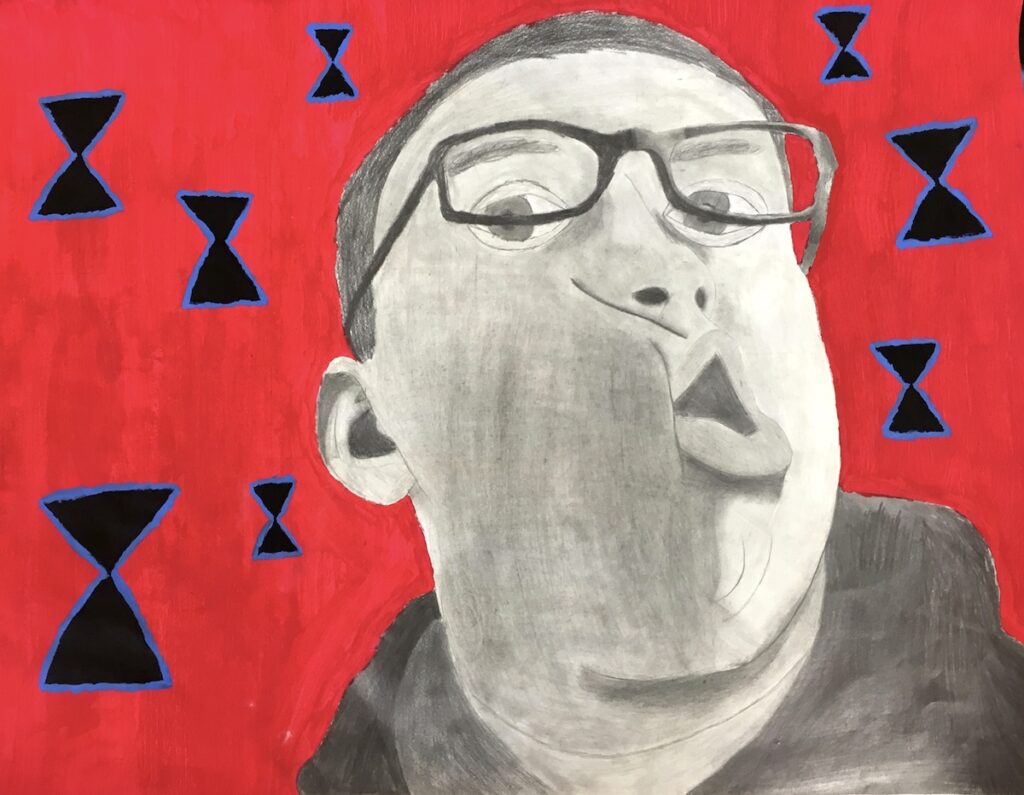
2. Use a light box and modify requirements for drawing projects.
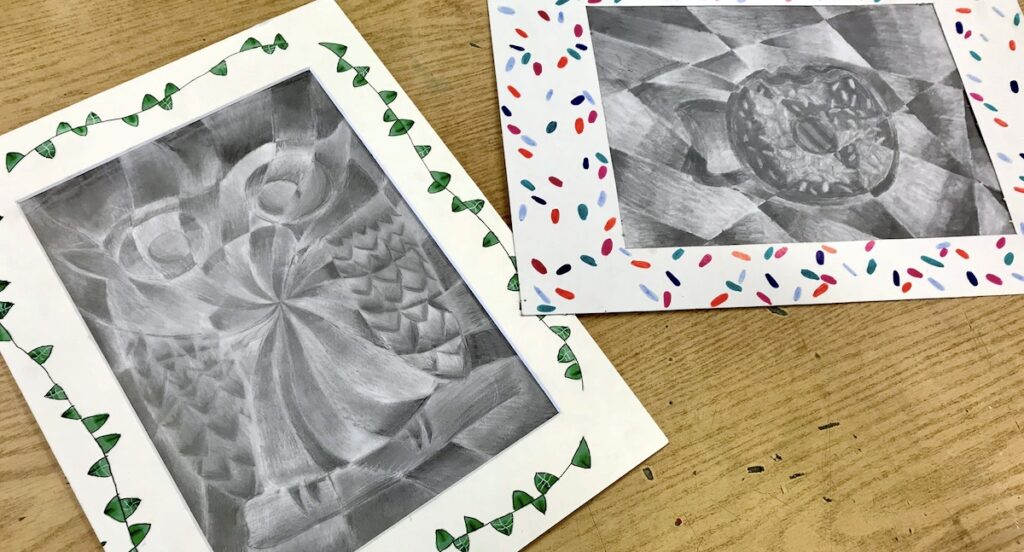
Above you can see a drawing lesson that focuses on contour line, value, and shading. Students start by creating a contour line drawing of their subject and divide the paper into different sections to practice value techniques.
To modify the project, have your students select an image, print it out, and use a light box or transparency to aid in tracing. Students can still divide their background with a ruler. But, instead of adding value to the sections, have students use a material like markers to fill in each shape. You can see a modified version of this project in the photo below.
3. Use molds and extruders to help with clay projects.
Clay is a versatile material and is excellent for students who have trouble with motor skills. However, working with fine details can sometimes be difficult. For example, rolling coils to create a vessel might be complicated. Instead, try using a mold. Slump molds are an excellent way for students to explore clay without having to worry about creating a coil or slab.
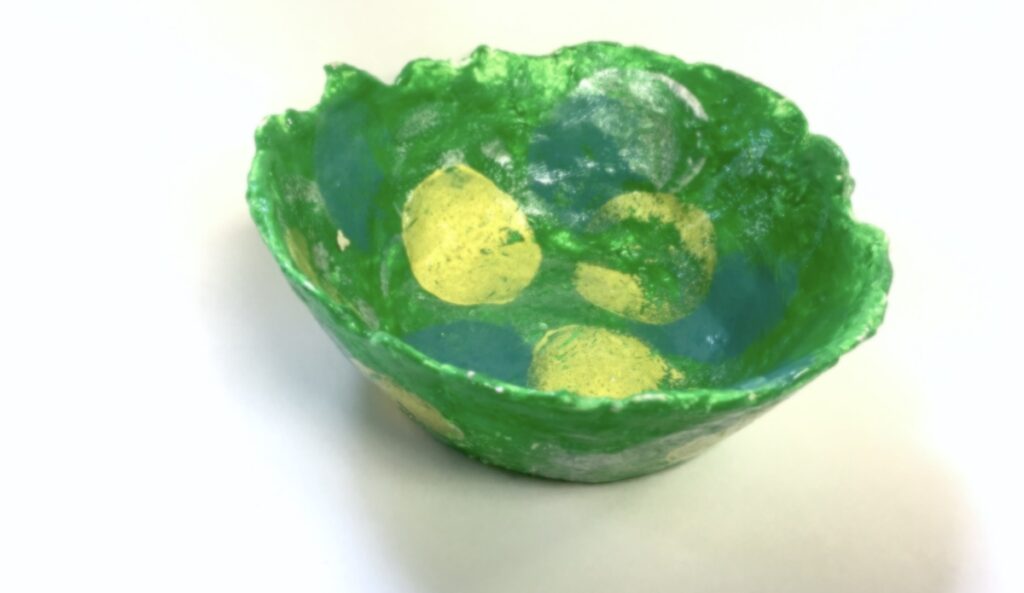
Cover the mold with plastic wrap and let students press pieces of clay into it, making sure to smooth them together as they work. No scoring or slipping is necessary if the clay is plastic enough. Make sure to remove the clay from the mold before it is leather hard to prevent cracking.
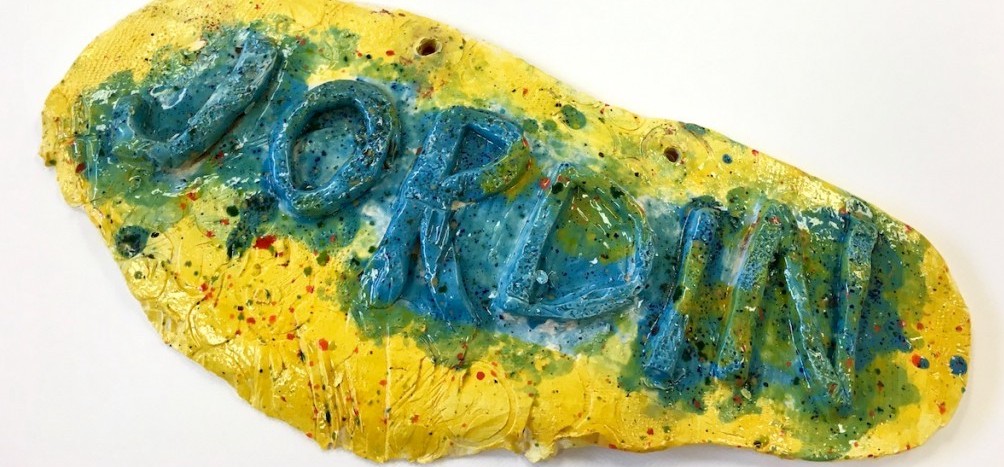
If students can create clay coils or you have an extruder, use the coils to trace. Placing coils over the student’s name or a drawing they’ve created is a simple way to modify the coil technique. Students will likely need assistance attaching the designs or names to another surface like a slab of clay.
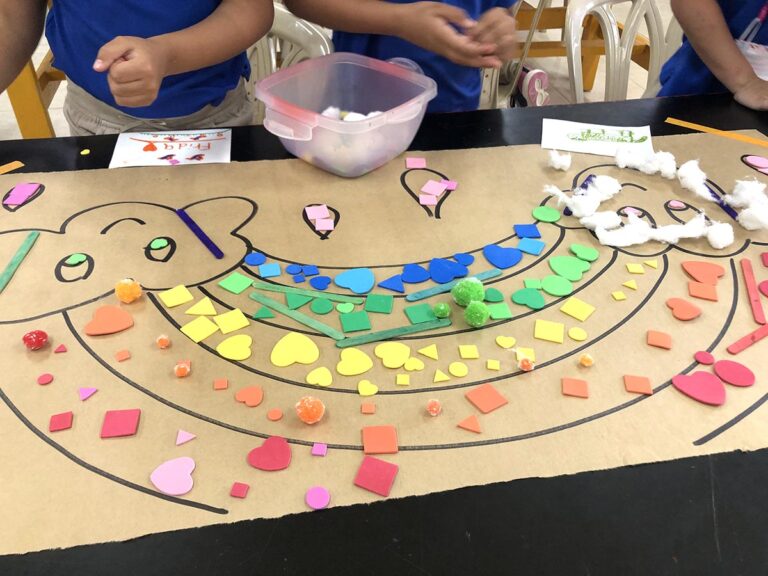
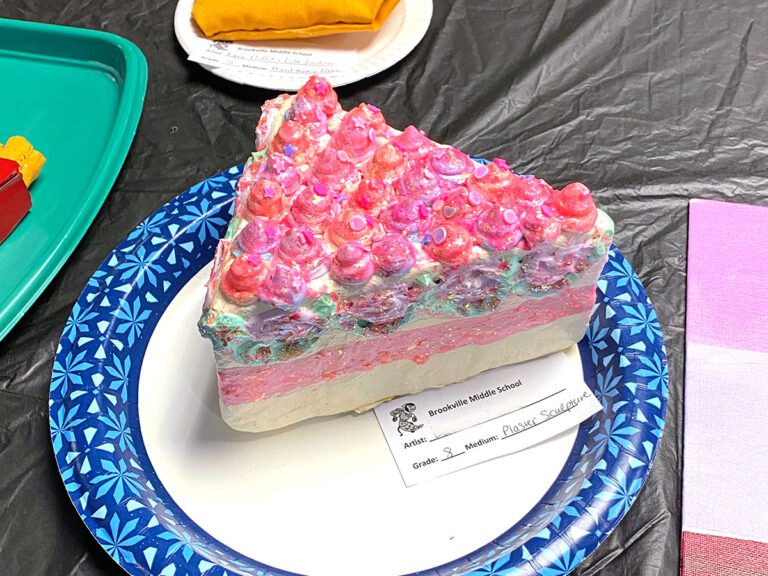
4. Simplify and use templates to make lessons more accessible.
The above photo is a plaster gauze sculpture project made with recyclable materials. To modify a lesson like this for your adaptive art students, limit their materials and use templates.
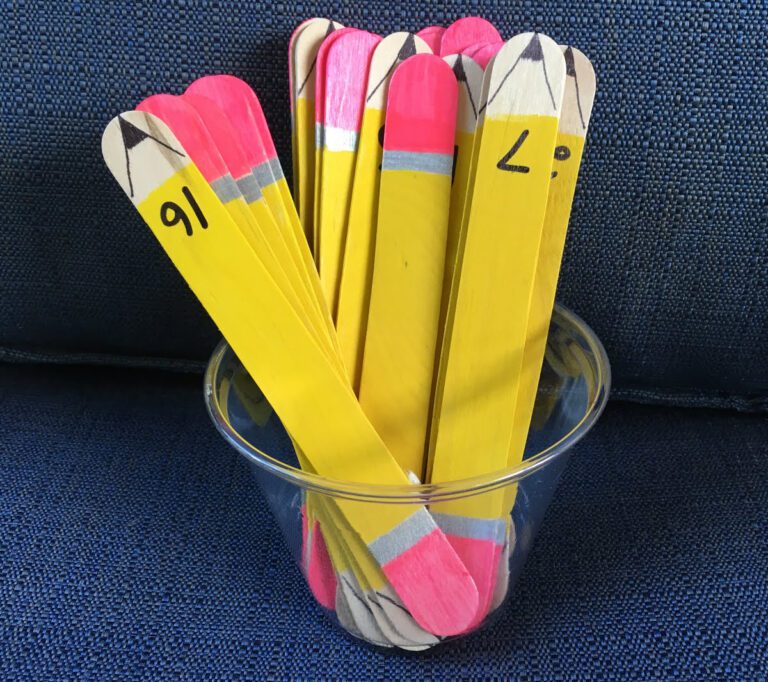
To allow my students to have the experience of making something with recyclables and plaster wrap, I showed them how to make giant pencils. I gave each of my students one paper towel roll and a piece of oak tag paper. They used a template to make the point of a pencil with the oak tag paper and attached it to the paper towel roll using masking tape. I then gave students smaller pre-cut plaster gauze strips so they could apply them to their armature to complete their pieces.

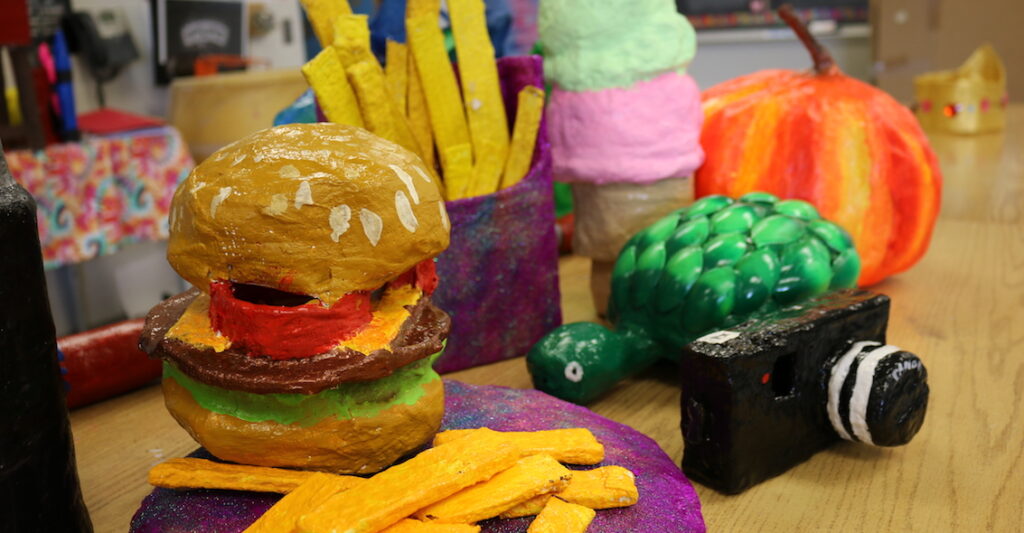
No matter what projects you’re modifying, having a variety of modifiers to choose from is helpful.
Here are 5 essential tools to keep on hand for easy modifications.
- Stencils and templates
- Light box for tracing
- Adaptive scissors
- Large, easy-to-hold materials
- Transparencies for tracing
You can find even more tools and ideas in this video.
Creating effective modifications for your students does not need to be time-consuming. Remember to keep it simple by using the materials and methods already in place and finding ways to adapt them to meet the needs of your students.
What examples of project modifications can you share?
What are the biggest joys and challenges that come with working with adaptive art students?
Magazine articles and podcasts are opinions of professional education contributors and do not necessarily represent the position of the Art of Education University (AOEU) or its academic offerings. Contributors use terms in the way they are most often talked about in the scope of their educational experiences.