Teaching portraiture in the art room can be tricky because it doesn’t always engage all students. While some kids love drawing themselves, others loathe the activity.
One trick I’ve found for engaging students is to assign portraits as a theme and then allow students to individually respond to that theme.
In my room, I call themes “big ideas.” They inspire student work but allow students to choose how they approach a topic. Big ideas work at any grade level and allow for differentiation. Students learn a central concept, but they have creative freedom in how they authentically express themselves.
Let’s take a look at how to bring traditional and non-traditional self-portraits into your classroom using the big idea, Self-Portraits.

1. Share the big idea, Self-Portraits, with your students.
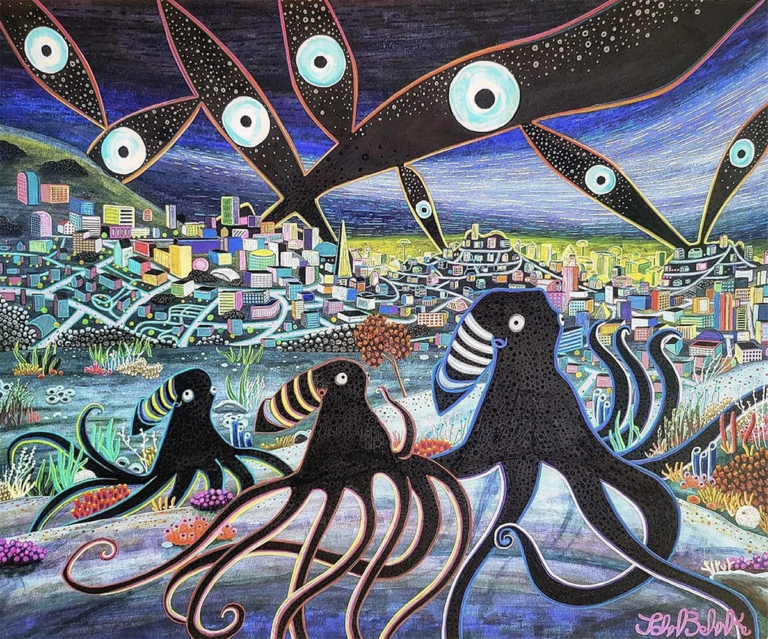
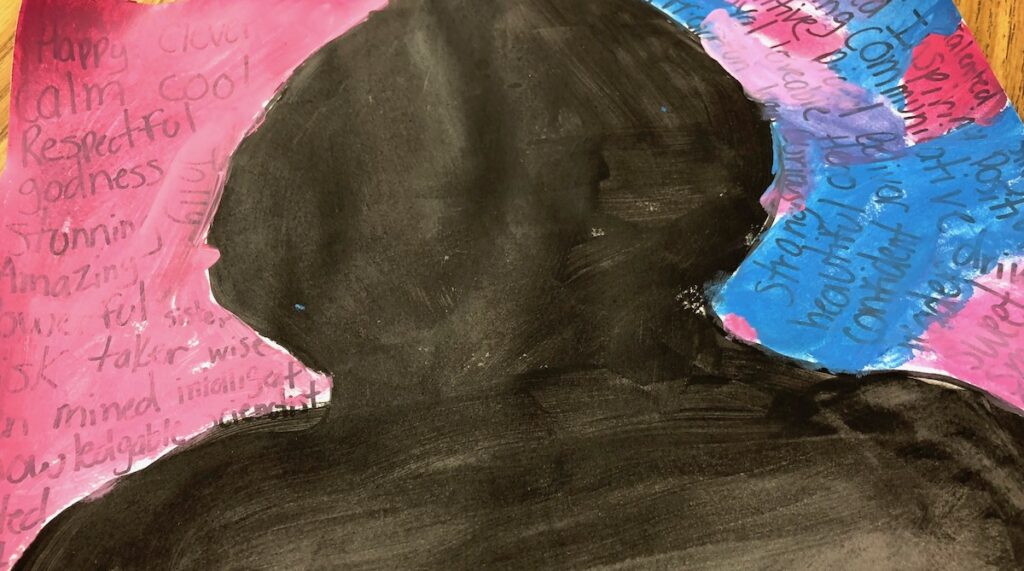
Start by sparking your students’ interest in self-portraits by sharing images. Be sure to include a variety of artists and a good mixture of thought-provoking traditional and non-traditional examples. Non-traditional self-portraits could include portraits created with unique materials or self-portraits that do not include facial features.
You may have some of your favorite portrait artists in mind, but here are a few other artists to consider.
- Kehinde Wiley
- Giuseppe Arcimboldo
- Amy Sherald
- Eric Daigh
- El Mac
- David Lazar
- Frida Kahlo
- Nikki Rosato
During your discussion, you’ll want to make sure to define the words “portrait,” “self-portrait,” and “identity.” This will help students as they move to the next step.
2. Have your students brainstorm about their identity.
After you introduce the idea of self-portraiture, you’ll want to have your students think about their identity on a deeper level.
Ask your students essential question such as:
- How can artists incorporate their identity into their artwork?
- What is the difference between a traditional and non-traditional portrait?
- How can a non-traditional portrait capture the identity of an artist?
- Can an artist create a self-portrait without recreating an image of themselves? If so, how?
After discussing, have students think about themselves.
Consider having students answer questions such as:
- Who are you as a person?
- What is important to you?
- What are your hobbies?
- What words would you use to describe your personality?
- What are your favorite colors?
- What colors reflect your current mood?
Give your students some time to answer the questions and list any other words they can to describe themselves. This list will help motivate and inspire your students’ work as they consider who they are as a person and what they want to share with others.
3. Give your students time to build their skills.
Before students can jump into a project, they need to have some basic skills. Building in this time will allow you to demonstrate how to draw a portrait and how to use different materials. This can also be a time for students to get their sketches together and figure out which materials they want to use for their final self-portraits.

Demonstrating Different Portrait Techniques
You may consider demonstrating how to create a portrait using a mini-lesson. This should take no longer than eight minutes. Students can practice eyes, noses, mouths, heads, etc., or practice drawing a complete portrait.
This step can be optional. However, you may want to make it mandatory, so all students practice the skills. Either way, by the middle of the class, students should be working on a plan of their choosing.
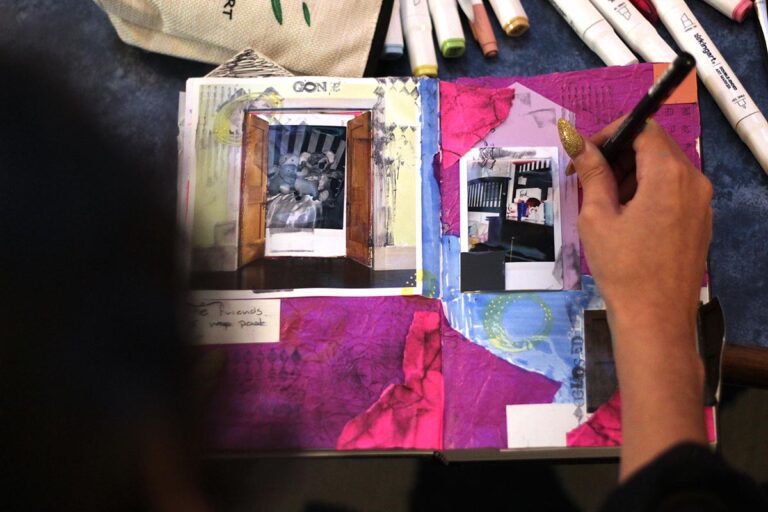
Letting Students Explore Materials
You’ll also want to give your students a chance to build their confidence with new materials, especially if they’ll have access to materials they haven’t used yet.
When providing new materials, demonstrate a few ways students might use them. Don’t be afraid to think outside the box. Things like seeds, bottle caps, and cotton balls are all unique items that could be used to enhance their work.
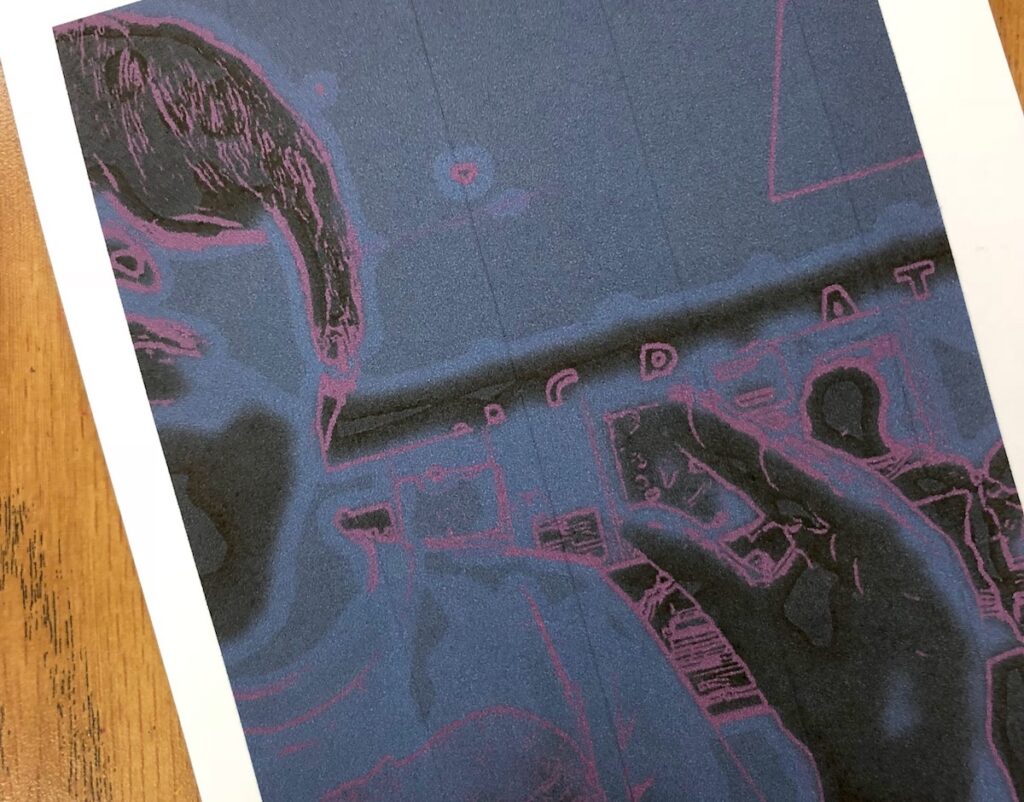
If you have iPads, you can also give the option to work with digital media and use apps such as WordFoto, Silhouette or Aviary to edit photographs. Students could even take photographs of their work and digitally enhance it. The possibilities are truly endless.
4. Let your students create.
The first class period allows your students to learn, practice and plan. By the second class period, remind your students of the big idea and allow them to create. In no time, your class will look like a professional art studio full of engaged artists. I usually give my students a minimum of two to three class periods to create their pieces. Feel free to alter this plan depending on your students and class times.
Have all the supplies readily available for your students to get or set up tables with various supplies, so they have choices. This makes it easier for students to see what their options are and helps promote their creativity.
If some students finish early, you could give them an extension that allows them to take their work to the next level by using it to inspire a companion piece or allow them time to create another self-portrait using a different approach. Digital artists usually finish much faster than others, so it will be helpful if you think ahead.
5. Have students reflect with artist statements.
Once students have wrapped up the project, have them write an artist statement. This is a great way to understand why students created their self-portrait the way they did and their thought process throughout their work time.
Artist statements are especially helpful for the non-traditional, more abstract portraits.
Allowing your students to choose how they approach their own self-portrait will promote a wide array of unique, authentic student work. This not only helps them build their creativity, but it also helps them with 21st-century skills such as critical thinking and problem-solving.
How do you get your students excited about self-portraits?
What is your best instructional strategy to teach proportion for portraits?
Magazine articles and podcasts are opinions of professional education contributors and do not necessarily represent the position of the Art of Education University (AOEU) or its academic offerings. Contributors use terms in the way they are most often talked about in the scope of their educational experiences.