As art teachers, we work hard to teach students the essential skills for their future success. While we realize art is fun, we also know it allows students to build their creative capacity and critical thinking skills. In this way, students can innovate, problem-solve, and express themselves. All of which are important skills for life and future careers.
One of the best ways I’ve found to foster these skills in my students is through Open Studio Days.
Open Studio Days are normal practice for those who implement the Teaching for Artistic Behavior approach, like myself. If you’re unfamiliar, the TAB teaching philosophy, “enables students to experience the work of the artist through authentic learning opportunities and responsive teaching.” However, you can run an Open Studio Day no matter what teaching philosophy you follow! Are you ready to transform your classroom using Open Studio Days?
6 Steps to Running Open Studio Days in a Traditional Art Room Setting

1. Reflect on how you teach.
If your students don’t get much choice in the classroom, beginning to incorporate Open Studio Days will be a learning experience for you and your students. If you’re truly looking for a change, this idea is something to incorporate more than once a semester. Your students will benefit from the repetition and consistency.
Make sure to ask yourself the following questions:
- What is my vision for my classroom?
- How can I support my vision?
- Am I open to change in the classroom?
- When would I incorporate Open Studio Days into my curriculum?
The answers to these questions should help you align your goals with your classroom with your curriculum.

2. Decide how you will inspire your students.
Some students will get started right away with ideas they have, but some students may need a little push. In order to inspire your students, you can start with a short demonstration or share about an artist.
Demonstration
Starting your Open Studio Day with a short demo on a new medium or skill is a great way to hook your students. Allowing students to explore at their own pace is a valuable and memorable learning experience.
The key in an Open Studio Day is that the students may or may not use the new medium or skill you demonstrate. However, they will still benefit from your instruction and may use the skill in their future work. Through these short demos, students are always learning new things.
Artist Inspiration
Looking at artwork from various artists not only allows you to incorporate art history but also to inspire students. It can be as simple as conducting a brief conversation about an artist’s style while students view the work. Or, you can have students dig a bit deeper by presenting works from multiple artists that are connected in some way. Students often find inspiration in both the style of the work and its subject matter and explore both in their own ways.
Remember, using a certain style is not mandatory on an Open Studio Day, but presenting work allows students to find inspiration to explore further if they so choose.
3. Set your expectations.
With anything new, there can be a learning curve. Setting your expectations is important. Here are key areas you should discuss with your students.
- Set up procedures
- Cleanup procedures
- Use of time
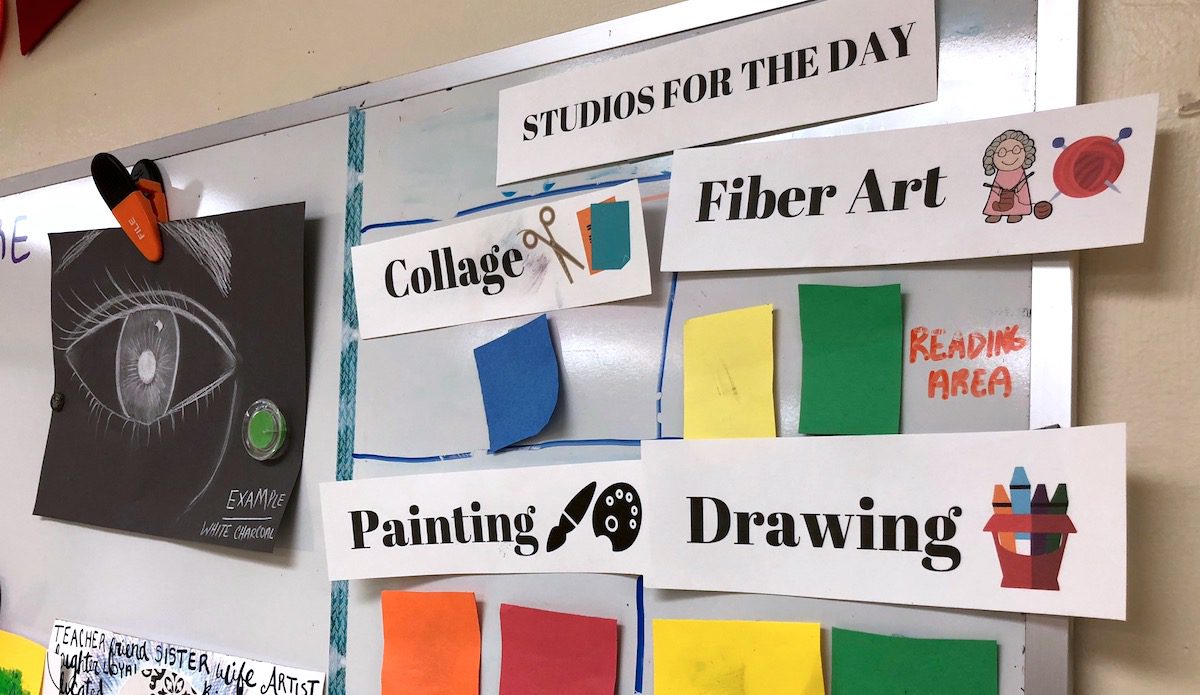
- Choosing studios
Eventually, your goal with Open Studio Days will be to have multiple mediums available at the same time. However, if you want to start with one medium first and work your way up to more, that works, too.
No matter the number of stations you have open, be clear about your expectations. Will students need to choose one station and stay there for the duration of the class? Will they be able to work with materials from multiple stations to create mixed media pieces? These are questions you’ll need to consider. The good news is that the more you implement these days, the smoother things will run.
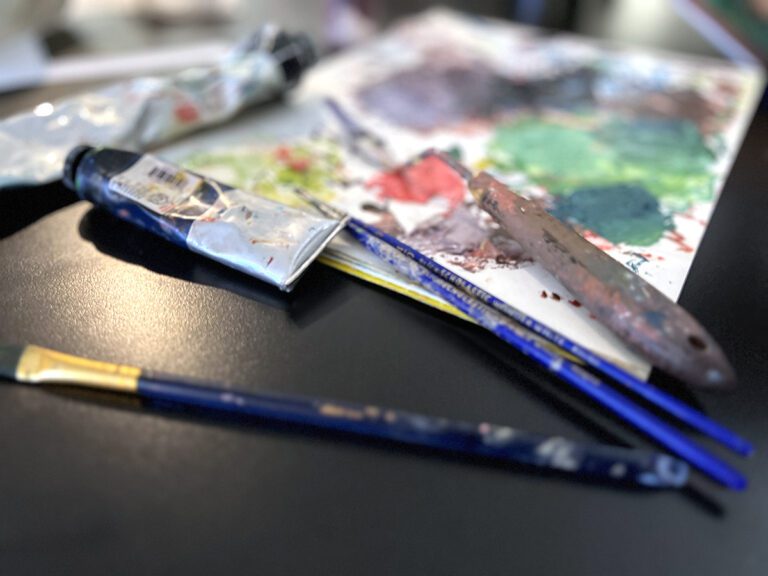
4. Set up your stations.
It may seem daunting to have students working with a variety of materials in the same classroom, but with a good organization system, anything is possible! Depending on how your class is set up, you have a few choices in how students can get their supplies and where they can work.
Option 1: Have students gather their own supplies.
For this option, you will want to designate specific tables for specific media. For example, in my room, the Red Table and the Orange Table may be designated for painting while the Yellow Table and Green Table are designated for drawing.
This option works well if you already have supplies set up in a buffet style. Students can grab their own supplies and sit at the tables designated for those supplies.

Option 2: Set out supplies at tables before students enter the room.
Another option is to have supplies already set out at designated tables. During work time, students simply go to the station where they want to work. This set up helps cut down on movement in the classroom because students don’t have to gather their own supplies.
If neither of these options sounds appealing, you could allow students to work with a variety of media at their usual assigned seats. Personally, I like students who are using paint to work together in order to share materials. It allows for an easier cleanup because fewer supplies are out.
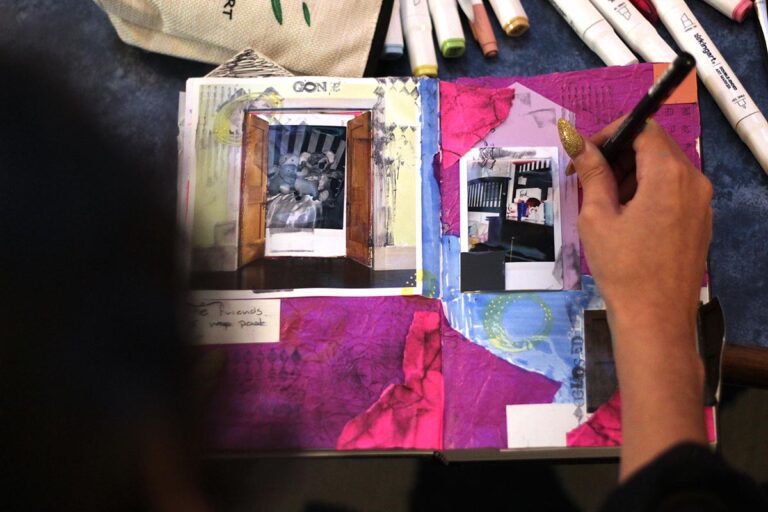
5. Let students get to work!
Teachers often feel uneasy thinking about having students work on multiple projects at once. They worry it will be chaotic or they won’t have time to help everyone. I have found both of these assumptions to be false. When students have a choice in their material and subject matter, they are, for the most part, more engaged in their work, not less. In addition, I can still circulate the room and see who may need help on their work, just as I could in a more traditional art room setting. In short, allowing students to work in this way allows for highly differentiated learning,
6. Allow students to reflect and share.
In order to see the transformation created by Open Studio Days, you must allow time for reflection and sharing. You will truly see the thought process behind your students’ work as well their excitement for what they created!
Here are 4 different ways to have students open up:
- Walk around the room while your students work and inquire about their creations.
My students often blow me away with the thought they put into their work and how proudly they talk about it. We often learn best by failing, learning from our mistakes, and trying new things. - Have a few students share out at the end of class.
- Take an art walk and have students look at other’s work while it is in progress.
Pose the question, “How can I take my art further?” for reflection. - Have students write something they learned on a sticky note or share how they used their problem-solving skills in their work.
By getting your students talking, it allows for everyone to see the power of Open Studio Days. Overall, allowing your students to have Open Studio Days to create work from their heart will be beneficial to their growth as artists. It enriches their education and transforms their art experience.
How do you promote innovation and authentic art in the classroom?
Are you open to trying Open Studio Days?
Magazine articles and podcasts are opinions of professional education contributors and do not necessarily represent the position of the Art of Education University (AOEU) or its academic offerings. Contributors use terms in the way they are most often talked about in the scope of their educational experiences.