Science and art are often viewed as opposites. One seems to be driven by data while the other by expression and creation. But, in reality, they’re more alike than we think. They share a common thread through inquiry and questioning. At their core, artists and scientists are inventing, exploring, and discovering. It just looks a little different in each discipline!
Below you will find 8 different ways you can explore the world of science and art together in your classroom.
1. Epoxy Cast Molds
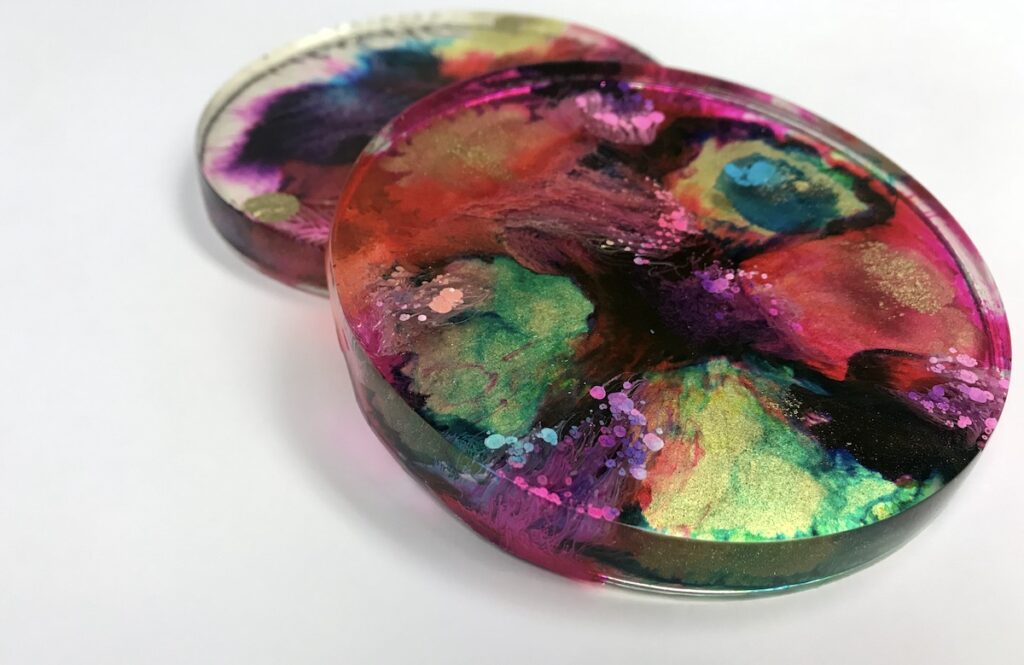
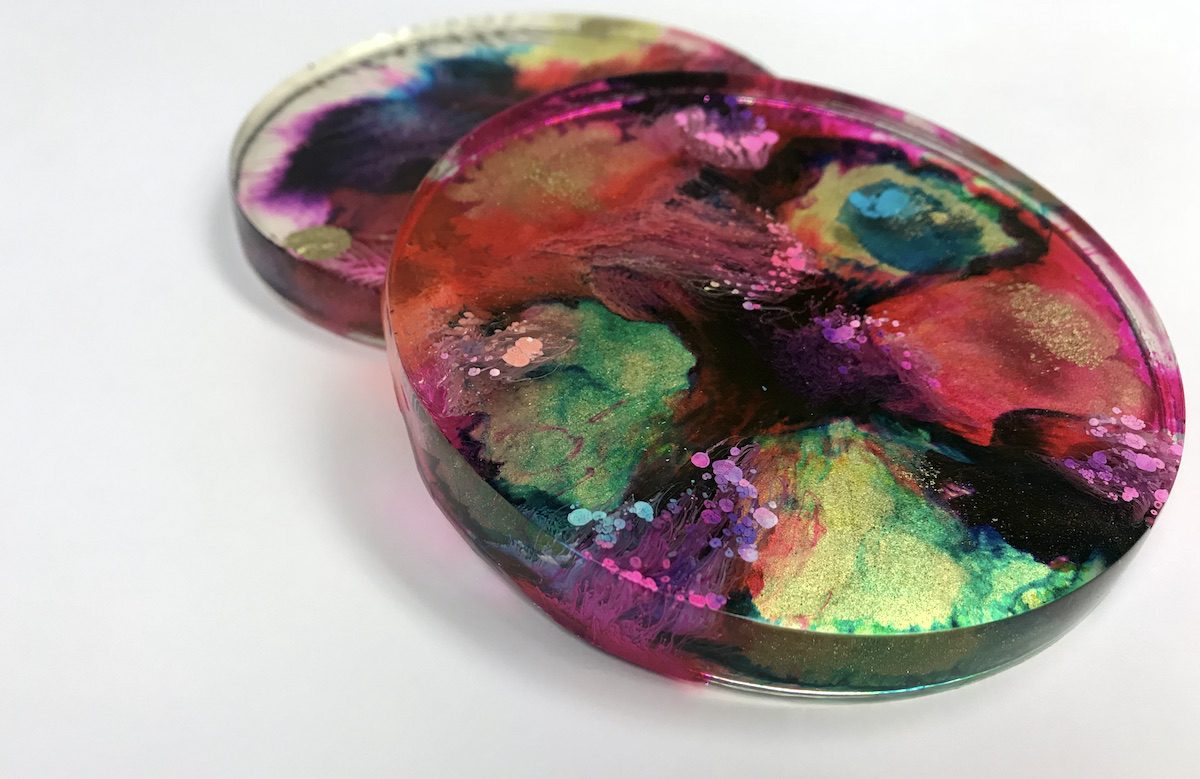
Many artists use resin or epoxy in their artwork. It can be used to provide a glass-like finish for a piece or to cast objects. Using epoxy creates beautiful products, but it can also be used to teach students about science.
Epoxy is a polymer. It starts in a liquid state but turns solid when a chemical hardener is added. This means using epoxy is a great way to teach your students about chemical reactions in the art room! You won’t see an explosion, but you can explain the curing process is a result of this chemical interaction at work. Check out artist Josie Lewis for more inspiration!
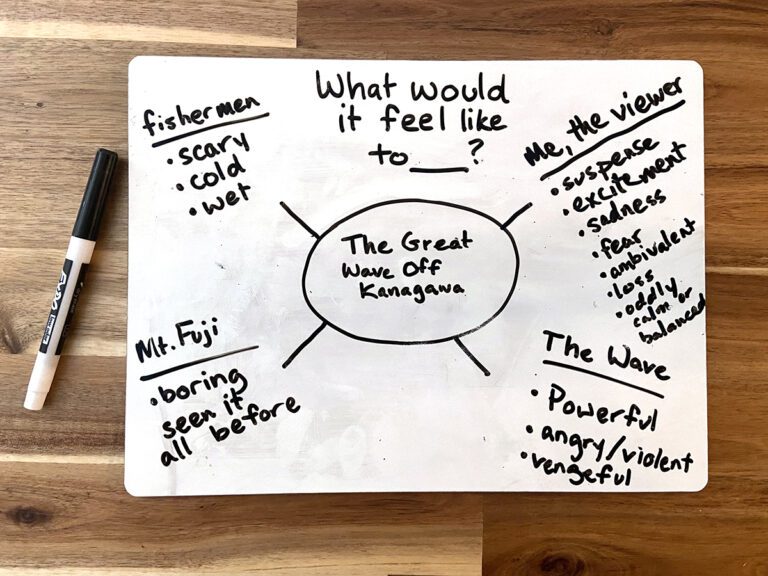
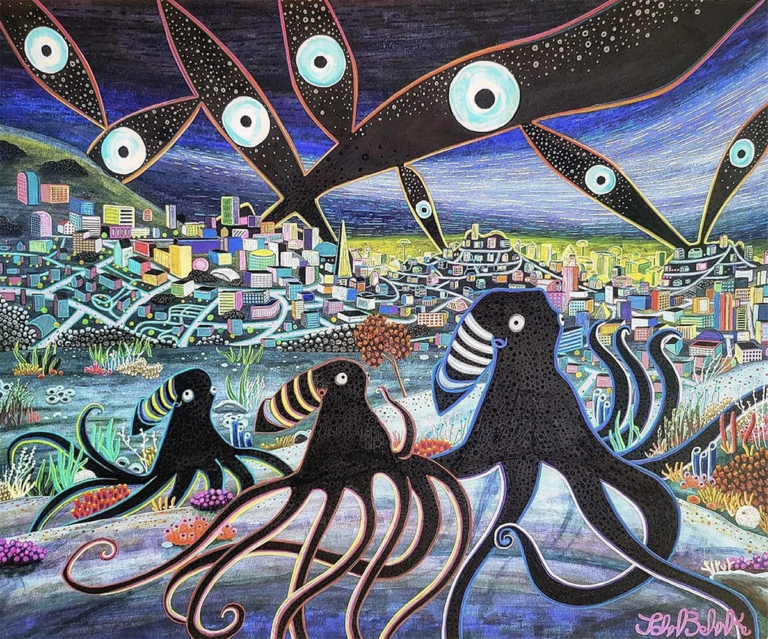
2. Animal Habitats
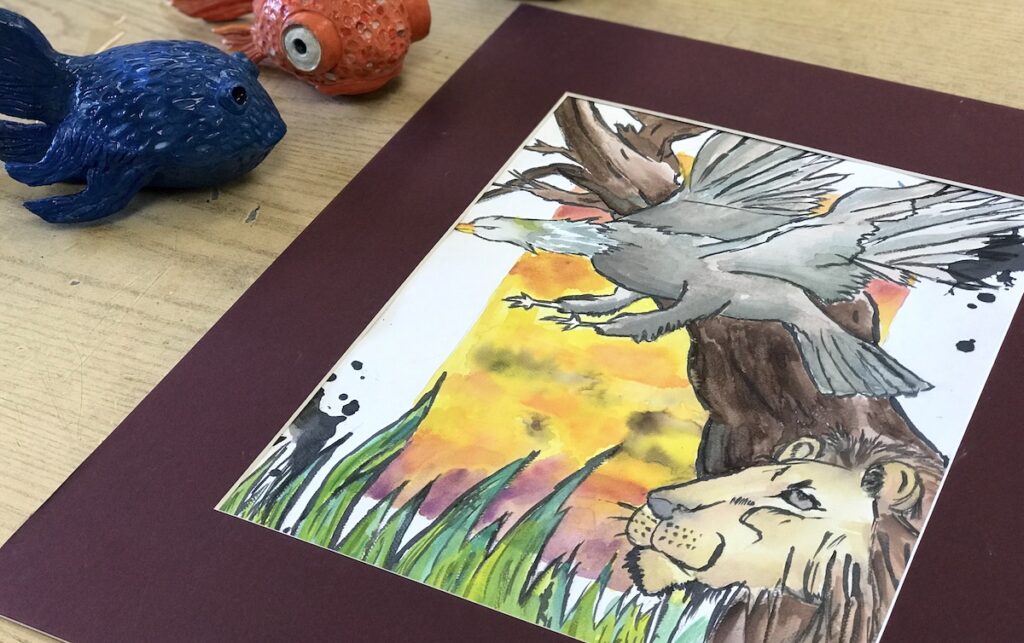
If you’re looking for a way to combine science, art, and research, try making animal habitats your theme. As students thoroughly dig into their chosen habitat, they will uncover so many interesting findings. This new knowledge will lead to a variety of new ideas in their artwork. The best thing about a project like this is it can be done using almost any medium while still covering many essential art concepts!
3. Paint Pouring
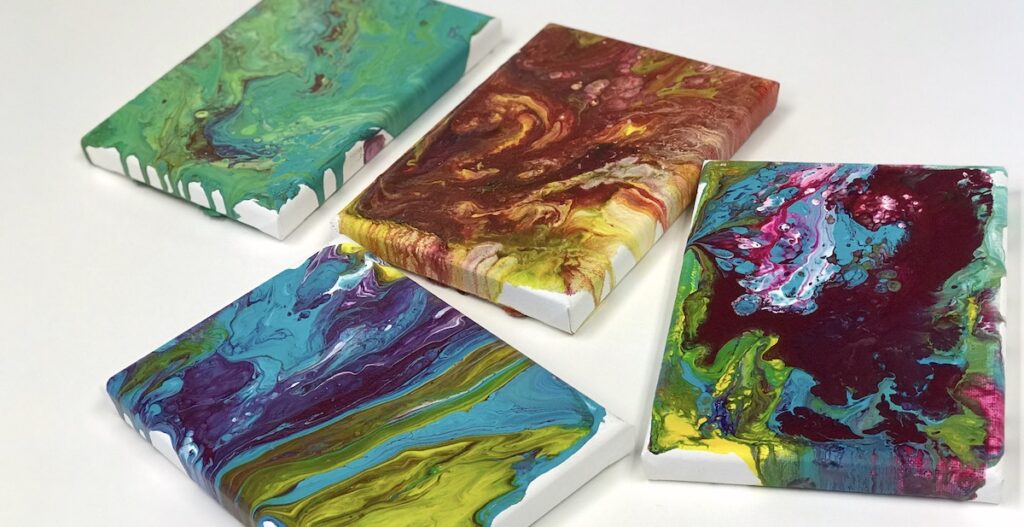
Acrylic paint pouring has taken over the Internet! It’s such a fun process to watch because you never know how the finished product will turn out. Even though this might just seem like a cool fad everyone is trying, there is a science to this process! Different colors of paint have different densities and viscosities depending on their chemical makeups. These variations allow the colors to flow and react in interesting ways.
4. Soundwave Portraits
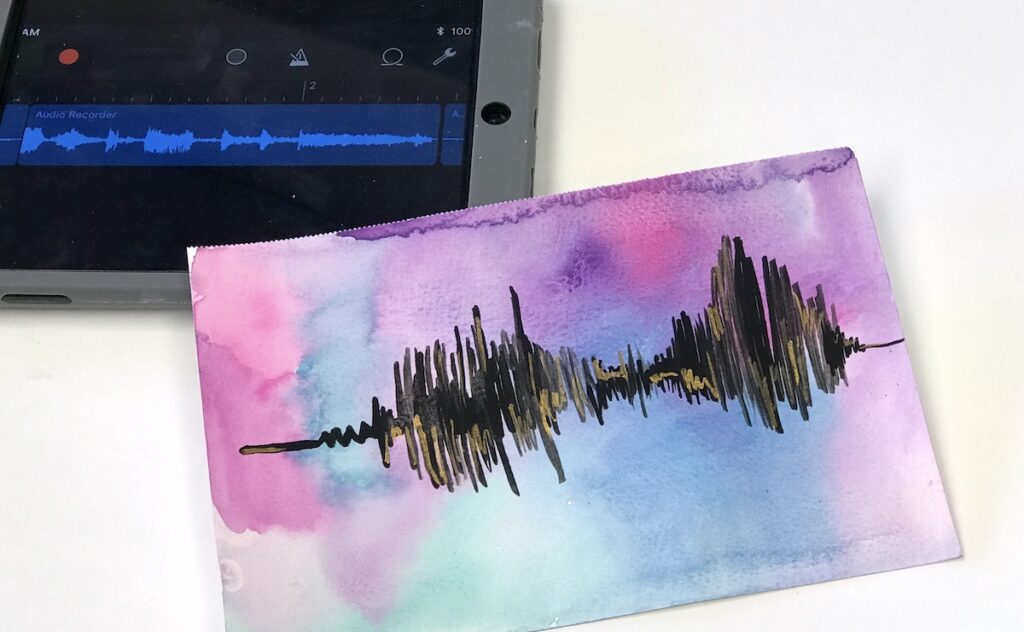
Students hear and create sound all the time, but do they realize sounds are caused by vibrations? Through art, students can explore things like amplitude, frequency, and wavelength. Simply have students record their voice using a program, like GarageBand, where the soundwaves are visible. This could be on a computer, smartphone, or tablet.
Then, students can use their recording to create an artwork. This activity is a fun way to explore the idea of portraiture through voice. To make it more interesting, have your students repeat the same word or sentence and compare them to their classmates. Students will be able to visually see that a voice is just like a fingerprint–one of a kind!
5. Plaster Frescoes
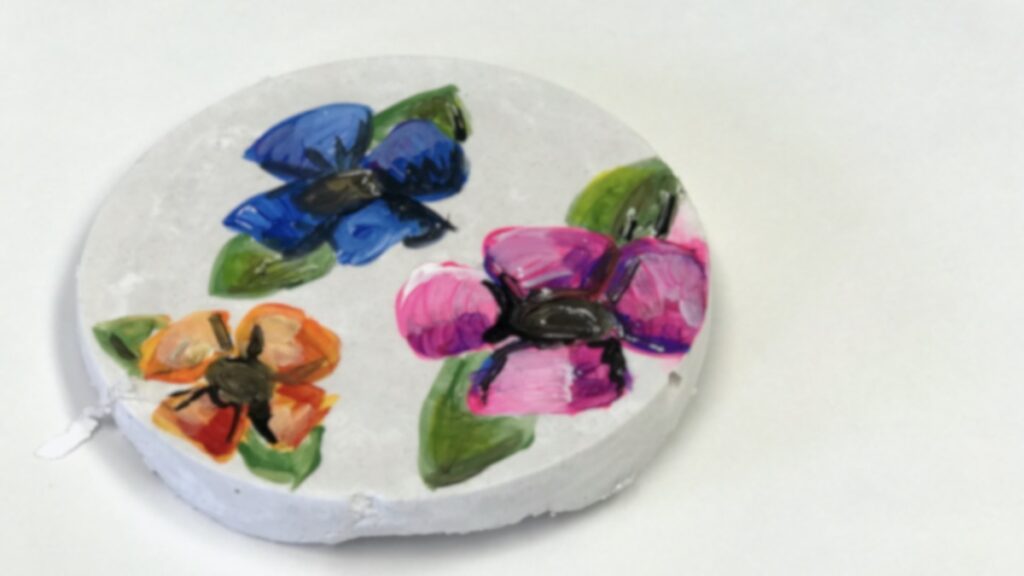
Have you ever wondered why sometimes paint chips easily off plaster and sometimes it doesn’t? It’s because of science! Frescoes were able to withstand time because of chemistry. Plaster contains calcium hydroxide. As carbon dioxide from the air reacts with the wet plaster and paint, it binds the two together, essentially creating a limestone surface. (If you want to dig into this idea, check out this great video!) After this, the plaster won’t peel, wash, or chip off. No wonder fresco paintings have such a significant place in art history!
6. Circuitry Art
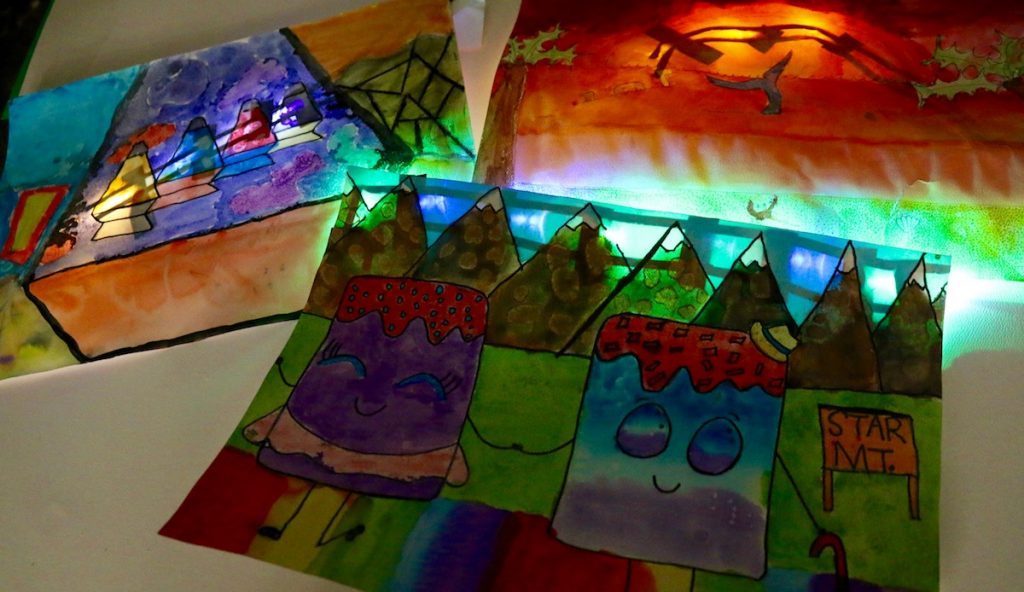
Did you know students can explore simple circuits through artmaking? Devices like the Makey Makey and Light Emitting Diodes (LEDs) provide a great way to blend the two! Your students can explore concepts like open and closed circuits and voltage all while adding a little light or some tech magic to their artwork!
7. The Clay Firing Process
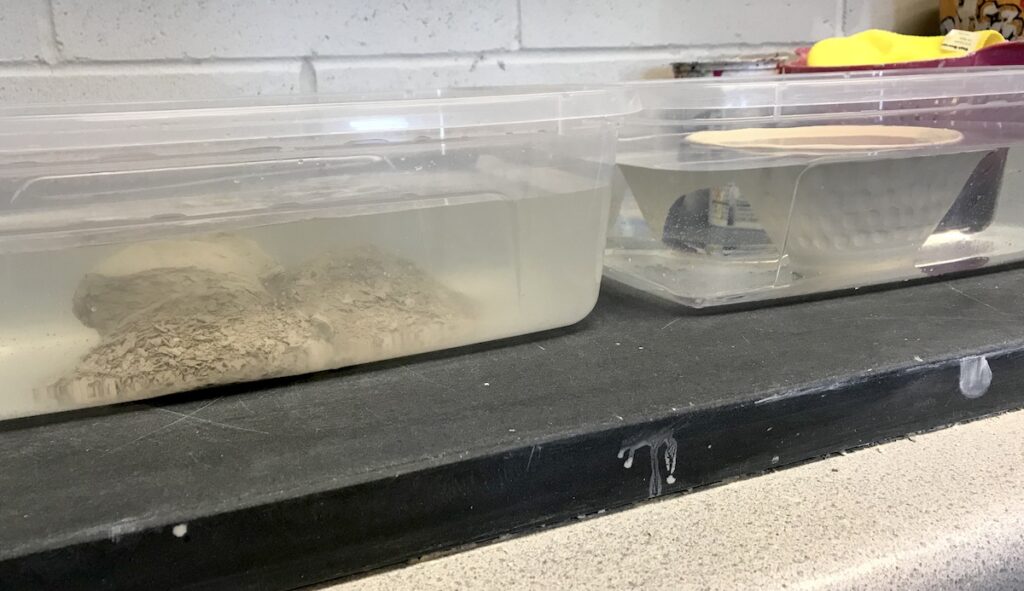
Chemistry is often present in the art room, even if students are unaware. One of the easiest places to point out chemistry is during the clay firing process.
One way to show how clay undergoes a chemical change is to fill two clear tubs with water, and place a bisque-fired piece in one tub and a greenware piece in the other. The greenware piece will start to dissolve, but the bisqureware piece will not. From here, you can explain to students that clay goes through a process called dehydration in the kiln. Dehydration is when the water that is part of the molecular structure of the clay goes away. At this point, you can no longer reconstitute the clay. Big Ceramic Store has a helpful description of the different reactions that happen in the kiln if you want to dig even deeper!
8. Scientific Method Color Theory

The presence of randomness in both art and science are rare. In fact, the art practices, concepts, and procedures we use and teach in our classrooms are often methodical–just like in science. Introducing The Color Experiment activity is a great way to show how the artistic method and the scientific method can overlap. You can find more details about this lesson here.
These are just eight ways you can start exploring art and science together in your classroom. If you’re looking for ways to incorporate more Arts Integration or STEAM learning, these lessons are a great place to start. You can teach your students to think like artists and scientists!
How do you incorporate science into the art room?
Do you have a favorite project that focuses on science?
Magazine articles and podcasts are opinions of professional education contributors and do not necessarily represent the position of the Art of Education University (AOEU) or its academic offerings. Contributors use terms in the way they are most often talked about in the scope of their educational experiences.