Are you looking for an exciting alternative three-dimensional material for your students to use without a kiln? Why not explore polymer clay?
So, What is Polymer Clay?
Polymer clay is an oven hardening plastic-based clay. It is highly workable and perfect for a variety of ages and skill levels, from younger students all the way up to professional artists.
The clay can be manipulated by hand or with inexpensive tools, it does not dry out in the air, and is baked to firmness at a low temperature of approximately 250 degrees.
Polymer is readily available in a variety of brands at most arts and crafts stores. As a result of its availability, a large contingency of “YouTubers” have created vast libraries of technique tutorials that will inspire your students and make excellent classroom resources.
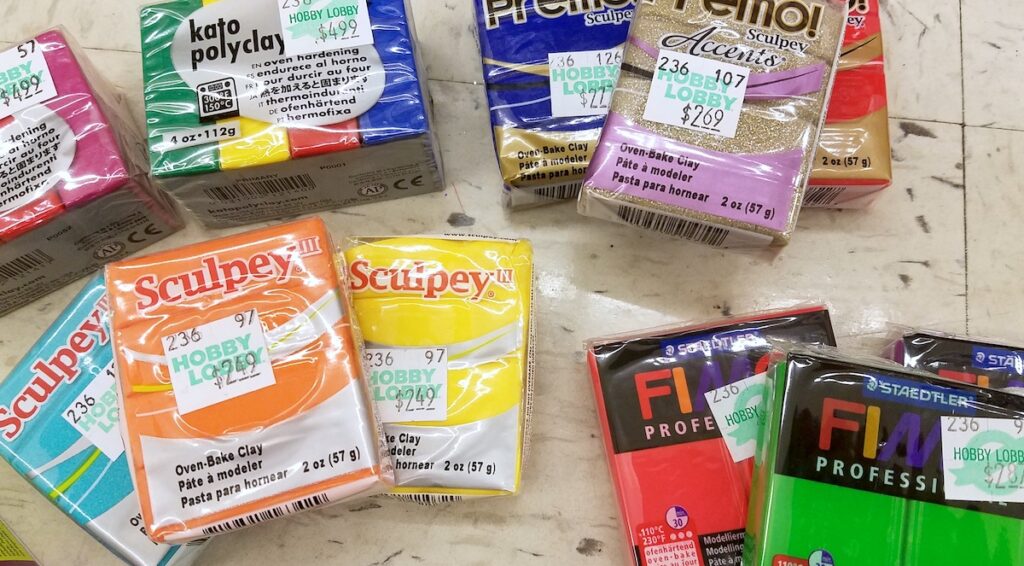
Isn’t that an Expensive Material?
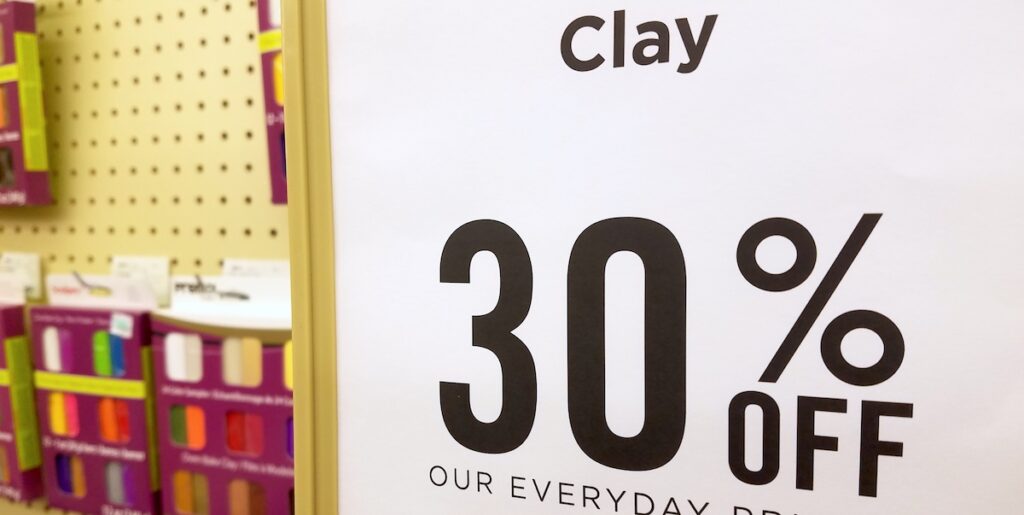
Polymer clay can initially seem too expensive for most art budgets. But, don’t automatically assume it will be cost-prohibitive for your students.
Here are 3 things to keep in mind, when trying to afford polymer as a supply.
1. Most polymer projects are smaller and, therefore, cheaper.
In many cases, we default to encouraging our students to make large-scale work. But, there is something precious and thrilling about tiny artworks, too. Polymer clay is the perfect material to work with on a small scale, and students sometimes find this change in size to be refreshing.
2. You can save your scraps to maximize your money.
When students work with polymer, create a scrap box in the same way you would for construction paper. Students can retain even the tiniest pieces of the clay. Other students can use these scraps to add details to their projects, and you will be able to stretch your budget!
3. If you are strapped for cash, run a fundraiser or apply for a grant.
Ask, and you shall receive! If you are hoping to try a new material, like polymer, in your classroom, spend a few minutes searching for local grant opportunities. Whether it is your district’s educational foundation, your school’s PTO, or a corporate sponsor like Walmart or Target, the money IS out there for people willing to do the paperwork.
How to Work with Polymer Clay
Polymer clay is an intuitive material, much like Play-Doh. Students can explore and experiment sculpturally with relatively few guidelines to get them started.
First, soften your polymer.
The more you knead the clay, the more pliable it will become, and the easier it will be to work with.
This can be achieved in a few ways. Here are 3 ideas.
- If your clay is relatively new, students can simply move the clay back and forth their your hands to soften it.
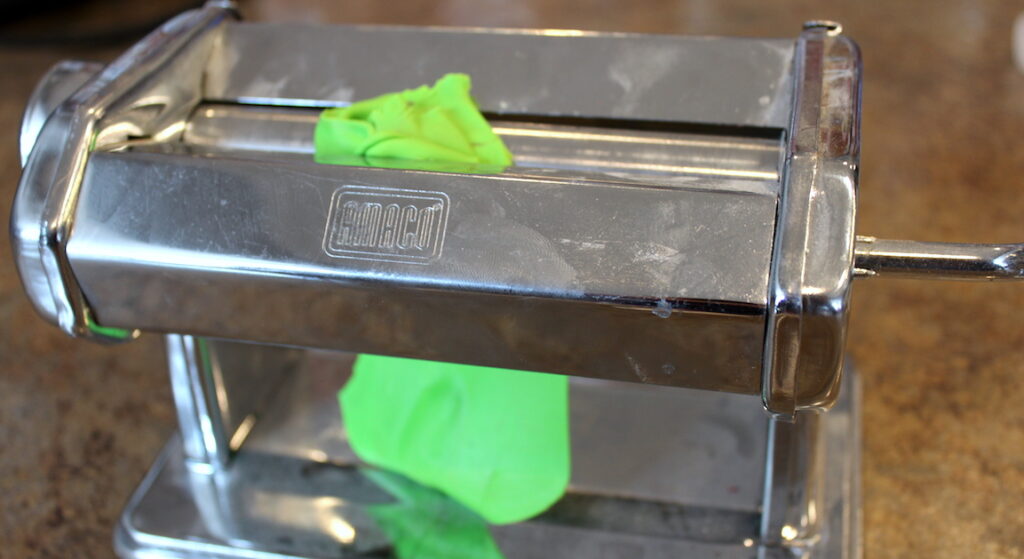
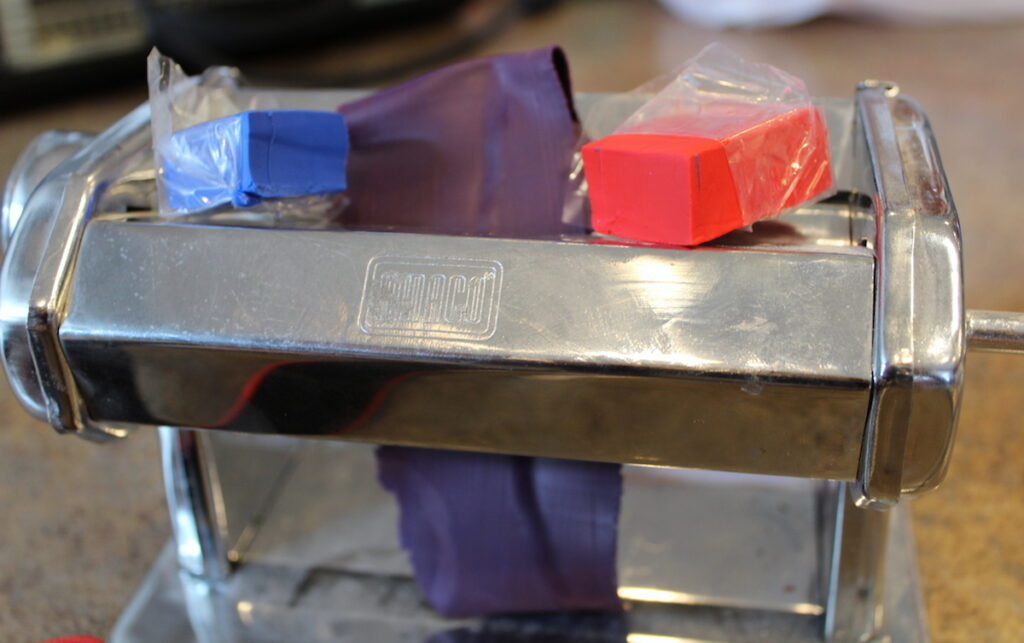
- If the clay is firmer, you can run it through a pasta machine several times to soften it. Students seem to love this option!

- If your clay is drastically dry due to age, you may need to use a few drops of oil to condition it.
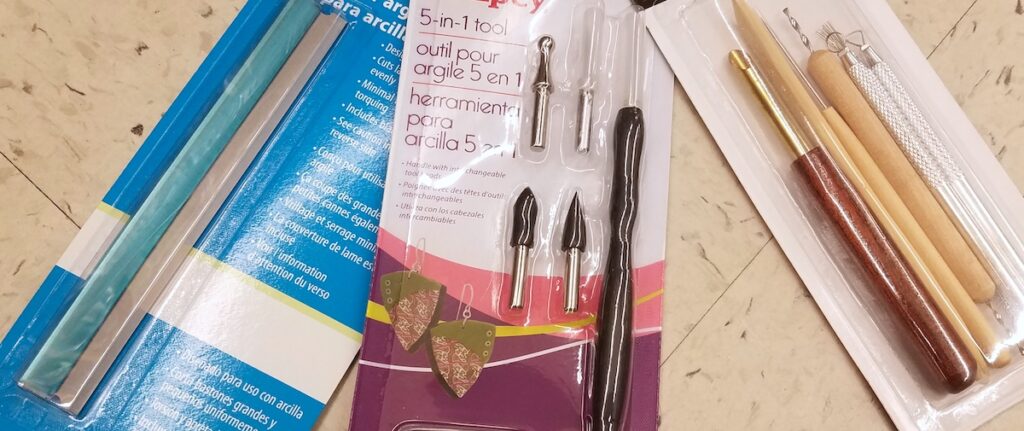
Next, use sculpting tools to manipulate your polymer.
Cutting the Clay
Initially, you will want a tool for dividing the polymer into smaller pieces to distribute to students. Some craft stores will sell a blade for this, but a square metal cookie cutter works, too!
Manipulating the Clay
Many of the smaller plastic or wood tools you already have for ceramics will work well with polymer. Other inexpensive tools like unfolded paper clips or toothpicks are ideal additions. Often, students will benefit from the use of rolling pins to flatten the clay as well.
Attaching the Clay
Most of the time, the polymer will stick to itself and stay adhered* during the baking process. It does seem to help if you have students score pieces lightly with a toothpick, before attaching them. As a bonus, this practice reinforces traditional hand-building skills!
*Occasionally, due to the design itself, things will break apart after baking. I have had success re-attaching baked items with a low-temp hot glue gun.
Finally, bake your polymer clay to harden it.
Polymer clay is typically baked at a low temperature, usually around 250 degrees. Be sure to read the directions on the package you’re using. While a standard kitchen oven will work, few art rooms have access to one. An ideal and inexpensive alternative is a toaster oven.
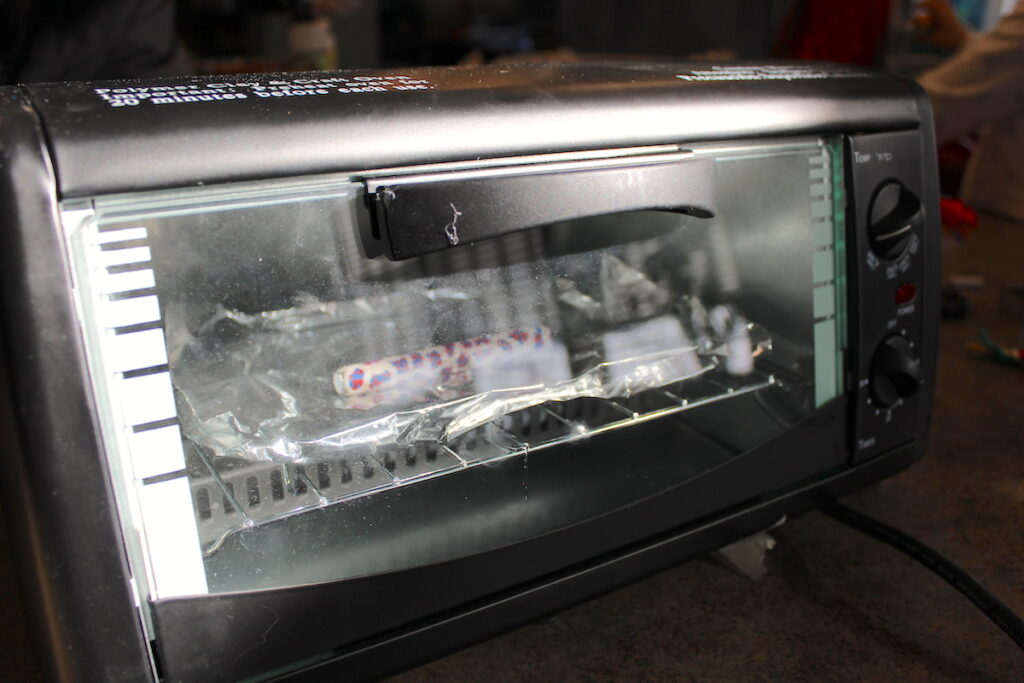
You can purchase a new toaster oven, or better yet, find one at your local thrift shop for a few dollars. Just place your clay creations on a piece of tinfoil, and put them into the oven for the desired amount of time.
4 Project Ideas for Polymer Clay
1. Use Polymer Clay to Reinforce Color Theory
Using a pasta machine to soften clay is an enjoyable hands-on experience for students. It requires your whole upper body to get that clay workable! But, the most fun part of this can be color mixing.
To introduce or reinforce color mixing, have students start with two small pieces of polymer clay in different colors. Then, have them squish the colors together and run them through the machine. Kids are wowed by the initial marbleized effect, but after running that same clay through multiple times, you get a color mix in a way that is similar to paint. Challenge your students to produce their own colors for the project, or think outside the box toward a three-dimensional mini-color wheel.
If you don’t have a pasta machine and your clay is soft, students can also squish the colors in their hands until they mix.
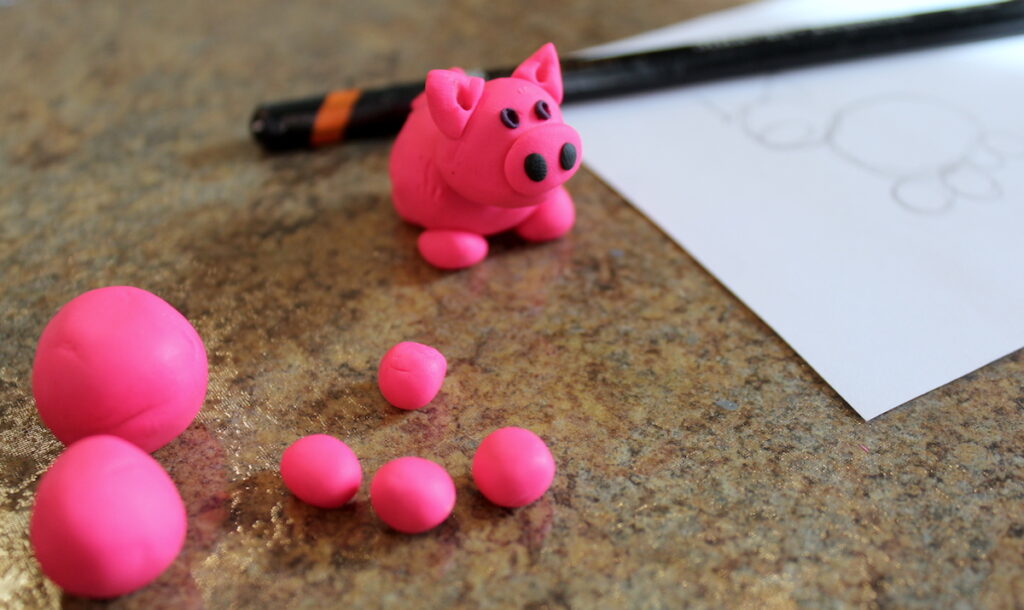
2. Use Polymer Clay to Reinforce Drawing with Simple Shapes
Young students often struggle to understand that intricate drawings can be built from simple shapes. Working with polymer is a very hands-on way of demonstrating this concept. If you ask your students to create a simple animal, they will have to use a variety of spheres, cylinders, and other basic shapes to do so. After creating the creature out of clay, have them draw it again with the shapes as a starting point.
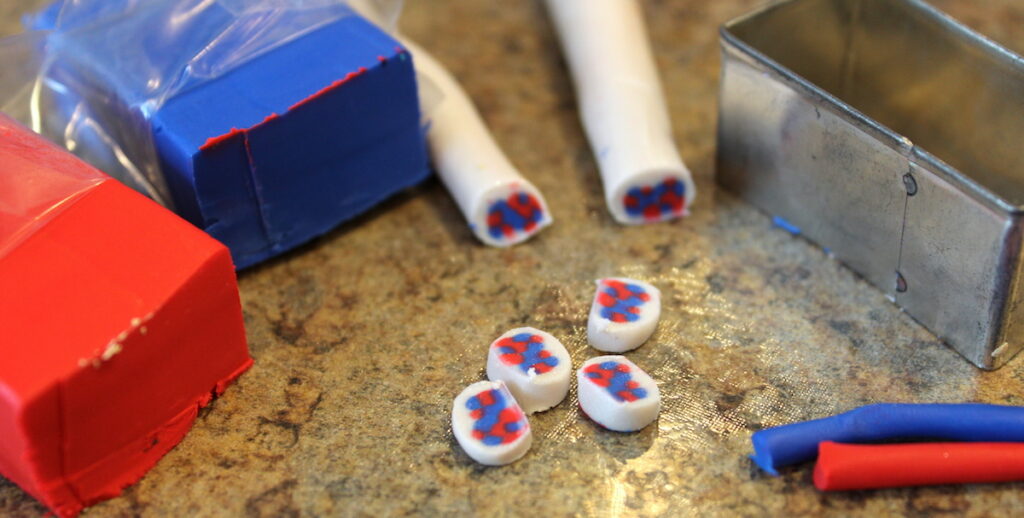
3. Use Polymer Clay for Caning and Millefiori
Caning is a trendy polymer technique on Pinterest, but it also has some interesting historical ties to the Venetian glass tradition of Italy. Millefiori (which is Italian for thousands of flowers) is a beautiful glass-making tradition using a similar process.
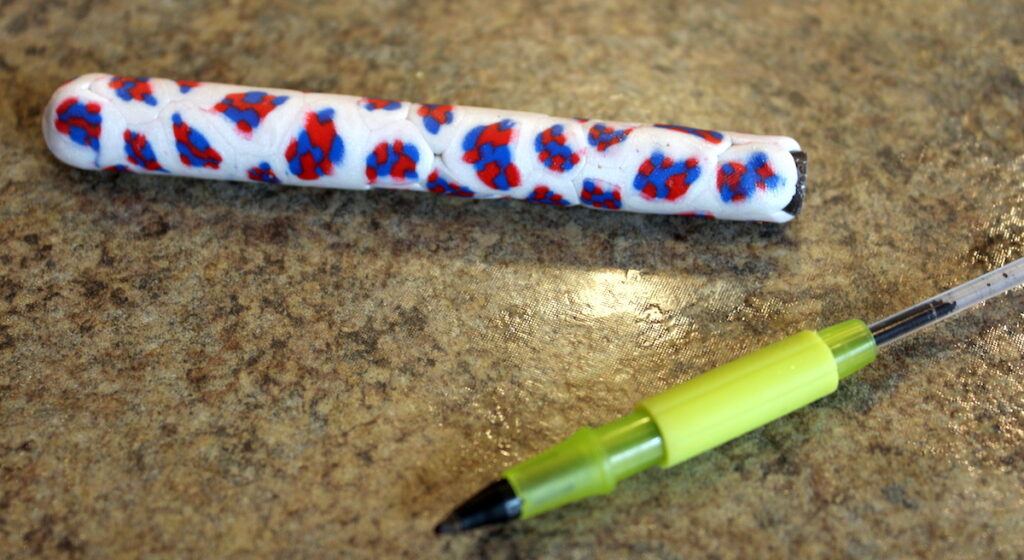
In the polymer version of Millefiori, canes of clay are produced when students roll long snakes of polymer and stack them to create an image or design. This larger, composite piece of clay is rolled and stretched to combine the clay. When it is the desired diameter, it is sliced into discs. Discs can be used to make jewelry, decorate pens, or even create a whole bowl. They can also be used with any mold that will withstand low-temperature baking in a toaster oven. (Think: pressing clay around glass bottles or bowls)
My students particularly love creating Millefiori pens. Simply remove the ink cartridge from inexpensive pens, press the Millefiori disks onto the plastic, bake, and then replace the cartridge.
Since caning produces multiples of the same image, it lends itself to collaborative work. If each student creates a cane, they can trade and share slices of their artwork with classmates to produce a larger whole.
4. Use Polymer Clay Action Figures for Stop Motion
Finally, many art teachers teach Claymation as a stop-motion animation lesson. It is easy to use modeling clay or Play-Doh for such a project because of the cost. BUT these units/lessons are typically pretty long, and result in just a digital file as the artifact for the students. One creative idea is to reduce the size of the figures and use polymer clay instead. When the movie filming process concludes, bake the characters to produce action figures for each student who participated in the project. You could even expand the lesson to include packaging design and have kids develop boxes for their new polymer toys.
The possibilities with polymer are almost endless. Since this material is so forgiving and requires tools and resources most kids have access to at home, you can expect more than a handful of your young artists to feel inspired to seek out the clay on their own and start producing polymer artworks at home. Any time the artmaking process naturally extends outside the school day, you know you have authentically inspired your young artists and discovered a winning lesson!
What project ideas do you have for using polymer clay?
What are your favorite YouTube tutorials for polymer clay?
Magazine articles and podcasts are opinions of professional education contributors and do not necessarily represent the position of the Art of Education University (AOEU) or its academic offerings. Contributors use terms in the way they are most often talked about in the scope of their educational experiences.