Doing 3D rendering with students can be intimidating. There are so many apps out there, but few are user-friendly for both teachers and students. While you may believe in challenging students to stretch their brains by designing in three dimensions, the reality is that there are a lot of cumbersome choices out there that don’t fit well in a school setting.
I recently learned about a 3D design program working to change all of that, and I’d love to tell you about it today.
Introducing Morphi
The motto at Morphi is “3-D Design for All,” and it’s evident they work hard to live up to that statement. I had the chance to speak with the app’s Chief Designer, Sophie Georgiou, who explained more.
“Morphi is very user-friendly but also has robust features and tools. It allows students to quickly go from 2D to 3D, and they find it fun and engaging to use. They can design inside and outside of the classroom and even outside of the iPad with Augmented Reality.”
Plus, she added, “Students as young as pre-kindergarten through 2nd are actively using the app as well as grades 3-5, middle school, high school, university level and professional designers.”
If you’ve been on the fence about trying 3D design with your students, I encourage you to give Morphi a shot!
3D Rendering in the Classroom
Before we dive into how Morphi works, let’s talk a little bit about why you might use this technology in the classroom in the first place.
3D rendering allows students to see the connections between two-dimensional and three-dimensional work. For example, students can take a two-dimensional sketch and, using a program like Morphi, learn how it might translate into a three-dimensional object on the screen.
Furthermore, using these types of programs, students can design objects that are three-dimensional and bring them to life using a 3D printer.
Here are 6 Ways To Use this App in Your Classroom
1. As an extension of any lesson you teach
You can use this type of software to encourage students to create 3D designs related to almost any lesson you teach. For example, maybe students are working on one-point perspective city drawings. Why not have them render one of their buildings in three dimensions? Or, perhaps you are working with a theme like “the future.” Why not ask your students to design a piece of furniture for 2075?
2. As a sketching or envisioning tool for sculpture projects
3D design programs are a great way for students to visualize what they might be able to create with actual three-dimensional objects. Instead of having them sketch on paper, you can have them use the software.
3. As a way to practice observational drawing
You can also have students do just the opposite. Have them design a 3D object on the screen and then sketch it on paper!
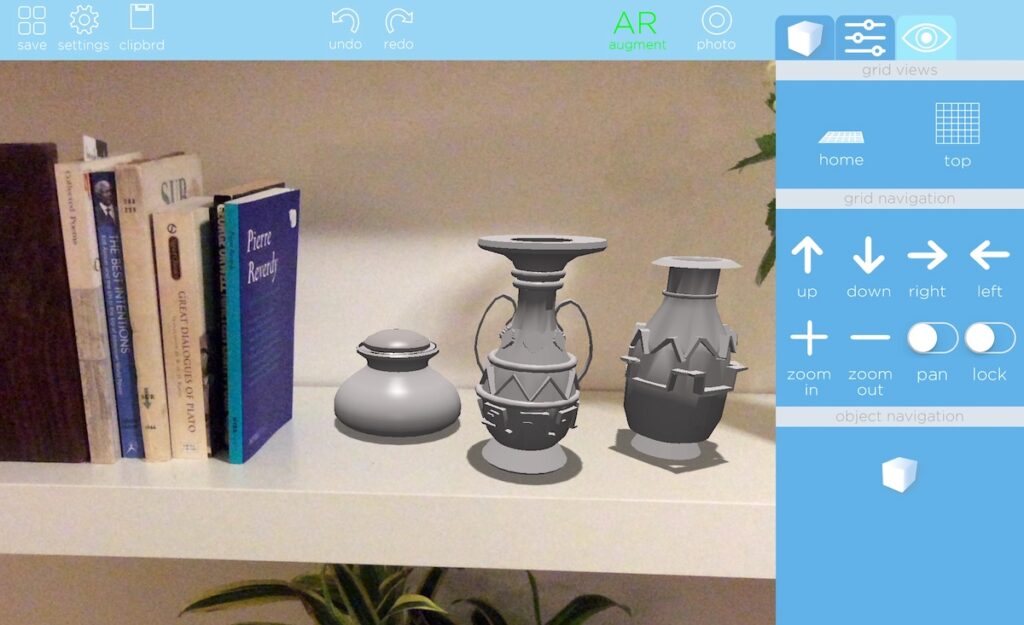
4. As an introduction to augmented reality
With Morphi, you can place your 3D designs into other spaces to see how they might actually look. Challenge your students to create their own sculpture for a specific area in your community! (To see more about Morphi and augmented reality check out this video.)
5. To create actual objects
As mentioned above, students can use 3D design in conjunction with a 3D printer to create their own objects. Check out these helpful articles from our archives to get started:
6. To explore symmetry
One cool thing about Morphi is that it has a feature that helps your students explore symmetry. Challenge your students to create a symmetrical 3D design and watch them become enthralled with the process!
Let’s Take a Closer Look at How it Works
There are a few different 3D design programs that are good for classroom use. Tinkercad and Google SketchUp are two amazing free options. However, I don’t mind paying for Morphi because it has some features I appreciate for classroom use.
Here are 4 things I like:
- It’s available on Windows and Mac (including on the iPad).
- You don’t need to be connected to Wi-Fi to use it.
- There is no login required, making it quick and easy for my young students to use it.
- Morphi offers a free, 15-minute Google Hangout with any school using the app and has a friendly and responsive support team.
In addition, Sophie told me they purposely created basic, intermediate, and advanced tools so people of all skill levels can be successful.
If you have limited funds, but still want to try Morphi, try buying it for just a few devices and have your students rotate through.
If you’re interested in diving into some of the nitty-gritty details, check out the 2 tutorials below.
If you decide to give Morphi a try, you can find a variety of helpful instructional videos on the Morphi website and in the Morphi app under “Tutorials.” If you’d like to get creating right away, you can follow the two simple tutorials below!
Tutorial 1: How to Create a 3D Design
- Once you are logged into the Morphi app, click the “+” sign to create a new grid.
- Once you enter the grid, you will notice panels on the top and along the righthand side that will allow you to begin creating.
- The panel on the right consists of a squiggle line, geometric cube, an M, and a color grid. The squiggle allows you to draw, the geometric cube allows you to add a geometric form, the M adds any letter from the alphabet, and the color grid lets you change the colors of 3D objects placed on the grid.
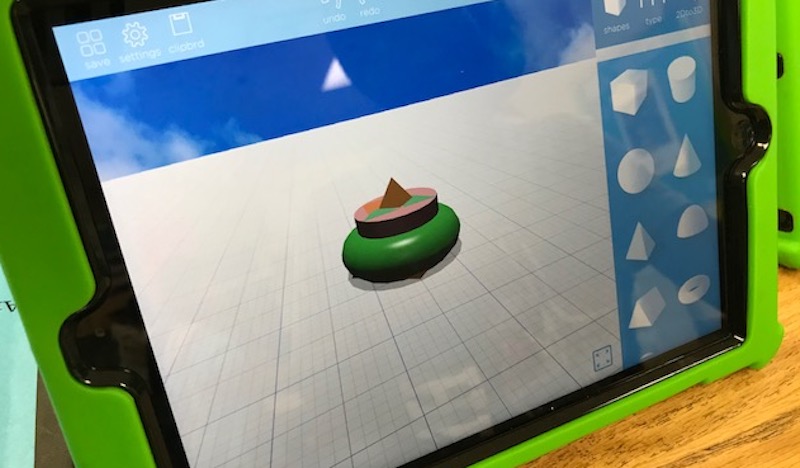
- To begin creating a 3D design, click any geometric form.
- Tap the geometric form on the grid.
- An arrow will appear. Depending on the form, you can change the size of the diameter or the x, y, z-axes. You can also make the form rise up or go back down on the grid by moving the arrow.
- When you tap your geometric form, a panel on the right will pop up on the screen to let you manipulate the design and forms. A few of the options include group, ungroup, delete, merge, and grid snap, which places any form in an upright position.
- The panel along the top allows you to save your work, undo and redo, select all when manipulating your design, and take a photo of your work. You can also place your 3D design in augmented reality which is a fun feature to explore.
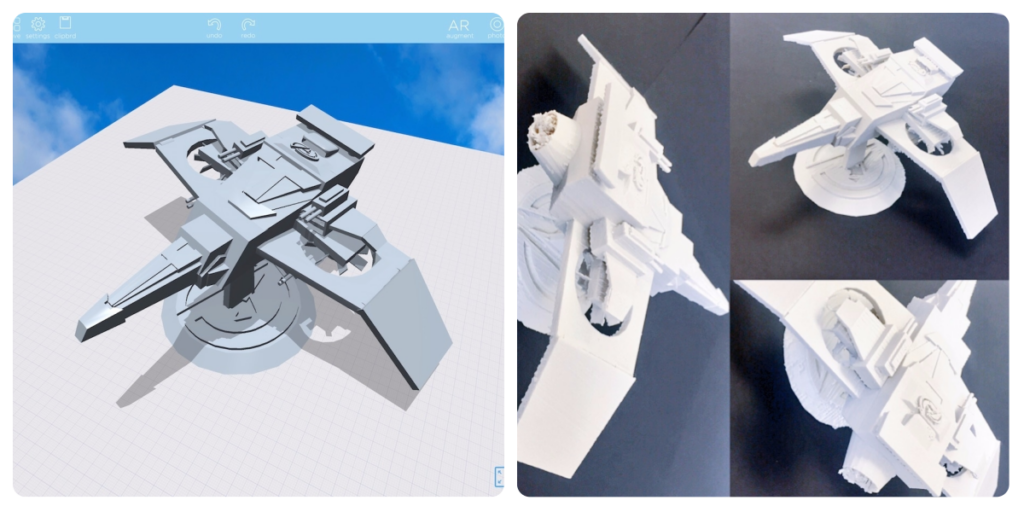
- You can continue to add geometric forms to create a 3D design.
- To change the color, tap the form and use the color options on the panel on the right.
- Save your design using the save button in the panel at the top.
Tutorial 2: How to Transform a 2D Design into a 3D Design
- On the panel on the righthand side, there is a squiggle line.
- Click the squiggle line and begin to draw in 2D.
- Draw normally or click “Mirror” to create symmetrical designs.
- The panel along the bottom allows users to make the line thin or thick with the stroke of a finger.
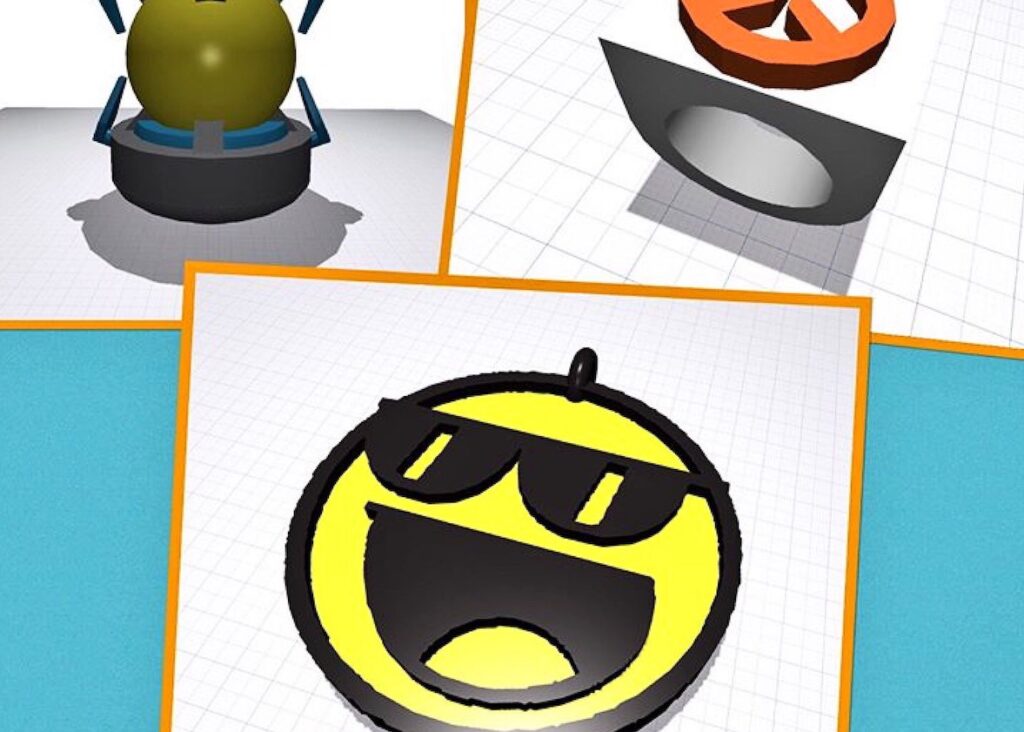
- Click “3-D, ” and the drawing will turn into a three-dimensional form.
- On the grid, you can view the drawing in 3D. Adding geometric forms to complete the design is a great option. Or, you can simply save the design as it is.
As you and your students explore the app, you will begin to become more comfortable and familiar with all of the design options. You can even upload a jpeg image and turn it into a 3D design! Through exploration, true learning occurs.
As technology becomes a natural part of classrooms everywhere, Morphi is a great addition to your art studio. Sophie told me, “We recognize and celebrate the power of art educators as leaders in the maker education and ed tech movements. We believe art educators are uniquely positioned in schools because they can often be more experimental and progressive in their approach to teaching – bridging the many academic disciplines including STEAM.” I couldn’t have said it better myself.
Thanks so much to Sophie for giving us insight into this cool app!
Do you use 3D design apps in the classroom?
How do you think you could use Morphi to expand your curriculum?
Magazine articles and podcasts are opinions of professional education contributors and do not necessarily represent the position of the Art of Education University (AOEU) or its academic offerings. Contributors use terms in the way they are most often talked about in the scope of their educational experiences.