Screen-printing is a unique and magical way to create and can lead to amazing discoveries. Unfortunately, it can seem impossible for elementary art teachers. With smaller budgets and shorter classes, teachers often opt for easier, less expensive printing styles.
However, in a choice-based model, working with small groups to explore more in-depth processes is possible. With a focus on play and exploration, there is less need for expensive inks, stencils, and paper. At the same time, working with small groups means teachers spend less on big budget items like squeegees and screens. This idea holds true for a variety of expensive, in-depth art processes.
Although it’s focused on screen printing, the method below will show you how to build a small group, choice-based lesson in any media.

1. Set Up Your Center
Setting up a center for good flow can take a few attempts. Screen printing requires easy access to smocks, a drying rack, and a sink or bucket. If your first setup doesn’t work, take notes and make changes for the future.
Don’t be afraid of having your first try go less than smoothly. It’s the only way to know what works for your students and your space!
2. Teach a 5-7 Minute Whole-Class Demo
When you’ve gathered all your students, go over how the silk-screening center works in your classroom. You may also want to include past student examples and famous artwork. It’s fun to share facts about silk-screening, such as being able to print the same image multiple times. Five to seven minutes isn’t much time, but it allows for lots of studio time. Set a timer and stick to it!
3. Dismiss Students to Centers
In most choice-based classrooms, studios open gradually throughout the year. Students who are involved in other work or have other ideas are free to go to the centers they need. Students interested in exploring screen printing can stay with you for more instruction.
If you have more students than spaces at your screen printing center, don’t worry! This often happens when a new center is introduced. Make sure you have some rules and expectations in place for this situation. In many choice-based classrooms, students know if they don’t get to create at a certain center one class period, they will get first choice the next.
4. Provide Extra Instruction at the New Station
After the rest of the students are dismissed, give your remaining printmaking students any additional instruction they need to get started. Pairing your students allows them to have a partner to take prints to the drying rack. It also allows them to peer coach the process and discuss ideas.
How to Set Up a TAB Screen Printing Lesson
The following lesson is adapted from the book Engaging Learners Through Artmaking by Kathy Douglas and Diane Jaquith and from the amazing TAB classroom of Bonnie Gaus at Elmwood Art Studio!
Class Period 1
On the first day of printing, students will get a feel for how the screen, ink, and stencils work together.
You will need:
- Newspapers
- Silk screens
- Squeegees
- Printing ink or acrylic paint (for older students)
OR - Finger paint or washable tempera (for younger students)
- Construction paper or other paper on which to print
- Scrap paper
Then, follow the steps below.
1. Set Up
Cover your tables with newspaper and set out silk screens and squeegees for your students. For older students provide printing ink or acrylic paint. Finger paint or washable tempera works well for younger kids. Make sure you choose analogous colors, so the paint stays vibrant.
2: Group Students
Make sure students are working in partners. One student will pull prints while the other assists. Then, students will switch roles.
3. Label Papers
Before any printmaking begins, have students label the bottom corner of two to four pieces of printing paper with their name and class code. This ensures you will know exactly which prints belong to which students as you empty the drying rack later.
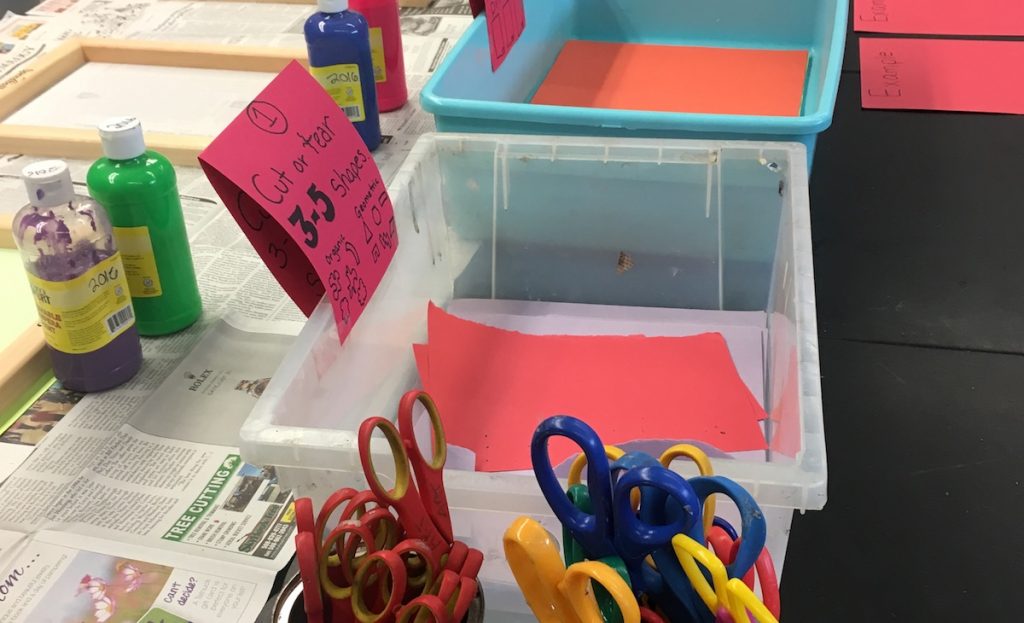
4. Create Stencils
Next, it is time for students to create stencils. They can easily accomplish this task by cutting or ripping scrap paper. Be sure to emphasize abstraction!
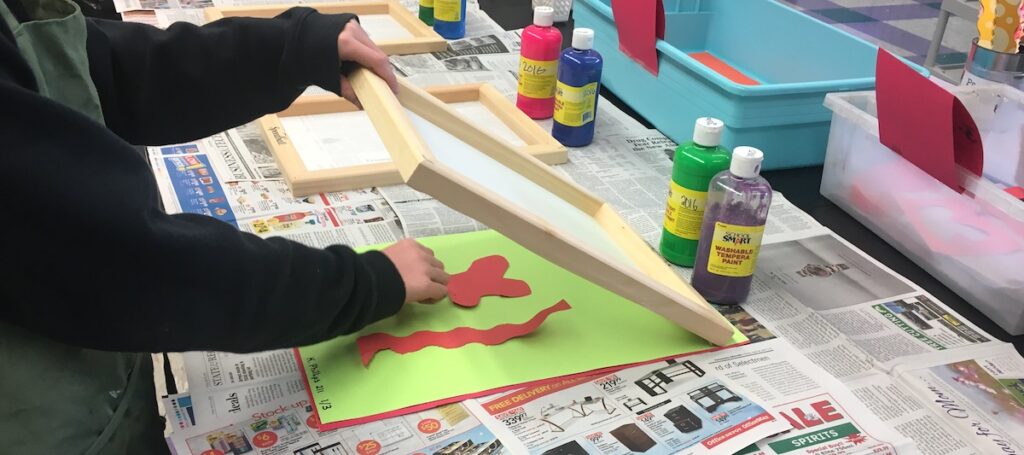
5. Set Up the Screen
Now comes the exciting part. Have the student working as “the artist” choose a screen and lay their printing papers in a stack underneath it. Then, have the artist arrange their abstract paper stencils on top of their stack of paper. Finally, have the artist lay the screen on top.
6. Create Prints!
Have the artist squirt a small amount of ink or paint onto the top of the screen. Then, have them squeegee the ink from the top to the bottom twice, making sure to drag the ink on both sides, lifting the excess ink with their squeegee and bringing it back to the top. Have them work from right to left, filling the whole screen.
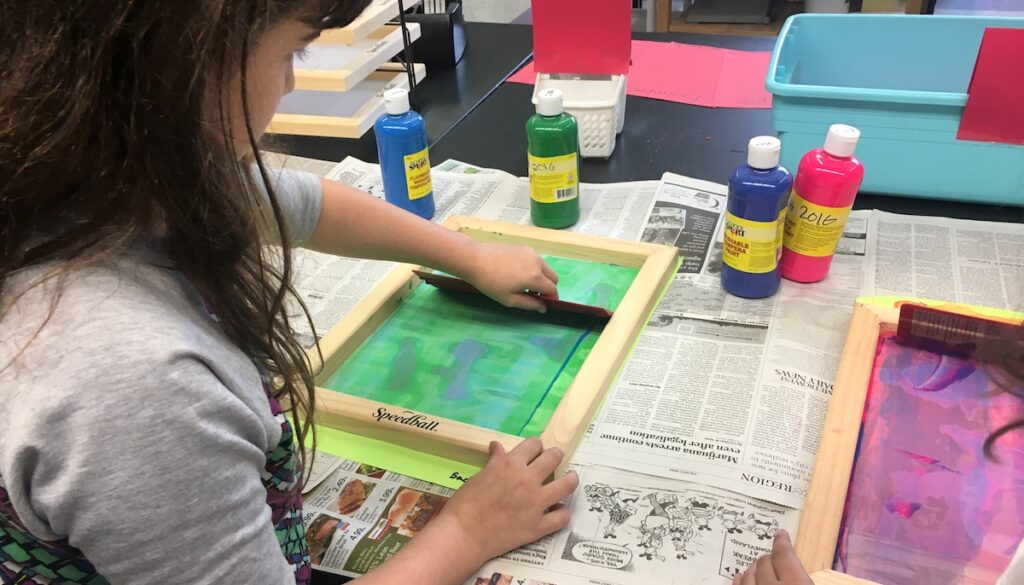
Finally, have them take the extra ink and tap it back on the top of the screen. When the artist lifts the screen, the paper stencils will stick to it, ready for the next print (like magic!).
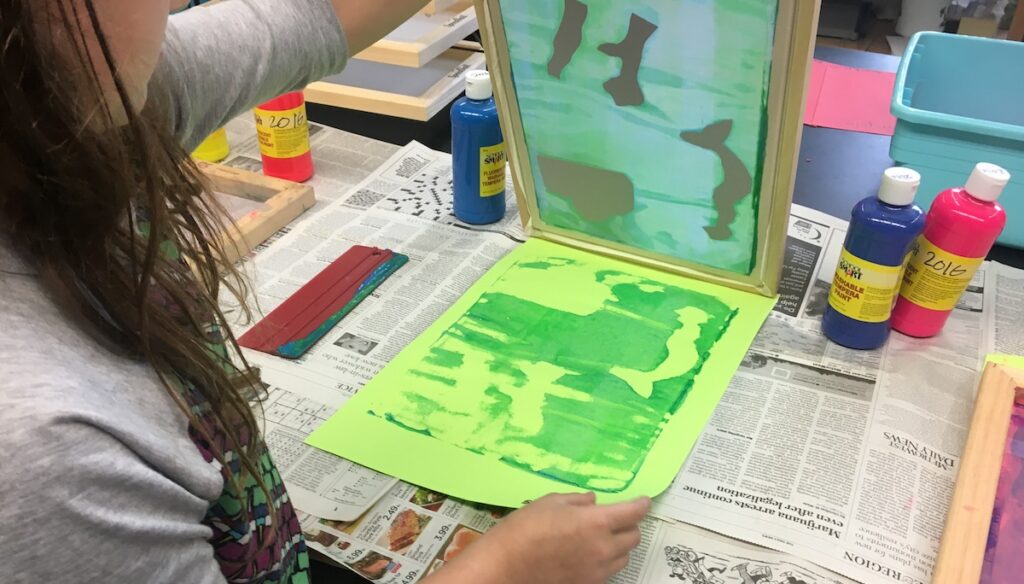
Here is where the assistant comes in as they remove the first print and bring it to the drying rack. The artist repeats the printing process on the remaining papers. Finally, they peel off and throw away their construction paper shapes.
7. Switch Roles
After the first student prints, the next student switches with them and follows the same steps. In this way, both students get to experience being the artist and the assistant.
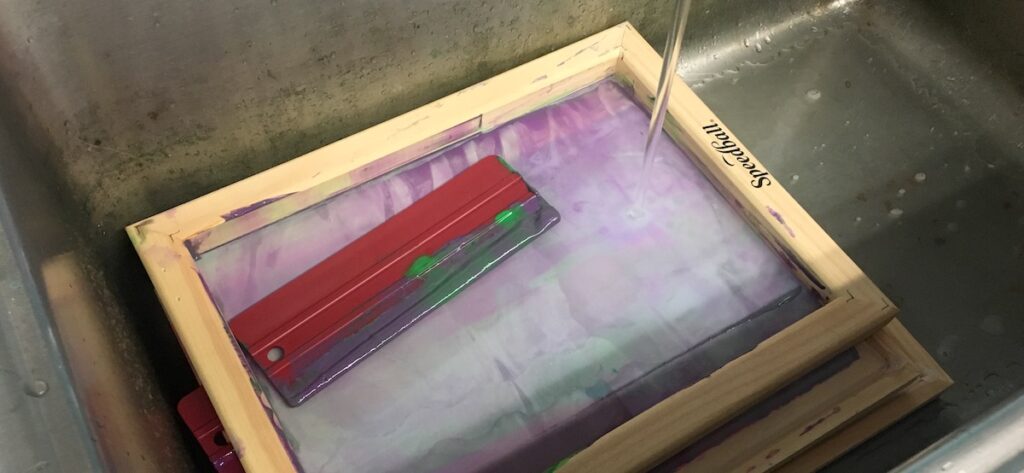
8. Follow Proper Cleanup Techniques
Screens can be used for multiple class periods if you’re using washable inks. Rinse screens in the sink and allow them to dry before reusing them. Don’t let acrylic paint dry in your screens!
9. Share with Peers
At the end of class on Day 1, have your silk screening artists share their experience with the rest of the class. This way, all students can learn about the process of new centers even if they don’t experience them directly.
Class Period 2
Students who choose to screen print during one class period must return to their prints for a second and third class period. Be sure to communicate this requirement with your students from the start. However, the classes do not need to be consecutive. A new set of artists may print the following week, and students may stagger themselves at the station until all artists have gotten to print at least twice.
During the second class period, follow the steps below.
1. Review
To start, make sure you review the printing process with your students. Emphasize how students should add a new color and create new stencils to experiment with overlapping. Ask students to notice what the second session of printing does to their initial prints.
2. Repeat the Printing Process from Class Period 1
After reviewing, have students repeat the printing process they learned in the first class. They should be printing directly on top of the prints they created previously to create a layered effect.
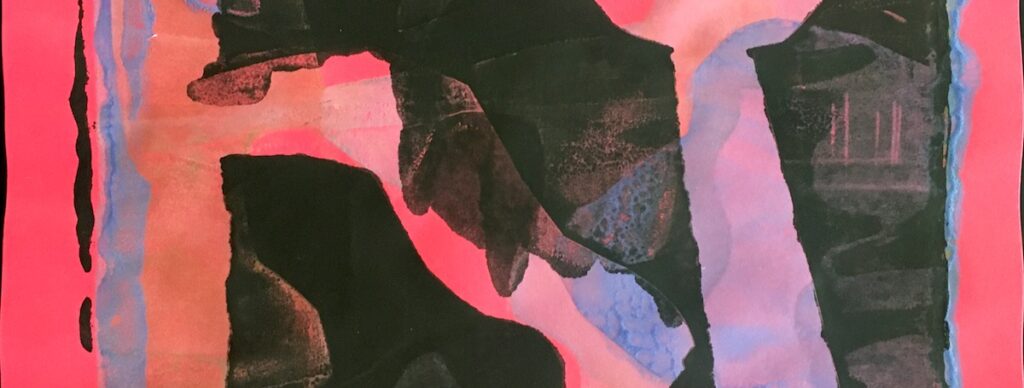
Day 3
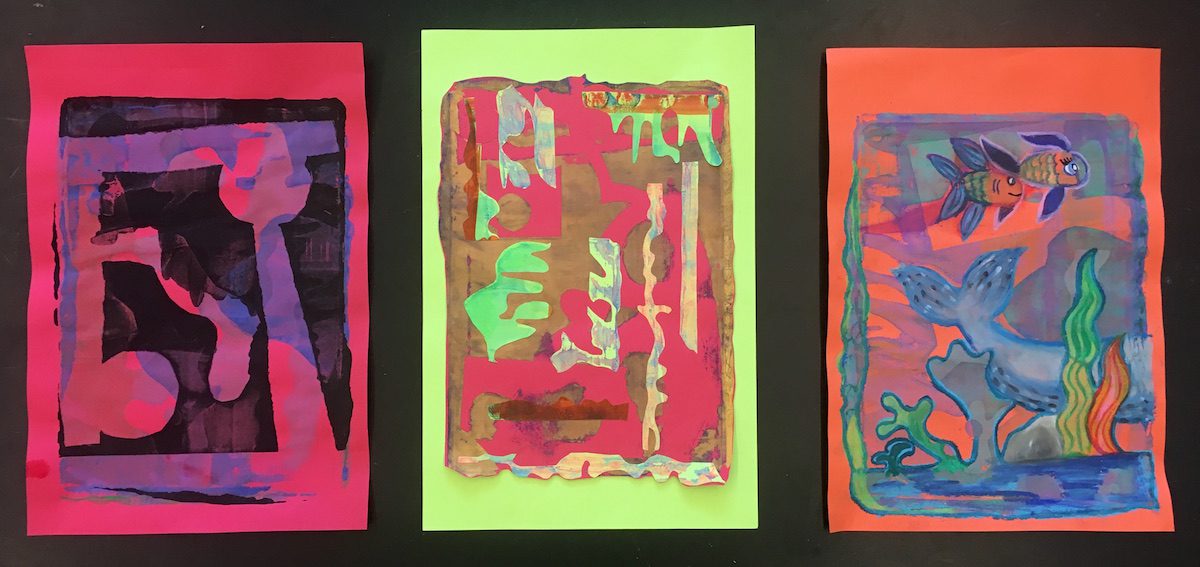
On the final day of the project, students will choose other media to add to their prints. Demonstrate different techniques with oil pastels, tempera paints, collage materials, and more. Explain and discuss how adding other media can change and enhance their screen prints.
Ask students to explore the textures and shapes of their print. Encourage them to look for surprising moments that, like clouds, look like something else.

After your students are finished, ask them to choose a “show worthy” piece to share with their class or consider displaying the work as a series. While simple, this method will get your students to understand the basics of screen printing with ease!
What kinds of printmaking do you do in your classroom?
Would you try printmaking as a choice center? Why or why not?
Magazine articles and podcasts are opinions of professional education contributors and do not necessarily represent the position of the Art of Education University (AOEU) or its academic offerings. Contributors use terms in the way they are most often talked about in the scope of their educational experiences.