Are you looking for powerful feedback to make your art class better? One simple strategy is to film your class in action. Although it sounds intimidating, filming yourself allows you to get feedback from people who can give excellent advice– other art teachers. We can develop as professionals when we are open to having authentic discussions about what happens in our art rooms.
Here are some strategies for using film to help advance the work you do with students.
Get comfortable with filming.
Filming your class can cause some anxiety. It is not always a comfortable, natural feeling to be in front of a camera. But just think, certain credentials require acquiring and analyzing your classroom footage. Have you ever considered going for National Board Certification? If so, filming your teaching is a required component in order to achieve that credential. Filming our classes can provide some profound insight we would not see in any other way.

Choose the right tech.
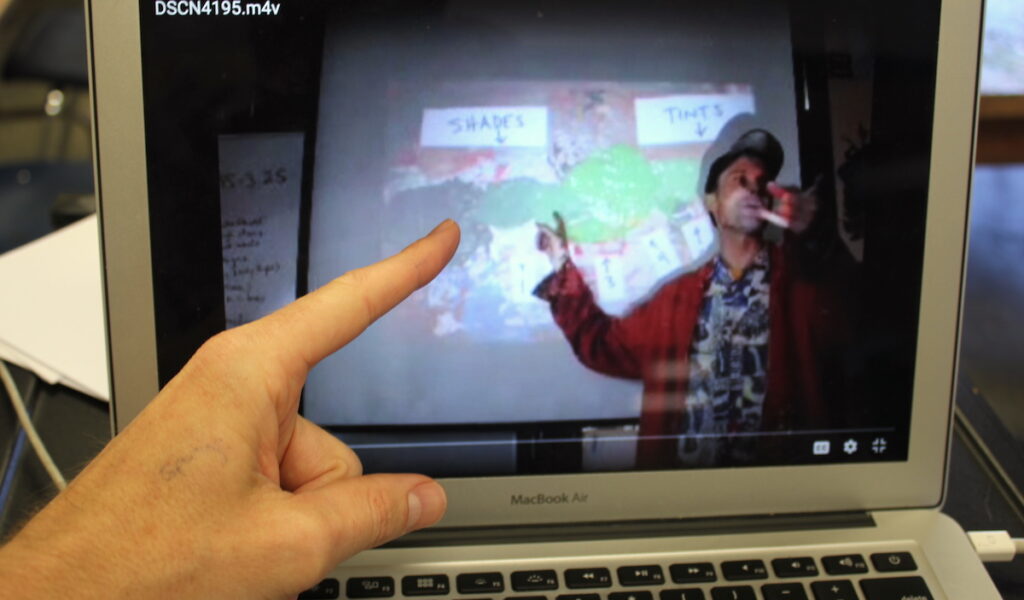
There are numerous ways to obtain footage. Many people have a teaching aide or an administrator come in to operate the camera. Others prefer the tripod approach and anchor the camera in the back of the room. My preference is to combine both of these methods. While giving instruction, I keep the camera on a flat, secure surface and when I circulate the room, I take the camera with me to document student activity. You can film with a nice digital camera or the phone in your pocket can work, too.
Decide which part(s) of class you want to film.
Before filming, it is helpful to have a focal point. What exactly are you looking for? If you film an entire hour, you also have to watch that entire hour and generate a protocol for discussion. Realistically, once you go beyond a ten-minute session of filming, our audience can become disengaged. But even ten minutes of film can provide a wealth of information.
Be intentional around what you want others to critique. Are you interested in gaining insight into the first five minutes of instruction? Are you trying gauge the engagement level of your students? Are you looking for feedback around your instructional strategies? Would you like some criticism about cleanup methods? Once you choose an area of focus, you can film only the pertinent parts of your class period.
Develop a protocol for sharing and obtaining feedback from colleagues.
After you generate the footage, it is essential to have a plan for analysis and discussion with colleagues. There are numerous ways to go about this. Creating a protocol to follow keeps everyone on point. Before viewing and discussing footage with your peers, make sure to plan out how much time needs to be spent on each part of the protocol.
The following discussion protocol format is inspired from a PDSA (Plan Do Study Act) template:
1. The presenter provides context.
As the person who is having their class filmed, you are the presenter of your work when reviewing it with colleagues. Important context to provide would include: the focus of the film, what you are struggling with or trying to get feedback about, any framing question that could guide the analysis, and a bit about what students are working on in class.
2. The reviewers ask clarifying questions.
Before watching the video, make sure your colleagues have a chance to ask questions. The presenter would then answer any questions that come up so the group is clear about what they are looking for.
3. The group watches the film.
While the group is viewing the film, make sure they have a way to write down notes or observations. The film can be projected on one screen to watch or can be shared and viewed on individual electronic devices.
4. The reviewers give the presenter some positive feedback.
Before getting into a critical debrief session, it can help to begin with some “props” or positive feedback for the presenter. Usually, one minute for this or one “prop” from each participant is enough.
5. The reviewers ask probing questions and the presenter writes them down.
Probing questions are designed to push the thinking of the presenter. These questions should not imply a suggestion, such as asking if the presenter has ever tried a particular strategy. Good probing questions make the presenter provide an answer beyond, “yes,” or, “no”. “How would you know?” or, “What problem were you trying to solve?” are two good examples. During this time, the presenter is taking notes and not responding at all to the questions.
6. The presenter responds to the questions.
After the probing questions, the presenter can choose a few of the questions and respond to them directly.
7. The reviewers hold a discussion while the presenter takes notes.
After the probing questions have been answered, it is a good time to open up a dialogue about what has been discussed. The flow of this conversation can be rich and productive, and it can continue on for ten minutes or more. During this time, the presenter is once again just listening to what is being discussed and taking notes.
8. The presenter reflects on the discussion.
The final phase of the protocol is to have the presenter reflect on what was discussed in the conversation. Usually, the presenter chooses one or two suggestions or ideas they find useful and are interested in implementing. Once the presenter has shared the final thoughts, the protocol is complete and the cycle has ended.
While intimidating to think about at first, this type of specific, analytic feedback can go a long way toward improving the work you do with students. The insight that comes from a like-minded group of educators is always dynamic and nuanced. Whether you’re a new teacher or a veteran with 20 years of experience, filming your class can provide useful, relevant suggestions to help with specific areas of growth.
If your administrators aren’t interested in helping you do something like this on-site, don’t be afraid to buddy up with others on social media. There’s a world of art teachers waiting to collaborate. Let us learn from and teach each other in order to better serve our students.
If you’re looking for even more ways to improve your teaching, check out Art Ed PRO. It’s an on-demand library of amazing video tutorials and hundreds of useful resources. New content is added every month!
Have you ever participated in a protocol around a filmed classroom? How did it go?
What questions or concerns come up as you ponder the filming protocol?
Magazine articles and podcasts are opinions of professional education contributors and do not necessarily represent the position of the Art of Education University (AOEU) or its academic offerings. Contributors use terms in the way they are most often talked about in the scope of their educational experiences.