Opening a painting center in the art room sounds like an overwhelming challenge. With many art teachers switching to a more choice-based approach, people are looking for answers. Whether you’re looking to fully jump into Teaching for Artistic Behavior or just want to explore using a temporary painting station with your students, there are a few key things to keep in mind.
In order for students to maintain freedom of media, pace, and subject, the centers and routines must be extremely structured.
5 Steps to Opening a Successful Painting Center
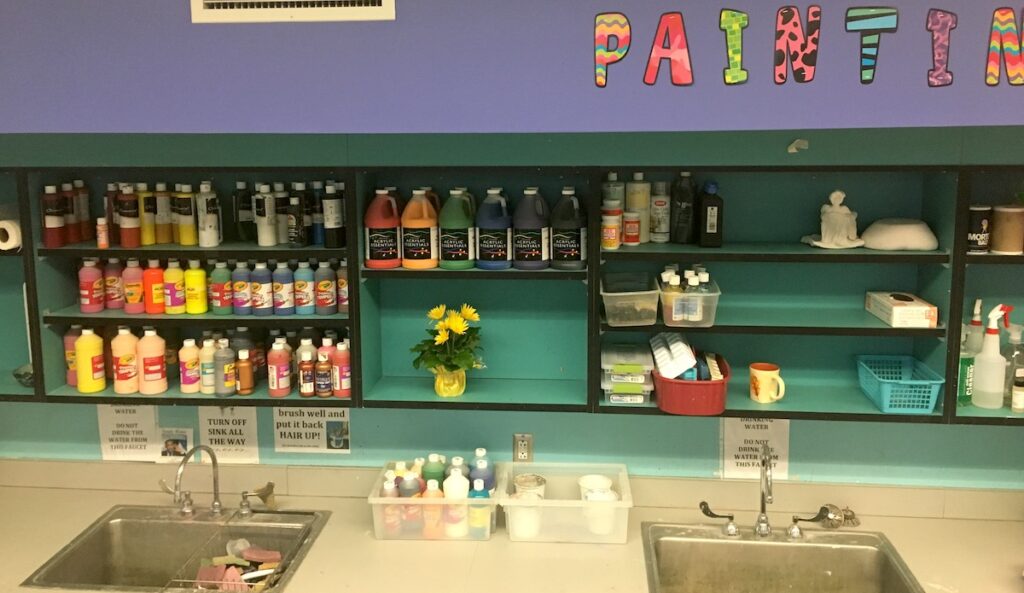
1. Design the Work Space
First, ask yourself a few questions about what your Painting Center will look like:
- Will you have tables, easels, tabletop easels or something else?
- Will you cover your tables with newspaper or placemats or have students wash them after each use?
- Will students stand or sit?
- How many students will work in this area at a time?
- What’s the best location in your room for the painting center’s traffic flow and cleanup? (Think sink proximity.)
- Will your students clean and return their own supplies? Or, will there be an area for them to place dirty brushes, palettes, etc.?
- How will you set up and distribute supplies?
Depending on your classroom (or cart), the age of your students, and your particular sink situation, your answers to these questions may vary. Once you’ve decided what the best setup will be, give it test a run with a few classes. Take notes and ask your kids what they think. Keep what works and change what doesn’t! Choice centers should evolve until they work for what you and your students’ need.
2. Provide Limited Tools and Materials
There are so many different painting materials you could put out. However, it’s best to start slowly and add as you and your students get comfortable.
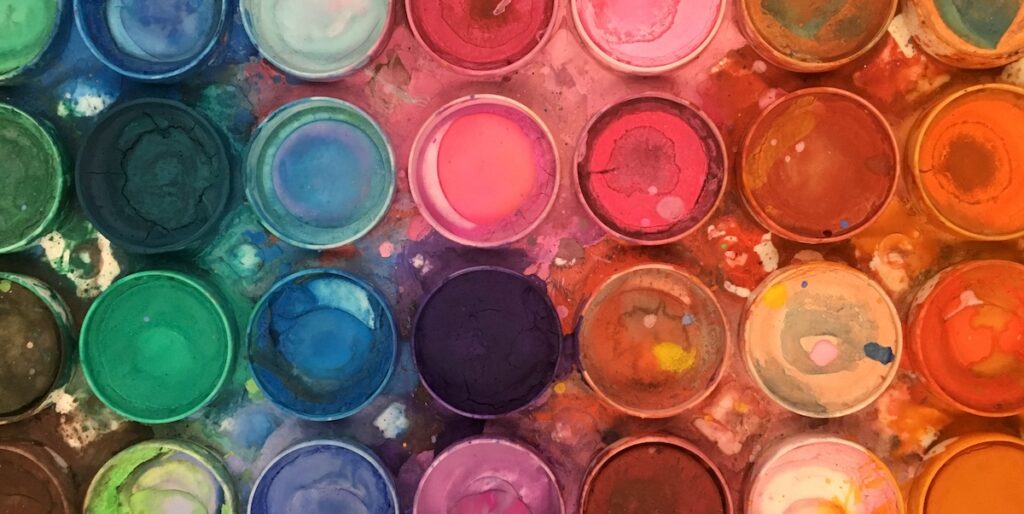
Paint
Decide what types of paint you’d like to offer. In my experience, it’s better to start simple. Teach your kids how to set up and clean up the painting center with pan watercolors or tempera cakes first. Once they’ve mastered these easy-to-care-for materials, dive into liquid tempera, liquid watercolors, or acrylics.
Brushes
Not all of your students will be using the centers at the same time, so you can buy higher-quality tools in smaller amounts. I choose to buy very high-quality brushes in a variety of sizes and shapes and only keep 10 to 20 out at a time. Students can easily access the best brushes for their needs without having to dig through a million low-quality options. This also means there are not 400 brushes in the sink at the end of the day.
Palettes
Palettes are tricky to clean, so it’s easiest to provide cardboard pieces for kids to mix on. They’re reusable, don’t need to be washed, and cost nothing. Plus, when they’ve outlived their usefulness you can toss them into the sculpture center for a beautiful building material.
3. Teach and Practice Routines
When implementing any center, it’s important to provide students with the steps they need to work in the center completely independently. Begin by creating routines students can easily maintain and supporting those routines with menus and visual aides.
Here one example of a painting set up anchor chart you could use in your room!
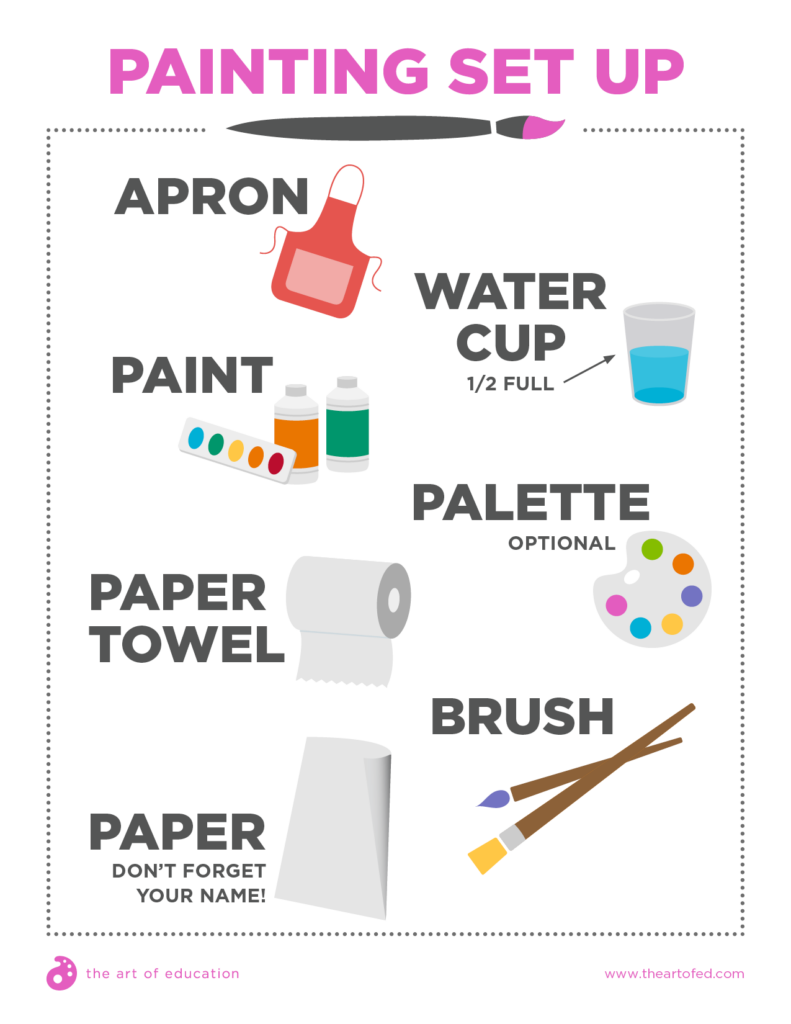
In my TAB classroom, my upper elementary students are able to wash and return their own brushes, rinse and refill their own water, and wipe the tables. I teach these routines and we practice them until students can do them independently. When the center is cared for correctly, it stays open and new materials are introduced. When it is not, the center is closed for “renovations” and the routines are retaught and practiced. The center reopens when the students show they can handle the responsibility.
If you’re looking for more information about how to teach routines and procedures, take a peek at the Teaching Routines and Procedures PRO Pack. You can find this Pack and more in PRO Learning. Alecia shares how to reset and reteach routines that have gone off track and provides strategies and routines for organizing and teaching a variety of media.
4. Teach Techniques and Artists
Once kids have had a chance to explore the painting center and learn the routines, you may want to use your five-to-seven-minute demo to introduce them to artists, techniques, or styles in the painting center.
I’m a huge fan of teaching contemporary art whenever possible. Try to choose an artist or group of artists who show a variety of interesting ways to use paint. Have students spend a short amount of time discussing these artists and then set them off to work with this new inspiration fresh in their minds.
5. Supplement Learning with Visual Aids
In the TAB classroom, your center should be an extension of your lessons. Provide students with menus of materials and visual aids for easy set up and clean up. Some elementary TAB teachers even laminate a large piece of construction paper as a placemat map for where materials should be placed.
In addition to providing visual aids for routines and materials, use the walls of your center to teach vocabulary, artists, and techniques. When a student laments at how they “don’t know what to paint” they will have a bevy of amazing artists and techniques to unstick their minds.
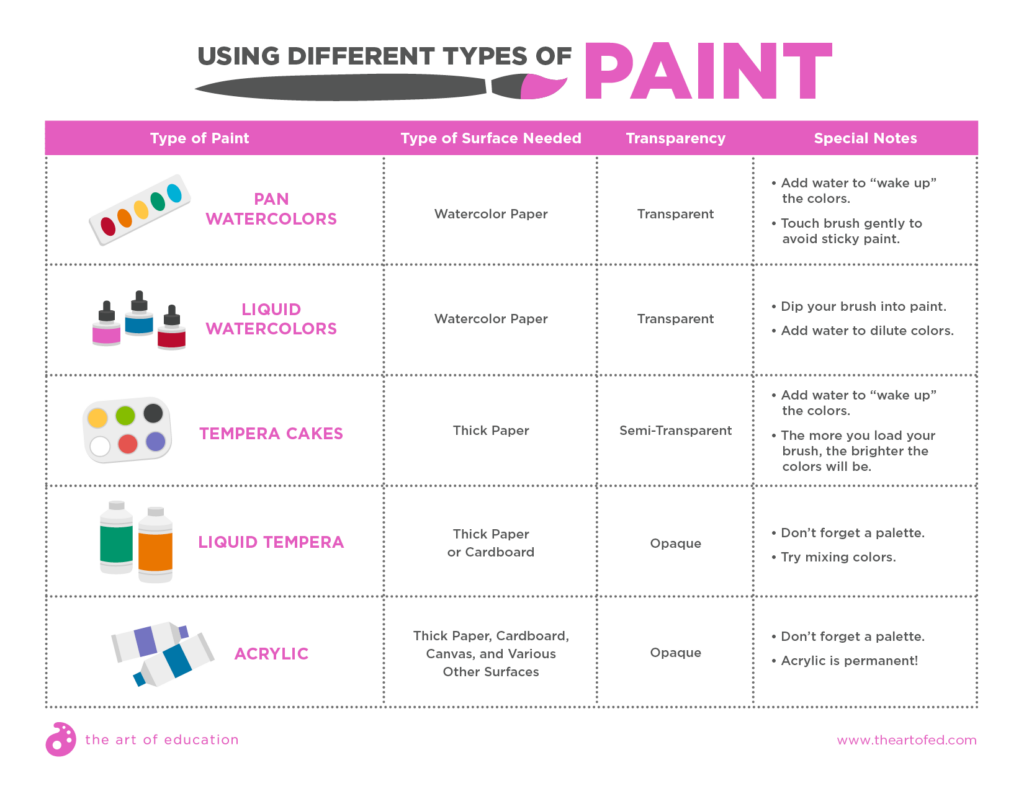
Here’s a great anchor chart that teaches students the characteristics of different kinds of paint.
I hope these ideas show you one way to open a painting center. However, this is not the only way! There is a huge community of TAB teachers sharing out there, so browse TAB resources for painting center ideas. I’ve listed a number of my favorite resources below. And remember, this is just a part of the process–you don’t have to have everything you want on the first day of class!
More Painting Center Inspiration:
- TeachingForArtisticBehavior.org
- Engaging Learners Through Artmaking by Katherine M. Douglas and Diane B. Jaquith
- The Learner-Directed Classroom by Diane B. Jaquith and Nan E Hathaway
- AOEU’s course Choice-Based Education
- Twitter handles and hashtags such as
- @HopkinsArtRoom(that’s me!)
- @ElmwoodArt
- @twoducks (Kathy Douglas, co-founder of the TAB philosophy)
- @MelissaPurtee (High school choice)
- #TABchat
- #choicebasedart
- #choicebased
- Search TAB or choice painting centers on Pinterest
- Midwest TAB Choice Art Teachers (This is largest Facebook TAB/choice community, and it’s not just for the midwest!)
Do you have any ideas to share about your painting center?
How do you teach painting?
Magazine articles and podcasts are opinions of professional education contributors and do not necessarily represent the position of the Art of Education University (AOEU) or its academic offerings. Contributors use terms in the way they are most often talked about in the scope of their educational experiences.