
As art teachers, we are continually looking for ways to challenge our students. Within the last couple of years, 3D printing has become a leading tool in innovation, especially in classrooms that explore STEAM and Project Based Learning. If you don’t have a 3D printer and have been thinking about getting one, you should do it! I’ve seen some of the most authentic, engaging, and explorative learning take place when students are creating their 3D designs.
Do you have a 3D printer and just don’t know how to get started? I’m certainly not an expert when it comes to 3D printing, but the following tips helped diminish the angst of using my 3D printer!
6 Tips for Getting Started
1. Get to Know Your Printer
There are many different models and brands of 3D printers. Unfortunately, this means there’s not a simple way to say, “This is how your 3D printer will work.” When you get your 3D printer, go through everything in the manual – and I mean EVERYTHING! This will allow you to familiarize yourself with each setting.
It is also very important to properly calibrate your printer. This might seem like a step you’d want to skip – but don’t. This will ensure a more accurate print with fewer problems down the road.
2. Test Print
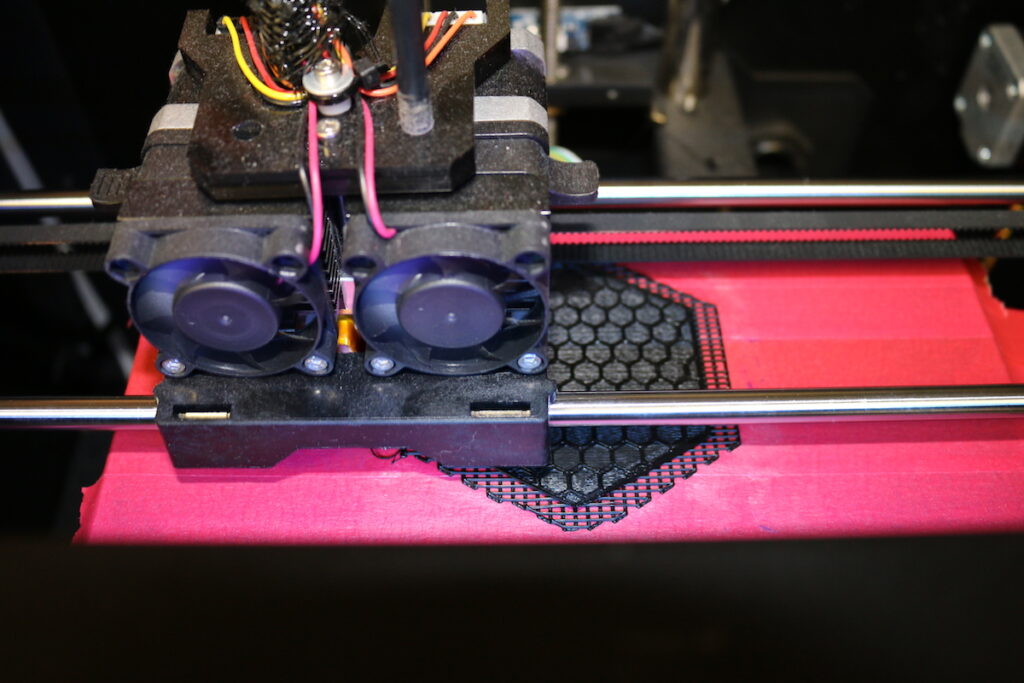
Once your printer is up and running you will want to print something. There are many kinds of filament that can be used to print objects. I recommend starting with PLA filament, as it’s one of the easier materials to use when you’re beginning. Different types of filament require calibration at different temperatures, PLA filament will allow you to print at a lower temperature.

I would recommend printing a simple cube shape. This will allow you to see if your calibration is accurate by measuring and comparing the X, Y, and Z axes of the printed design to the 3D design. Thingiverse is a great platform to print already made designs.
3. Getting Started with Students
When you begin working with students, the key to success is simplicity.
Here are a few tips.
- Work in groups or with a small class of students.
- Limit the scale of designs.
- Only work with one extruder (that means only allow one color of filament).
- Encourage mistakes through trial and error.
4. Choosing a Software for Design
There are countless options when it comes to design software for 3D printing. Your printer will come with a program, but you aren’t limited to just that! There are many free, web-based design platforms to use. Check out this list to find out what might work best for your students. Allow students to choose a platform they feel comfortable using. If you need a program to get started with right away, Tinkercad is a great design tool that meets students where they are.
5. Make Mistakes
One of the most frustrating and exciting parts about using a 3D printer is the number of mistakes that are made. As you get started, there will be countless errors you will come across. Most of the time these errors come about through bad design. Each time you print an object that doesn’t come out as planned, make sure to use it as a teaching moment to discuss how the design could be improved. The amount of critical and design thinking that goes into 3D printing is immeasurable and your students will constantly work to get it just right!
Most of my success using a 3D printer has come through trial and error. Even now, each time something is printed I learn something new. One of the most common problems when using a 3D printer is not getting the design to stick to the printing plate. This can often be solved with a little painter’s tape and glue stick added right before the object begins printing. For more common problems and how to solve them, check out this website.
6. Try Creating Functional Objects
3D printers are certainly amazing, but even I find myself occasionally thinking, “What’s the point?” Sure, maybe a student designed an amazing Yoda head figurine, but now what? To keep my students and myself from asking these questions, the way I approach 3D printing in my art room is through functionality. I challenge students to create objects that have a purpose and can be used.
Here are a few of my favorite ideas:
- Check out this AOE Lesson for a functional 3D printing lesson plan.
- These 40 3D printed objects are actually useful!
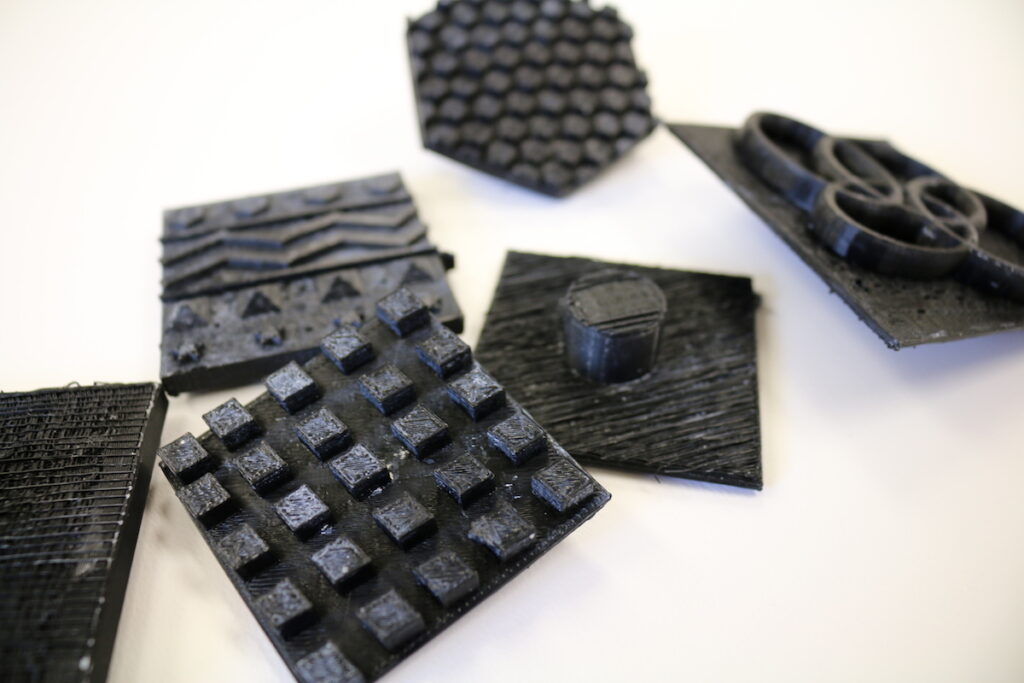
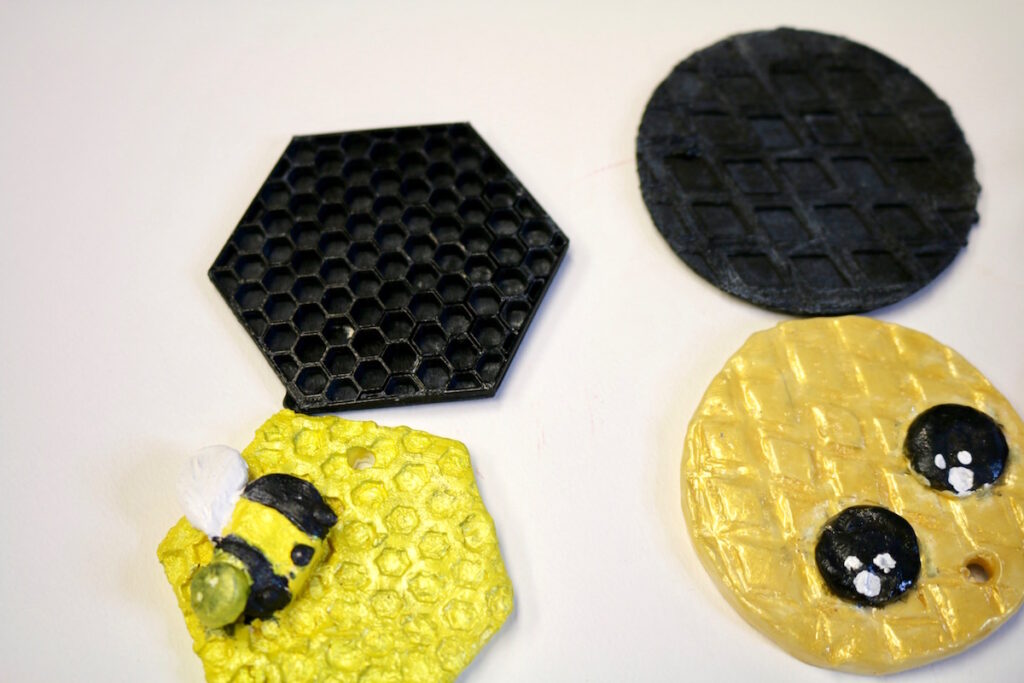
- Create objects that can be used in your art classes. For example, 3D printed stamps for clay!
As you begin your journey of 3D printing you will come across problems and errors. But, the amount of critical thinking, creativity, and problem-solving that comes from the use of a 3D printer will make it all worth it!
Do you have a 3D printer? How do you use it in your art room?
What’s your favorite lesson plan for 3D printing?
Magazine articles and podcasts are opinions of professional education contributors and do not necessarily represent the position of the Art of Education University (AOEU) or its academic offerings. Contributors use terms in the way they are most often talked about in the scope of their educational experiences.


