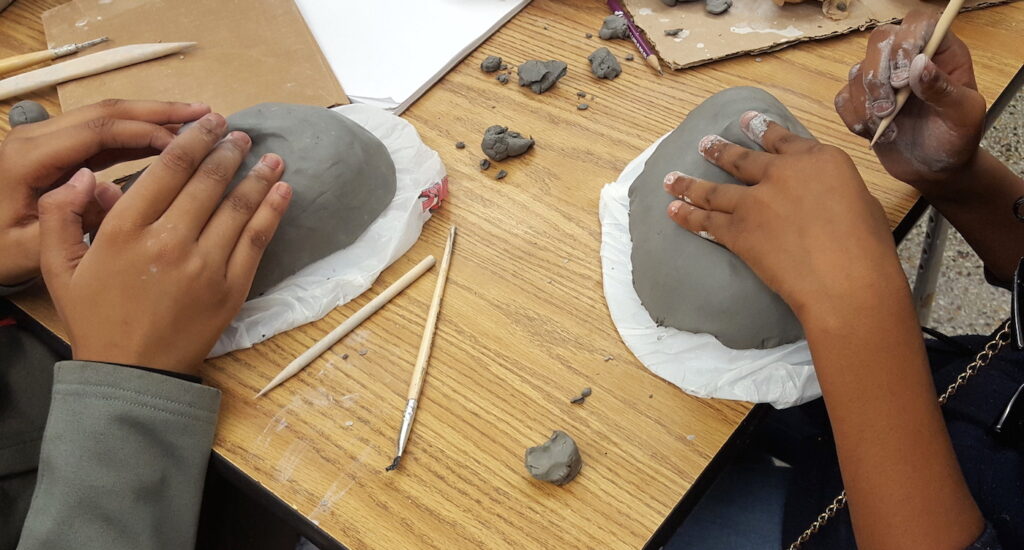
I love teaching clay lessons. Students love them, too. Year after year, when I poll my students about their favorite art projects, clay ends up on top. Who doesn’t love to get messy and sculpt?
But when it comes to glazing the clay, it’s often a different story. My students still love this part, but I used to find it really stressful. Despite my best efforts, there were always hiccups.
Each time I carefully set up the glazes at each table. I explained the directions, wrote them on the board, and put a handout explaining the process on the tables. No matter what I did, the glazes always got mixed up. I would also have to refill the glazes half way through a class, which added to the stress.
I decided to change my system, and I have never looked back.
Here is the simplest glazing system for your classroom.
Place one or two colors on each table.
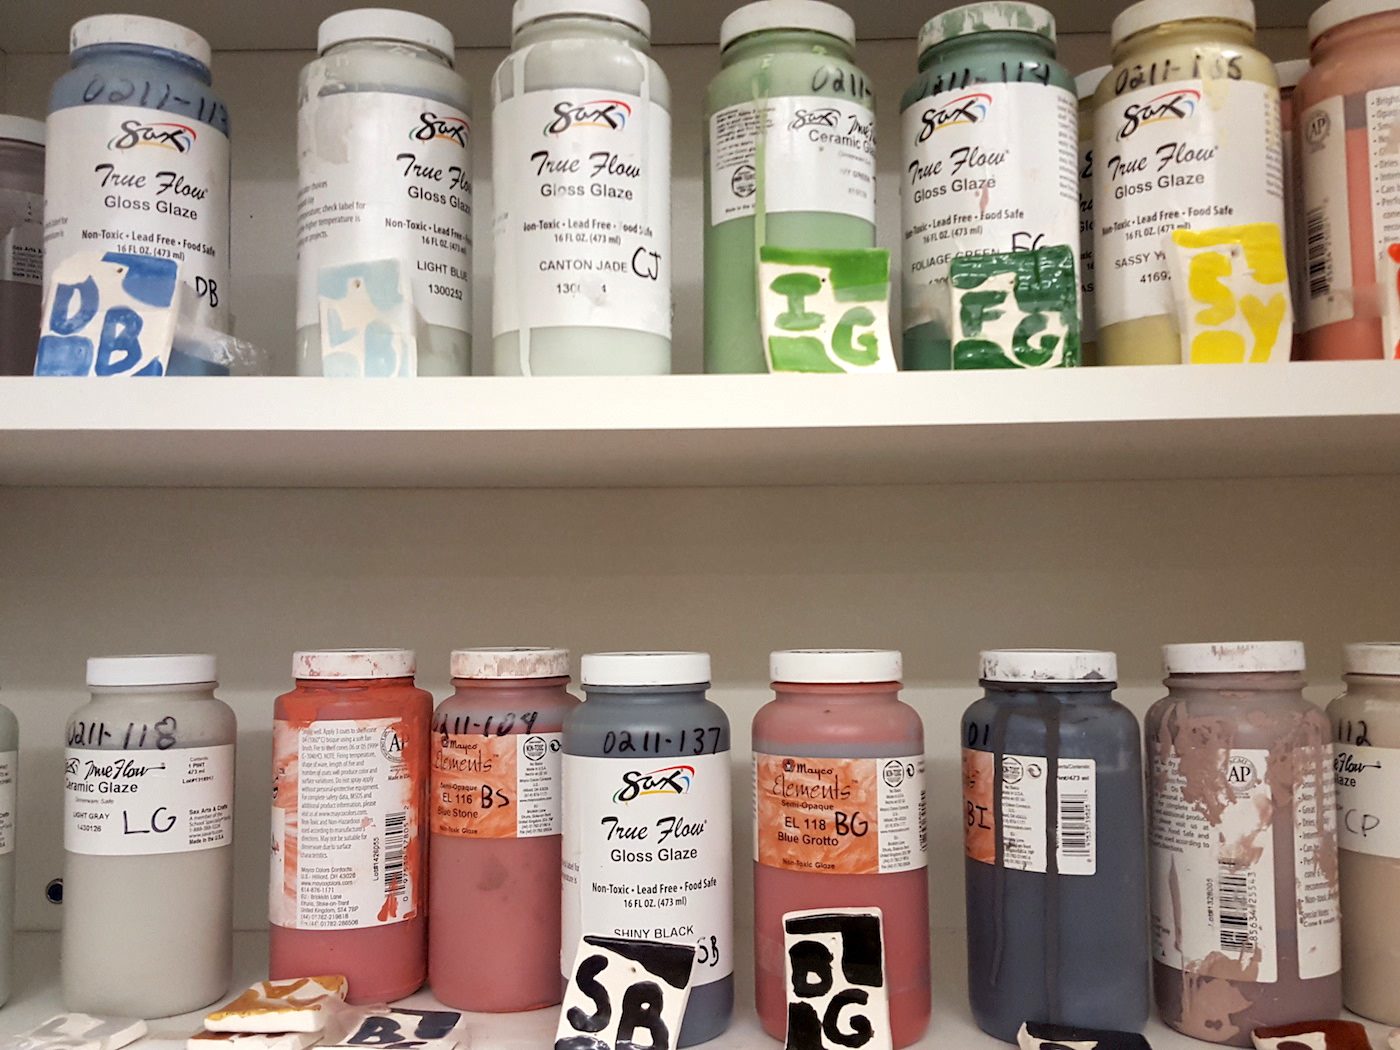
Leaving the glaze in its original container, place one or two colors at each of your tables. I use colors to organize the tables in my classroom, so I make sure to match the color of the glaze with the table color to keep it simple for students.
Write the name of each color on a paper plate.
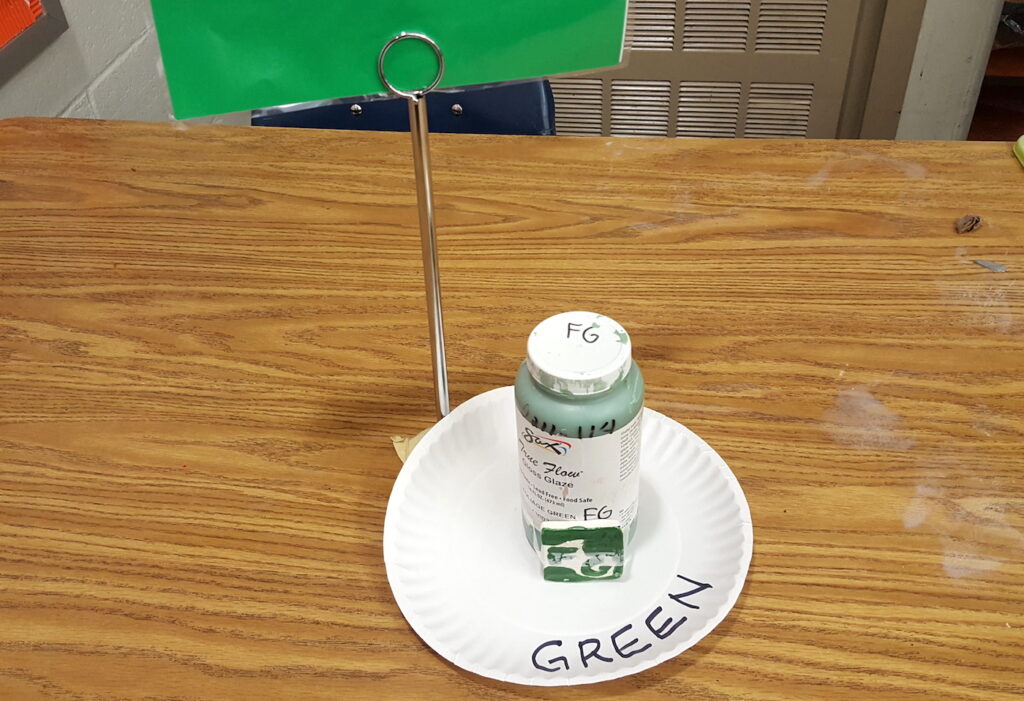
Because glazes change in the kiln, it is important for students to know what color they are working with. I write the name of the color along the edge of a paper plate and place the glaze in the center.
Tape the test tile to the container.
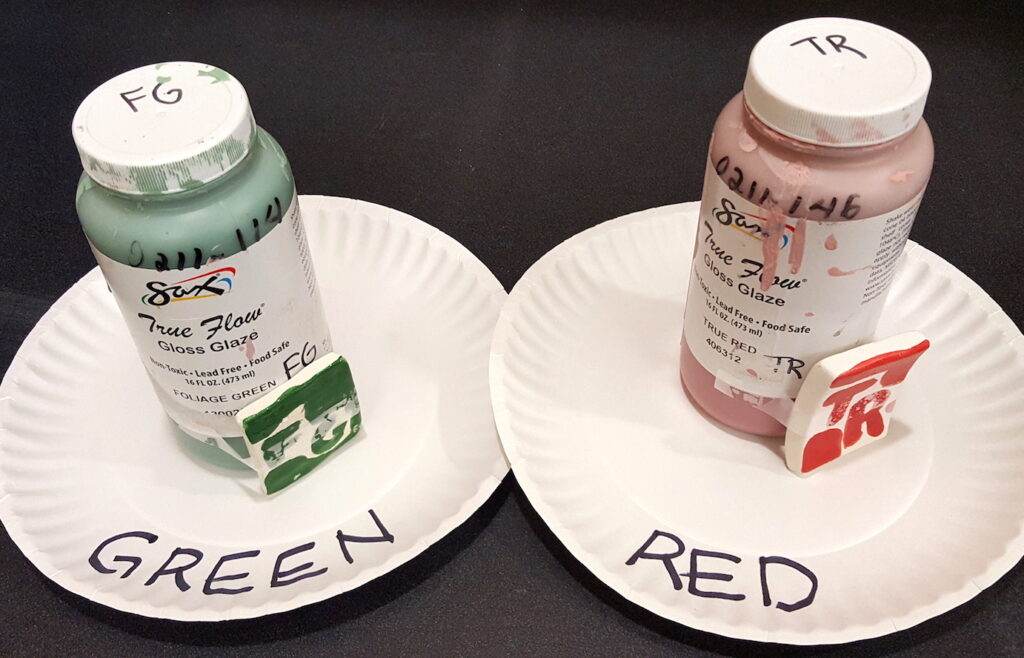
To ensure students understand what the resulting color will be after firing, I always make sure to show them a test tile of each color. I used to place all of my test tiles on a board and display it in the front of the room. Each time a student wanted to see a color they had to come up and find it on the board. If the tile is taped to the jar, there is no question what it will look like after firing.
Place only a few brushes in each color.
I usually allow five students at a time to use a color. If all of the brushes are being used, no more students are able to be at the table. They must choose a different color while they wait.
Students can travel from table to table to glaze.
Students have the freedom to move about the room from color to color as they glaze. I make sure to remind them to be careful and to hold their work with two hands to ensure they do not drop it. They may visit as many colors as they want.

The benefits of this system are numerous.
When I first started glazing this way, I was nervous. I thought students would drop their work and break it. I was also concerned about an increase in behavior problems because they were all out of their seats moving around. Neither of these worries ended up being a problem.
I found there were many benefits, though. The paintbrushes stay with one color and there are no other nearby colors to confuse the students. Because of this, color mixing is no longer a frustration. The set-up is easy, too. Just open the jars, set them at the tables, drop a couple brushes next to them, and you are done. Clean up is equally easy. And because the glaze colors coincide with the table colors, students can easily find colors.
Glazing doesn’t have to be stressful and frustrating. By adopting this system, I was able to turn something I dreaded into something both my students and I could look forward to. If you’d like to see a very similar set up in action, check out this video from our archives!
If you’re worried your budget might not allow for glazing, be sure to sign up for the 2017 Winter Art Ed Now Online Conference. Among other amazing presentations, you’ll get to hear from ceramics guru John Post who will teach you how to make 5 gallons of glaze for the cost of a pint or two in his presentation How to Save Time and Money by Making Your Own Glazes. Learn more here!
Do you find glazing stressful? What system do you use to glaze with your students?
Magazine articles and podcasts are opinions of professional education contributors and do not necessarily represent the position of the Art of Education University (AOEU) or its academic offerings. Contributors use terms in the way they are most often talked about in the scope of their educational experiences.