If you’ve been stuck in a pinch pot and coil pot rut you aren’t alone. Many teachers use these projects to teach basic ceramic techniques. However, if you’re looking for something new, here are some inventive ideas you and your students will love.
Here are 5 ways to take your basic clay projects to the next level.
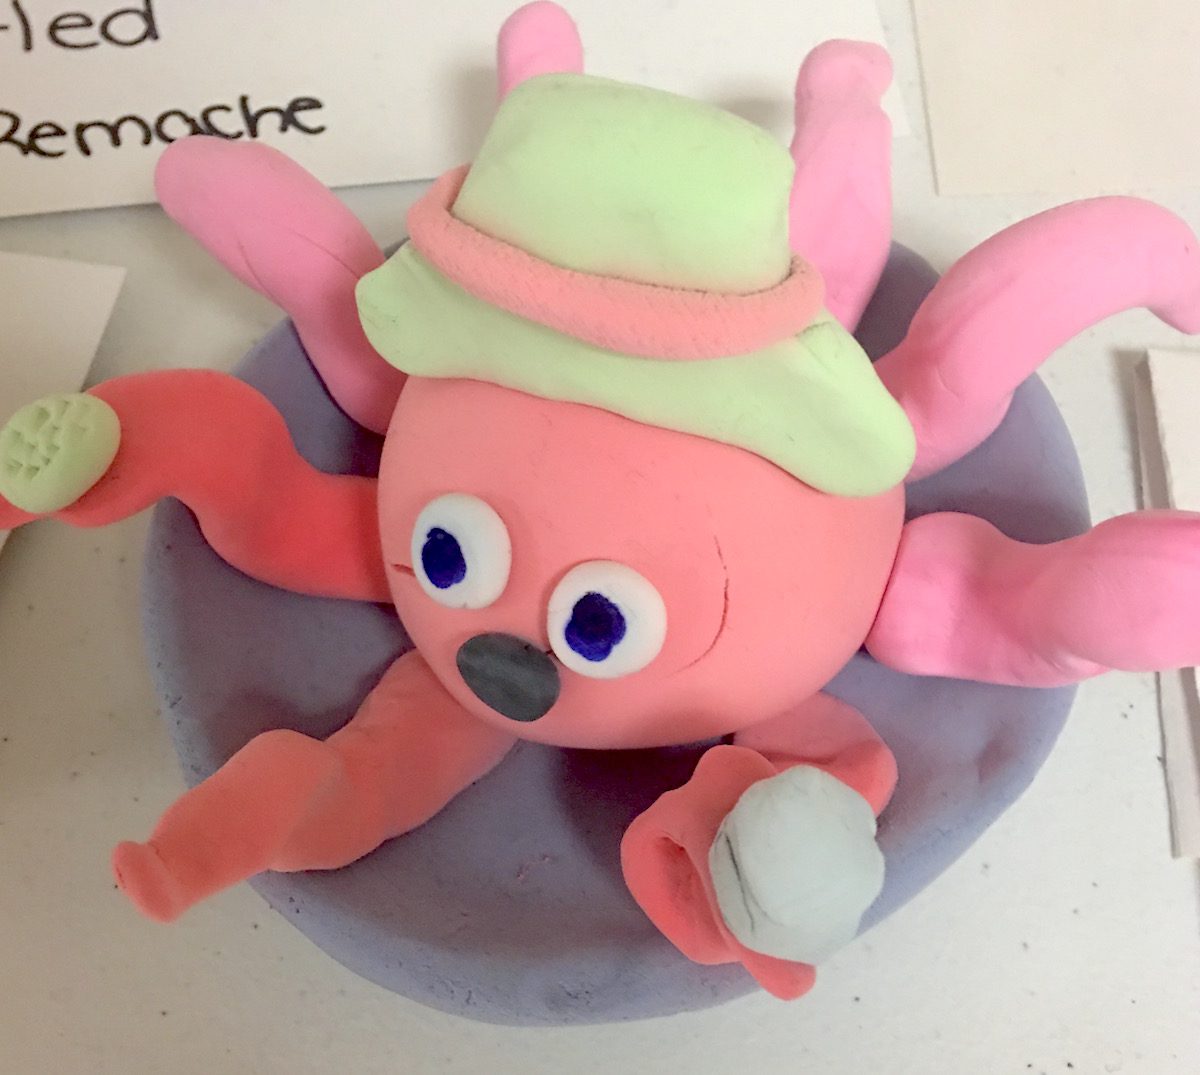
1. Use the coil or pinch pot as a single element in the design rather than the singular focus.
As long as students can make a pinch or coil pot, does it matter if it’s the largest thing in their sculpture? I think not. Encourage students to think of the pot as a starting point. What might they want to build around it, on top of it, or even inside it? I’ve had students create pinch pot Matryoshka dolls that nestle one inside the next, necessitating many pots of ascending size order. Adding a challenge element makes it a new kind of project.
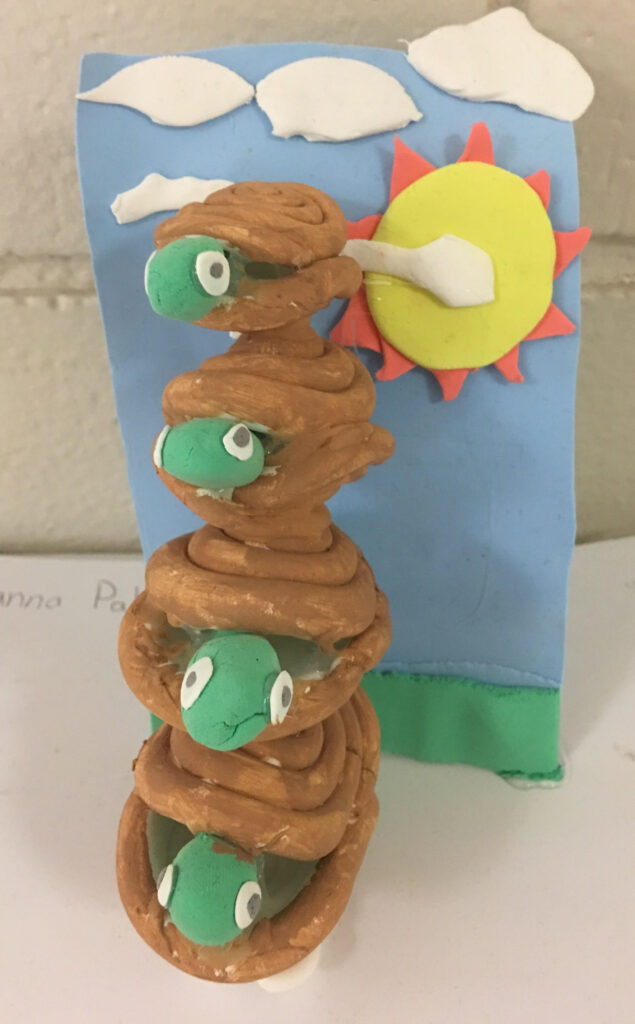
2. Turn it on its head or its side.
Once the pot is constructed, let students play with the orientation of it. Look at it upside-down, test it out on its side or even cut it into segments. An upside-down pot could become the beginning of a pineapple sculpture. A pot on its side might be the perfect home for a small, burrowing animal. A pot cut into segments and left in pieces could become the remnants of an egg breaking open to reveal what’s hidden inside!

3. Give a prompt, but leave it open-ended.
Allow for the maximum of possibilities and creative expression while still meeting your objectives. For example, “Create a sculpture where you demonstrate your ability to craft either a coil pot or pinch pot.” Share visual examples explaining the vast array of considerations like using the pot as a base for something more, changing the orientation to be something less conventional, using more than one pot, joining pots, or cutting into a pot. For groups of students who might need a more narrow focus, provide a theme like “animals.”
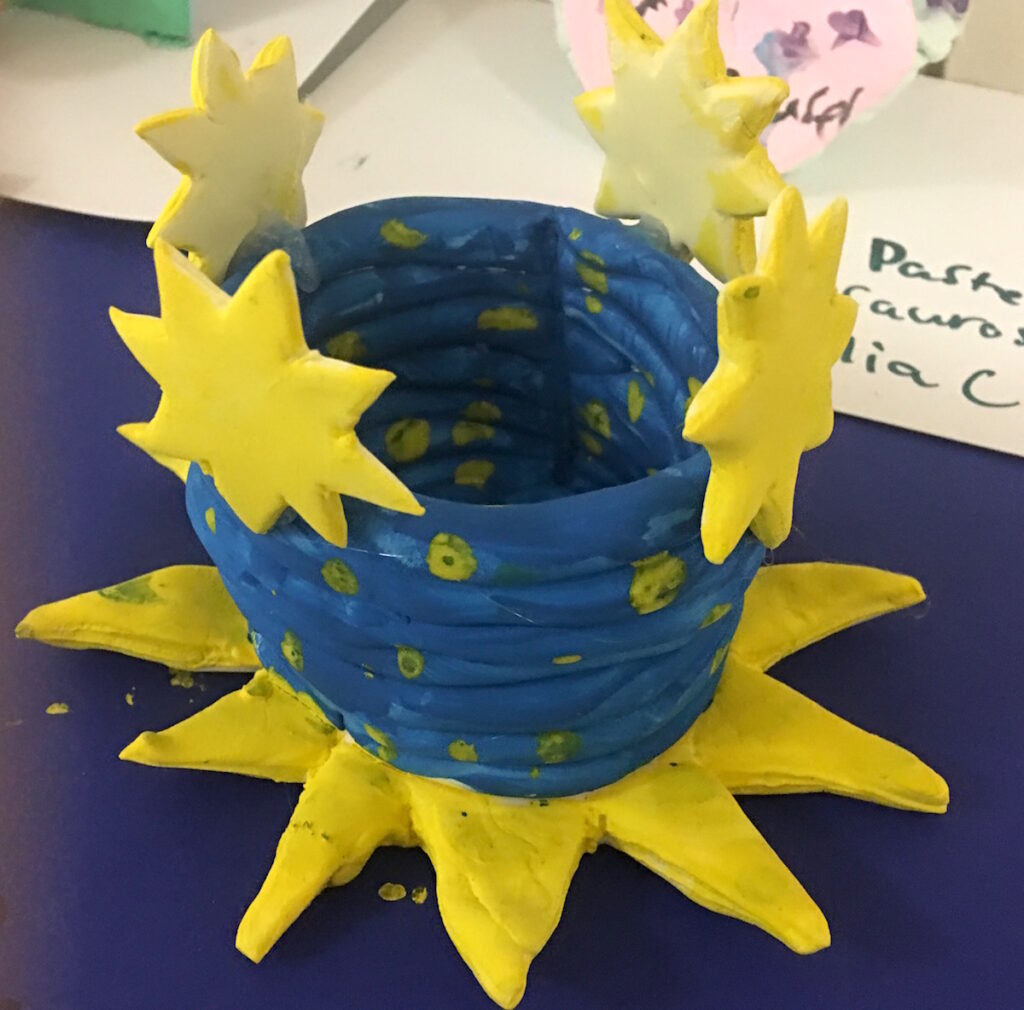
4. Join two pots together to make a hollow center.
Think about putting something inside, like bells or rice, to create a functional instrument before you seal it. Or simply join two coils together to build a turtle’s shell. When you expand the idea to include the use of multiple pots, you create a whole new realm of possibilities.
5. Remind students negative space can be as interesting as positive space.
Hand building naturally seems to lead my students to add rather than subtract. Students forget they can cut into clay and omit portions often to an interesting end. Carve out some pieces of a pot to create a decorative candle votive. Stick an illuminated glow stick inside, and you’ve got a glowing sculpture!
The skills taught in both of these hand building techniques are necessary but there is no shortage of ways to expand the exciting array of projects your students can create with them!
How do you make these types of projects more interesting in your room?
Do you have a favorite pinch pot or coil pot project to share?
Magazine articles and podcasts are opinions of professional education contributors and do not necessarily represent the position of the Art of Education University (AOEU) or its academic offerings. Contributors use terms in the way they are most often talked about in the scope of their educational experiences.