As the end of the year, or even the semester approaches, thoughts often turn to final projects. But what is the best approach? Keeping students engaged, providing choice, as well as an accurate measure of learning, are difficult tasks to manage simultaneously. However, if you are looking for a new final project allowing for as much choice as possible while encouraging students to reach new heights in their artistic development – I give you the Independent Final Project.
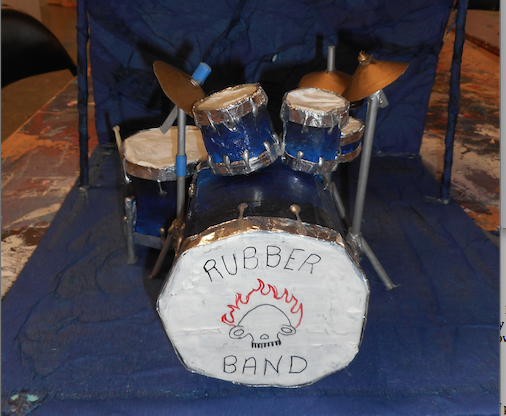
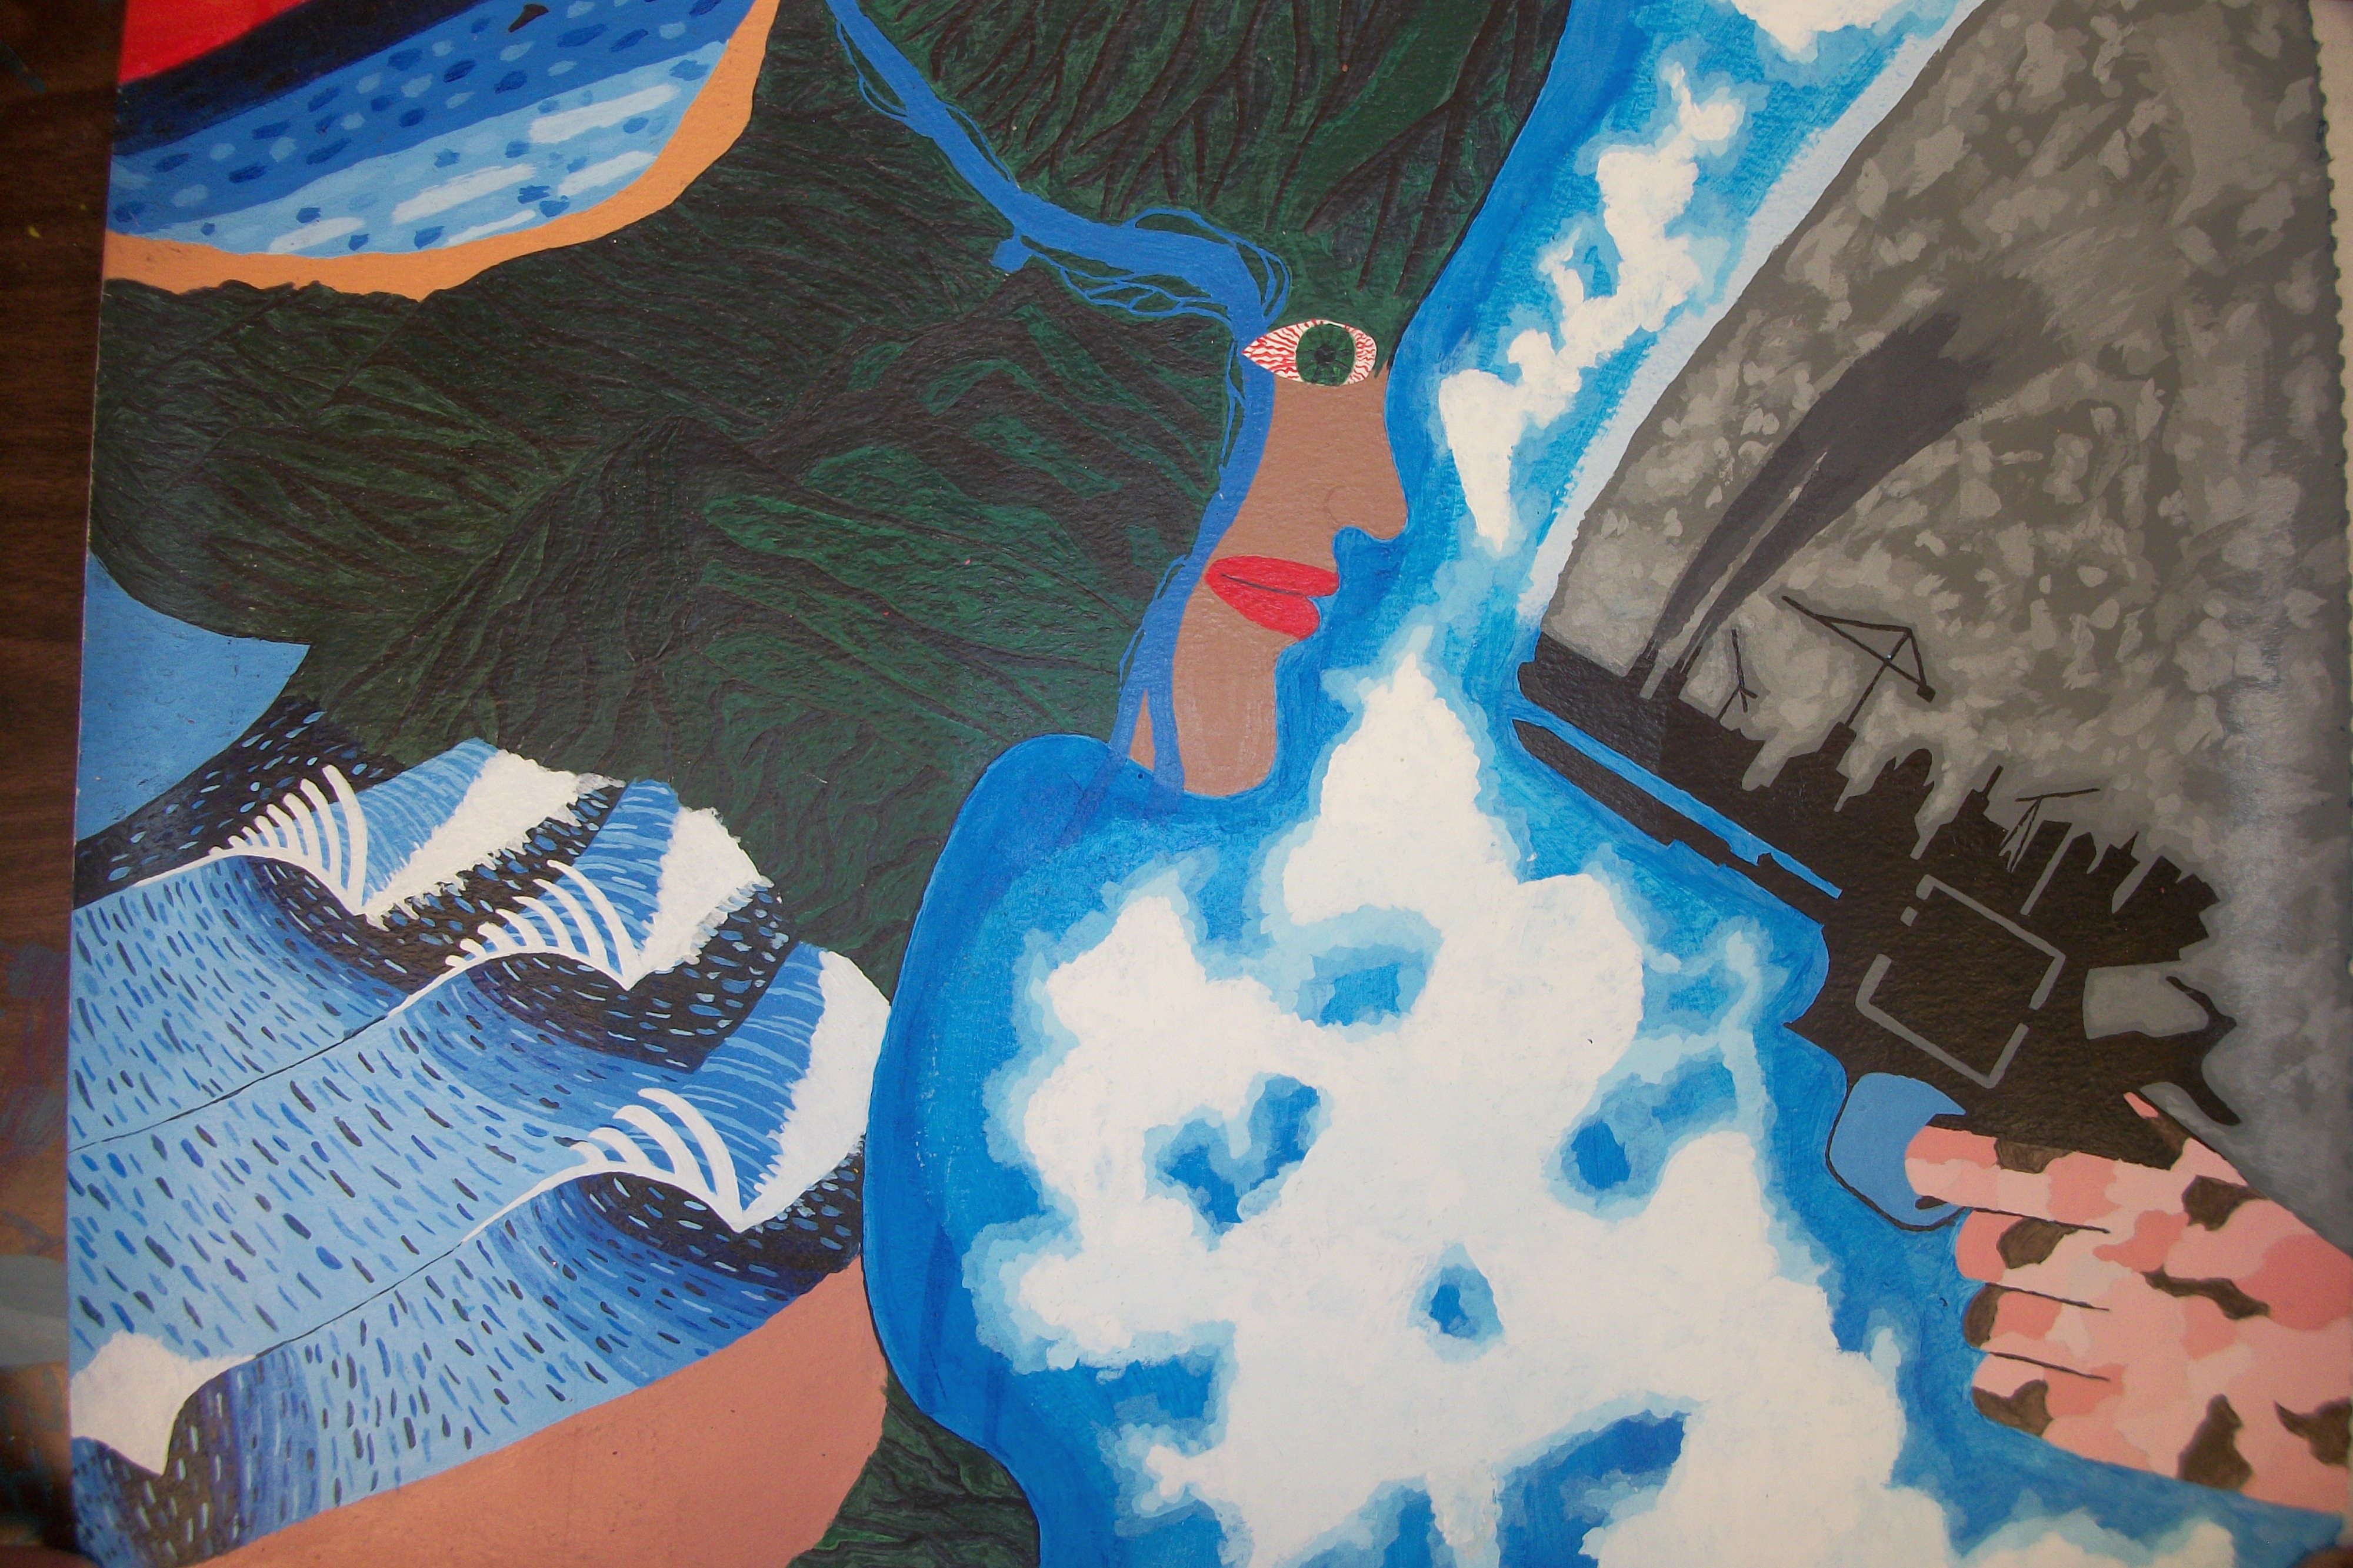
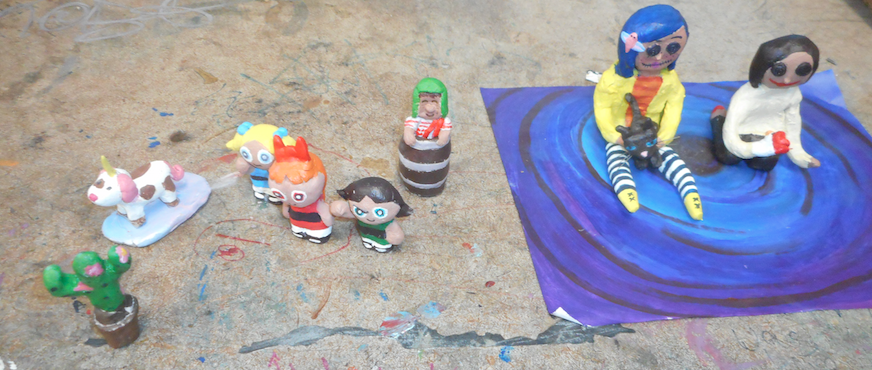
Through this project, students might be painting wooden panels, creating inventive sculptures, and executing mixed media pieces of all kinds. These are the requirements and strategies I use in my classroom in order to implement this amazing final project of the school year.
Project Requirements
There are three main requirements for the Independent Final Project, each assessed separately:
1. 20 hours (or more) of work during class time
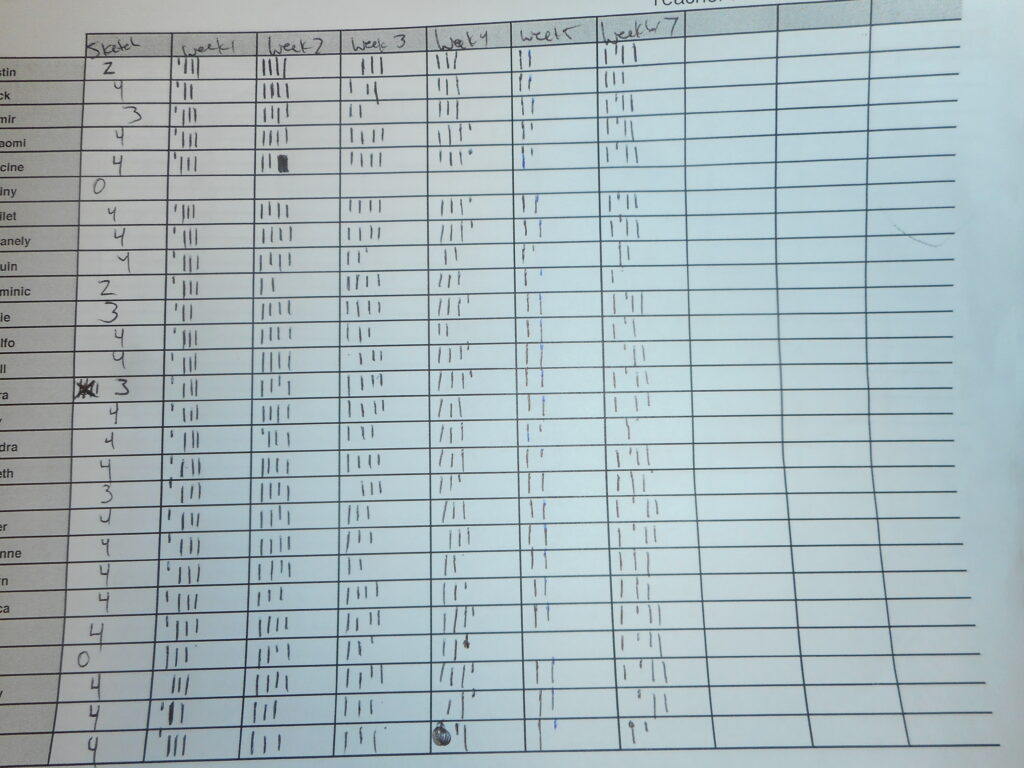
The Independent Final Project is unique because it includes an element of time spent on work. I have found this component of the project is of high leverage for student engagement and time management strategies. Once students begin their final drafts, there are usually between 25 to 30 days left until their final day of school. I record student work time in increments of 15 minutes, 30 minutes, and one-hour using tally marks and a spreadsheet. While this may seem daunting, it only takes about one minute each period to record. I have a grading scale based on numbers of hours accumulated.
2. Presentation of the project
On the last day of school, students must present their work to the class. The presentation is relatively simple, asking students to address these six main questions:
- What is the title of your art piece?
- Explain your art piece. What is your piece about?
- Why did you choose to make this particular piece?
- What do you want your art piece to communicate to viewers?
- What are possible misinterpretations of your work that may occur?
- What is something you learned about yourself or art in general through this piece?
3. Completion
The 20-hour requirement does not necessarily mean students only work on one art piece. Some students create several smaller pieces over the span of 20 hours. Some students work for eight hours and then change their minds and begin a brand new project. There are students who will need more than 20 hours to even come close to finishing their work and will need to spend time outside of class on it. The completion requirement holds students accountable for their own artistic choices. It may seem like common sense, but if a student has four different ideas they are working on, they must complete at least one for presentation.
Project Implementation
The Independent Final Project has a series of steps students take before beginning their actual pieces. These stages include: theme choice, group choice, materials choice, proposal sketch, and detailed sketch. I certify all theme, group, and materials choices before students move on to sketching.
Theme Choice
In order to help students formulate the ideas for their final project, I give students theme choices to guide their investigation. Along with these themes, I show art pieces that could be exemplars for each theme choice. The themes I use include: the effects of music, the human condition, origins of life, portrait (literal or symbolic), cityscape, environmental, something that needs change, and independent (which means “other”). Students generally have a strong sense of which theme they can build off of, and this helps with formulating ideas.
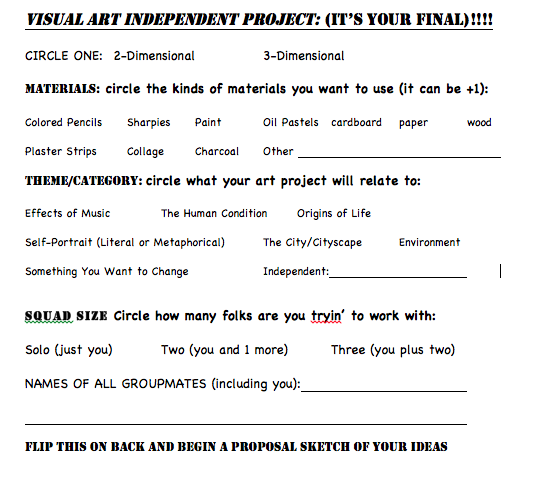
Group Choice
Students can choose to work individually or in a group of two or three. I have not had much success with groups of four. Three students tend to work consistently and the fourth sits around. As we know, certain students are also problematic when working together, so whenever I am on the fence about a particular group choice I defer to the proposal and detailed sketches to help make a decision.
Materials Choice
This project is unique because students can choose any media they want. I like to have a list of the main materials and media choices I can provide and have students tell me what they want to use. The list I offer students includes colored pencils, Sharpies, paint, oil pastels, cardboard, wood, plaster, clay, and canvas paper. It is also helpful to have an “other” section for students to list more materials they may need.
Proposal Sketch
The proposal sketch is a rough sketch students create with the intention of explaining their idea. The goal of the proposal sketch is to help students visualize and explain their thinking. It also provides opportunities for feedback early on in the process.
Detailed Sketch
The detailed sketch incorporates color and visual research with student ideas. This sketch makes for a great critique opportunity before beginning the final version.
Preparation
It’s true that this project can take on a life of its own. However, a little planning can help set things off on the right foot. In order for this final project to be successful, here are a few key tips:
Collect Materials All Year
It is best to acquire materials slowly throughout the year rather than waiting until the end when you are rushing to collect everything at once. I like to grab spare pieces of cardboard, discarded panels of wood, and even empty vessels to use as skeletal elements for sculpture.
Spread the Materials Out Around the Room
Positioning materials can set you up for success. I like to spread out the materials so students can see everything available. I place wooden panels, different types of papers, cardboard, and canvas paper around the room. Students who are finished with their detailed sketches get first choice, which helps motivate students to finish up any lagging sketches.
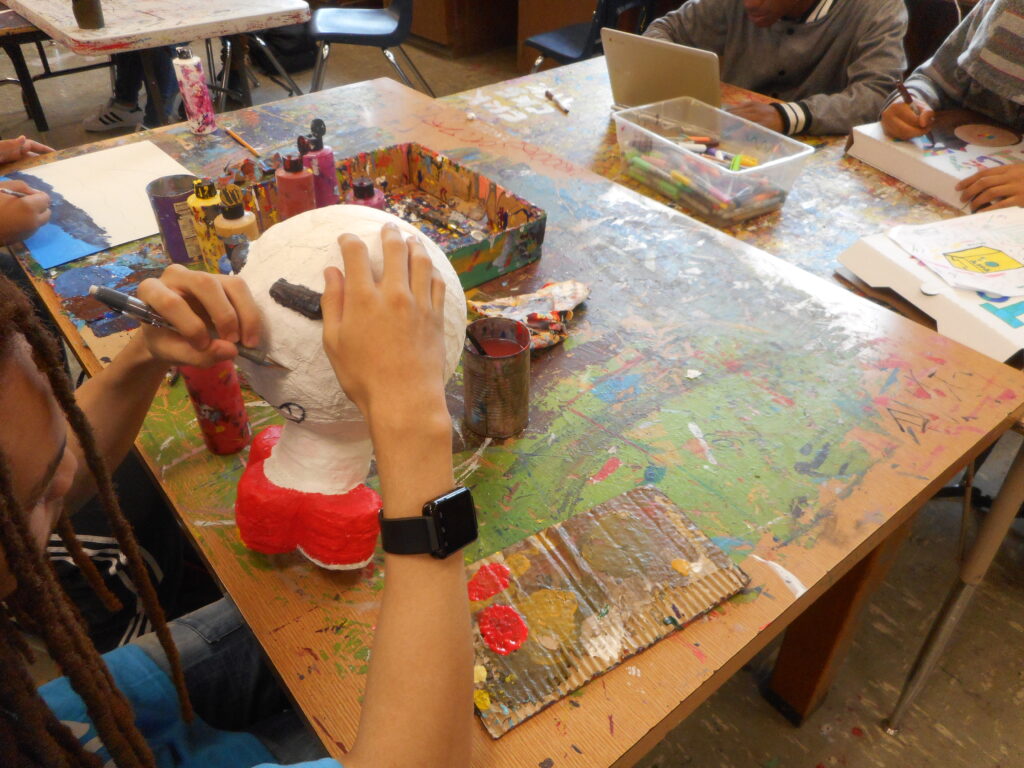
Small Group Instruction for Sculpture
Unless you teach a lot of sculpture throughout the year, I find it valuable to start with the groups who are interested in sculpture. While everyone else is working with two-dimensions, I like to have small group instruction around building form, using adhesives, and plaster application techniques.
The Independent Final Project can be challenging. There are a number of logistical pieces and supplies to manage. However, by mandating a specific hour requirement, you can help motivate students who work at any pace because as long as there is time left, there is more work to be done. Students will push themselves to new personal artistic levels because of the amount of choice and independence. Ending the year with this incredibly individualized final project truly showcases student learning.
What questions do you have about this Independent Final Project process?
What kinds of final projects have you found the most success with?
If you would like to see more creative and inspiring ideas from Matt, make sure you register now for the Art Ed Now 2017 Winter Online Conference! Matt will be joining our awesome lineup of presenters and sharing how he uses graffiti to inspire his students and help them find a personal voice and identity in their artwork.
Magazine articles and podcasts are opinions of professional education contributors and do not necessarily represent the position of the Art of Education University (AOEU) or its academic offerings. Contributors use terms in the way they are most often talked about in the scope of their educational experiences.