One of the roles of being an art teacher is classroom setup and preparation. Unfortunately, included in this role is the creation of the dreaded bulletin board. The thought alone gives me anxiety. Flashing back to my first year of teaching, I felt prepared and comfortable with the curriculum and content, but the 4 massive, blank bulletin boards in my classroom haunted me.
The last thing I wanted to spend my time doing, after traveling between 3 elementary schools and seeing 1,000 students, was creating a bulletin board. I came up with a solution that saved me time, engaged my students, and required little work!
If you’re tired of changing your bulletin board every quarter or with every unit of study, use these 3 steps to create a bulletin board that will last all year long!
1: Come Up With a Theme
When developing your bulletin board theme, you’ll want something that is broad yet purposeful. Themes that revolve around questions or mystery will catch the eyes of your students and give you a lot of flexibility to work with throughout the year.
Here are three of my favorite themes:
- I Mustache You a Question
- Art Detective
- Artist’s Think Outside the Box
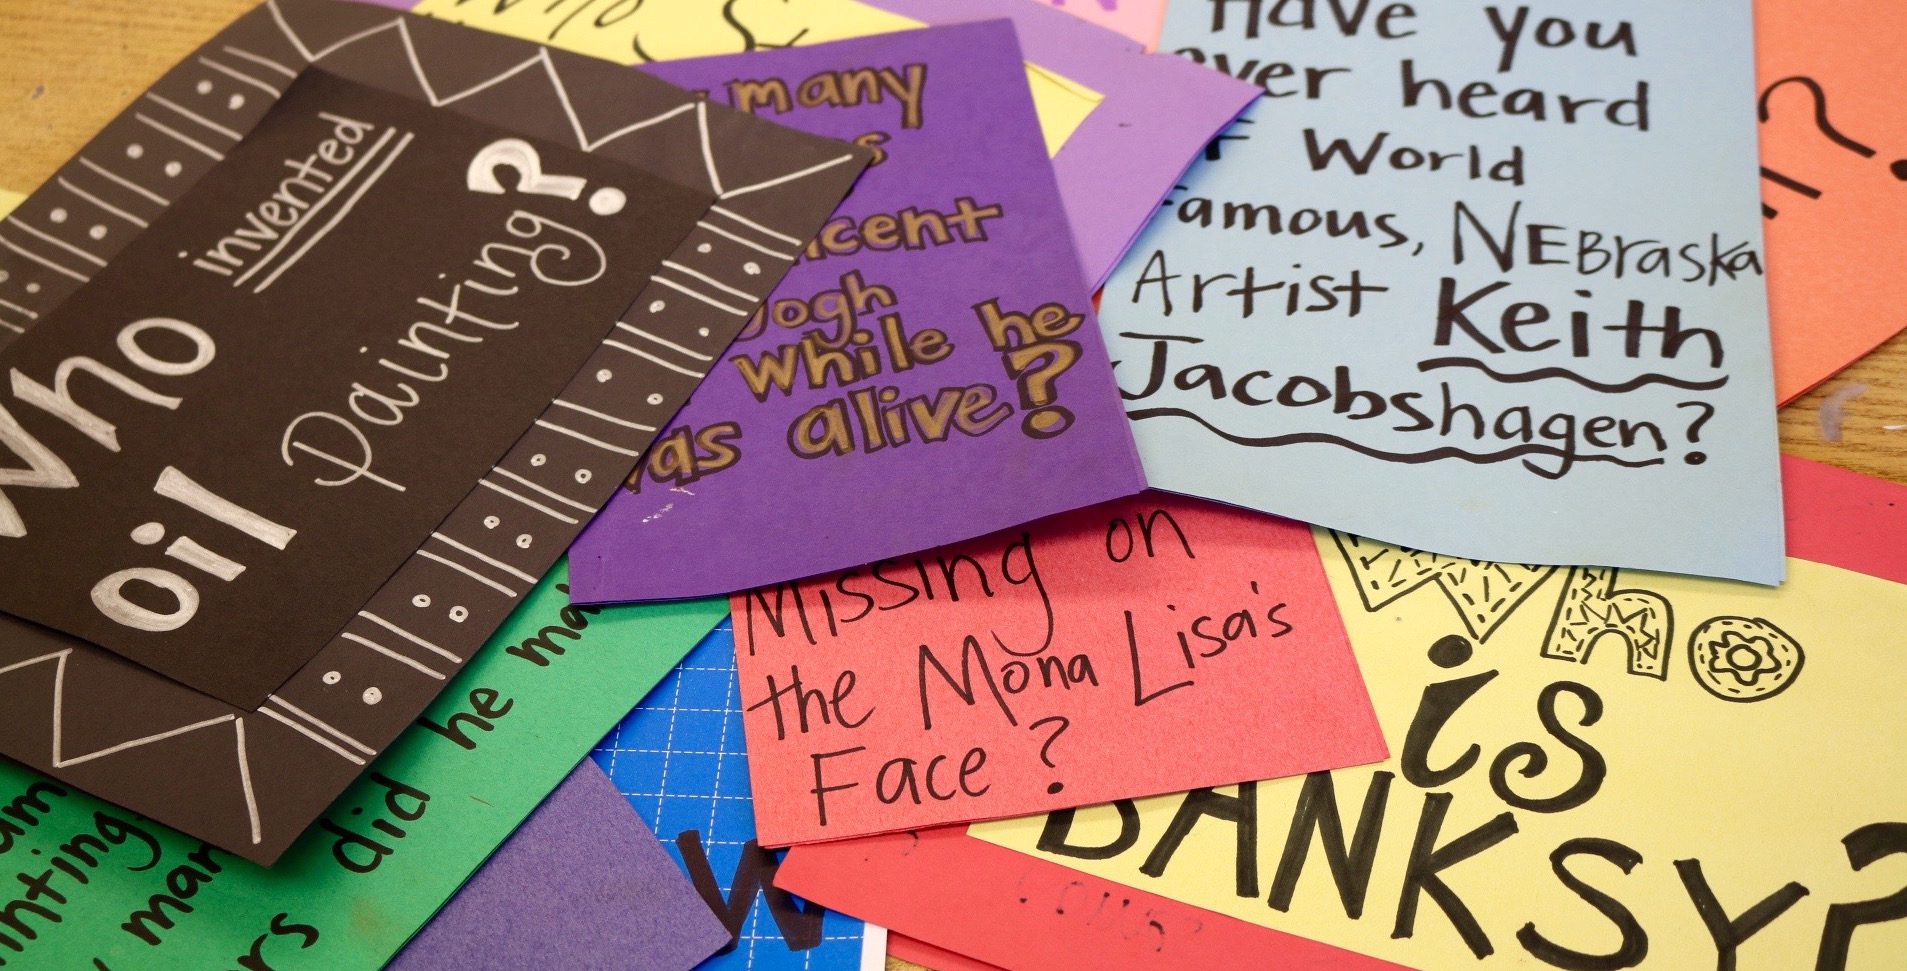
Each of these themes allows you to post fun facts and trivia about art and artists that will pique the interest of your students.
2: Make Interactive Flip Cards
A bulletin board’s purpose should be to engage our students. The best way to do this is by making your bulletin board interactive. We’ll always have students that need to sharpen their pencils or get 7 drinks of water throughout class just for the sake of getting up and moving. By creating a bulletin board that students can interact with you’ll be able to turn these situations into meaningful learning moments!
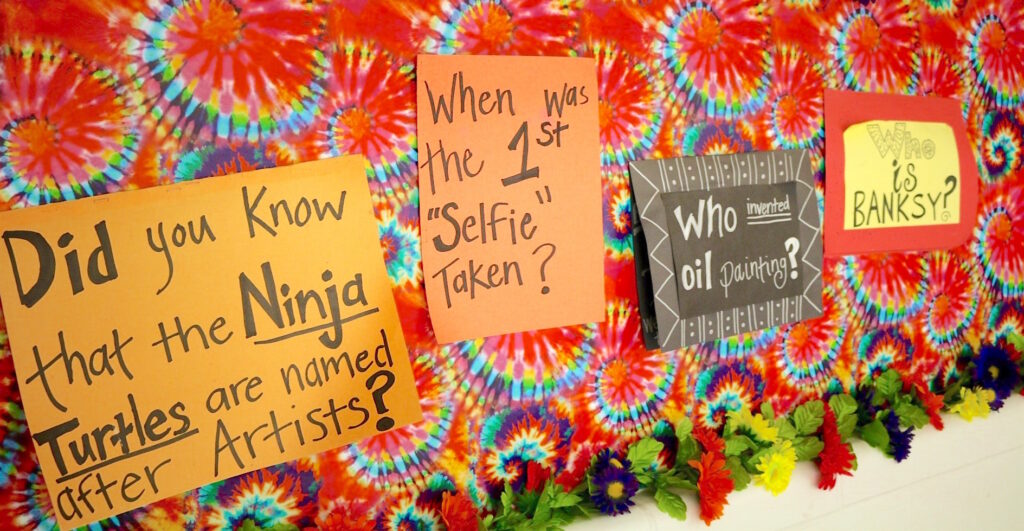
A simple way to make an interactive element is by taking a 12″ x 18″ piece of construction paper and folding it in half. This gives you room to write a question or prompt on the outside and then include additional information on the inside.
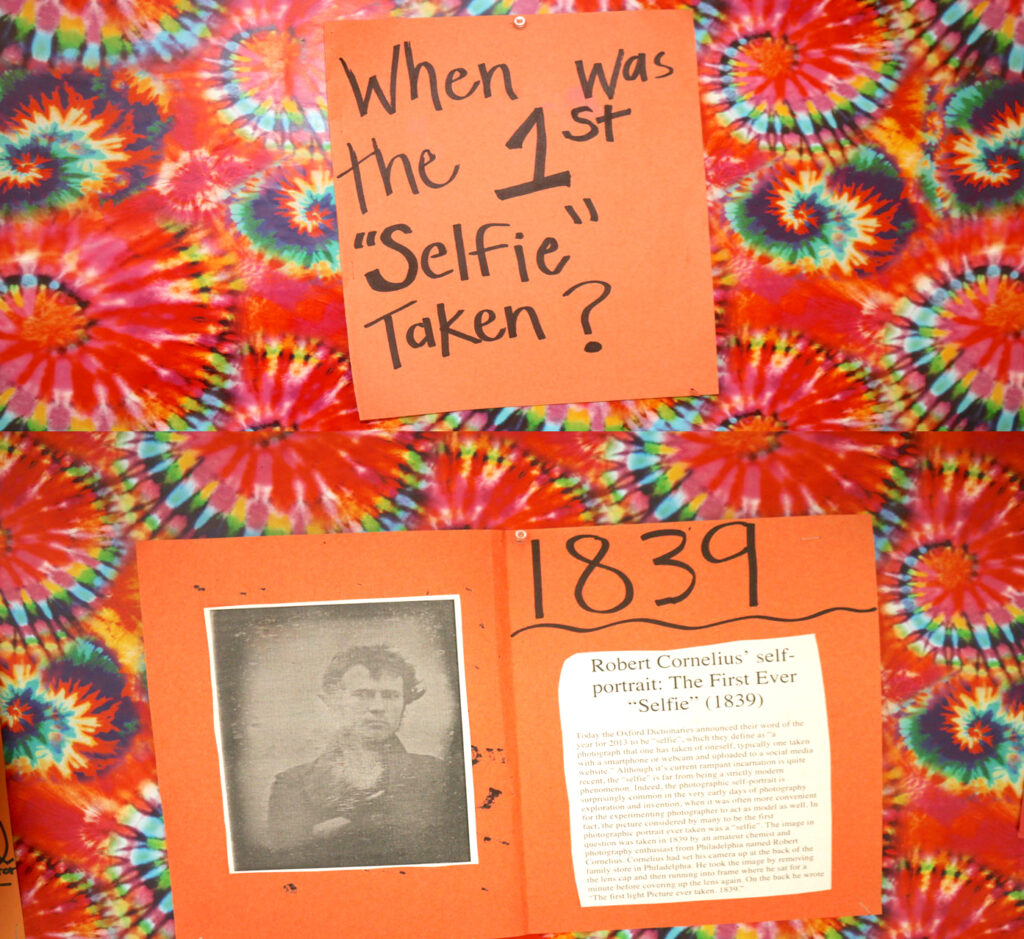
Students can simply lift the flap to learn more. See the selfie example below. The top photo shows the outside of the flip card while the bottom photo shows what is inside.
3. Add Something New Each Week
Once you’ve developed a theme and completed the task of covering your bulletin board, the hard part is done. The only task you have left is creating one new card to add each week. This is the fun part! ‘Did you know?’ questions and fun facts about artists and art history are always a hit. Students will be eager to discover what new question you have added–it almost becomes a game. I found that adding one card per week was a good rate if I wanted students to retain the information.

In fact, one time during an observation one of my students sitting near the principal shared all of the information they hard learned from the bulletin board. Not only are students learning new information but they are also excited to share new found art knowledge!
Creating a bulletin board does not need to be time intensive or burdensome. With these tips, you’ll be able to develop a bulletin board that contains valuable information and serves a purpose in your classroom!
How often do you change your bulletin boards in your classroom?
What purpose does your bulletin board serve?
Magazine articles and podcasts are opinions of professional education contributors and do not necessarily represent the position of the Art of Education University (AOEU) or its academic offerings. Contributors use terms in the way they are most often talked about in the scope of their educational experiences.