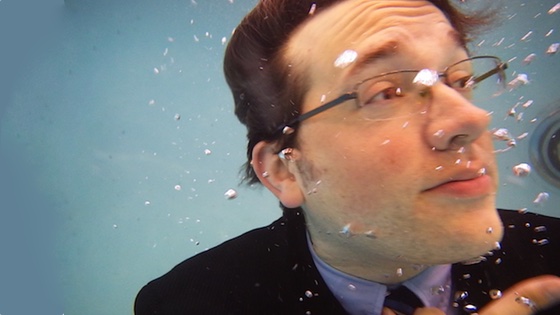
I’m always looking for new ways to engage my students. I like giving them out-of-the-box challenges that will make for meaningful memories. Therefore, I knew underwater photos would be a hit. The planning of this project was a collaborative effort between my students, my student teacher, and myself. I knew it would be fun, but this project also provided so many learning opportunities for my students. Through this project, students gained skills with perspective, foreshortening, portraits, working with figures and so much more.
It was a little bit crazy and a lot of fun. But, most importantly, it’s going to be an experience that my kids are going to remember for a long time to come. Today I’m sharing what I’ve learned so that you can try an underwater photo shoot with your students.
How to Conduct an Exhilarating
Underwater Photo Shoot
1. Find Yourself an Underwater Camera
For me, this was a matter of convincing my Activities Director that my art club budget money was best spent on a new camera. He’s not what we would call an “art guy.” I prefaced my request by saying, “We both know you’re not an art person, so I don’t think you understand how cool this idea really is . . .” He was receptive and open-minded, which I really appreciated. He approved a new camera with the caveat that it had to be cheap. After doing a little research, we decided on a camera model that we thought would work well. After a purchase order and a drive to the camera store, we were ready to go.
If you don’t have funds, or if you have less-than-receptive administration when it comes to budget oversight, start looking around. I found out after the fact that there were two underwater cameras that students’ parents had that would have been available for me to borrow. It never hurts to ask!
2. Find Yourself a Pool
This may take a little more persuasion, but you need to convince your Facilities Director, or whoever is in charge of the facility, to turn it over to you for an afternoon. In my case, it helped that my student teacher was a state champion swimmer and I myself am a certified lifeguard because that alleviated a lot of concerns. If there isn’t a pool at your school, look around the community to see what your options may be. For safety’s sake, you may want to consider hiring a lifeguard for the afternoon. They’ll probably enjoy the process.
3. Plan Your Photo Shoot
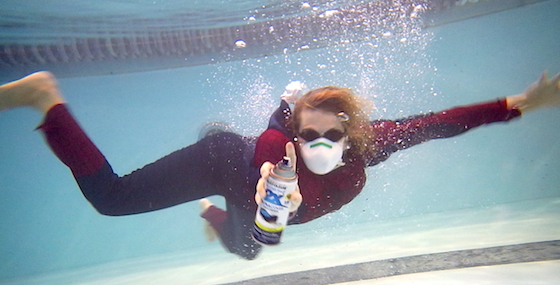
My kids and I had so much fun brainstorming all the different possibilities of what we could do underwater. We thought about costumes and props as well as things that would be funny, interesting, or visually appealing underwater. For us, that started with things that would normally electrocute you.

That may sound morbid, but it actually led to some really funny pictures of people styling their hair and taking turns with the toaster while submerged.
4. Have a Plan and Prep Your Kids
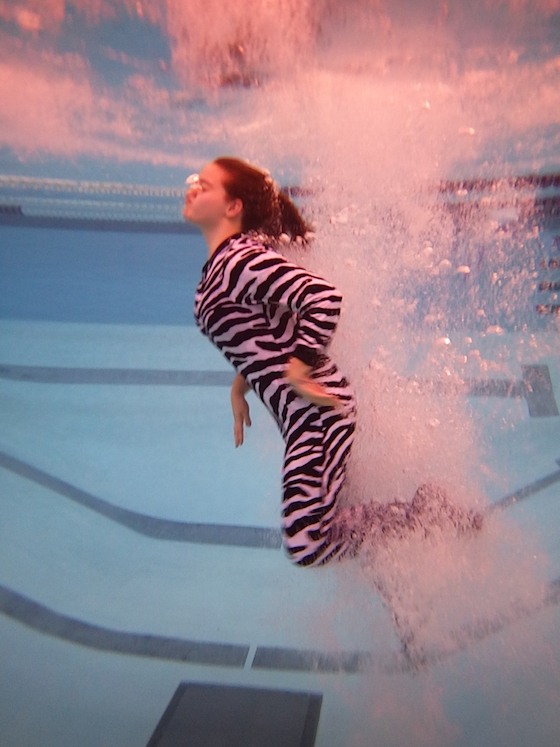
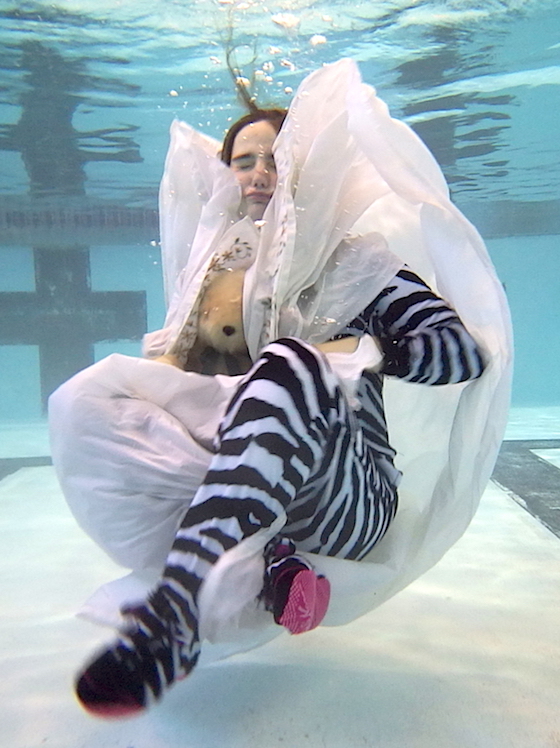
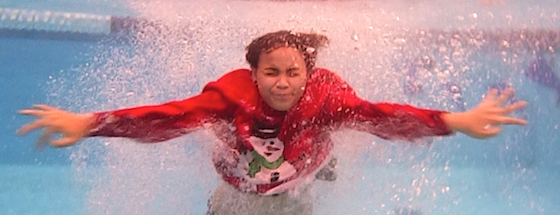
We organized our shoot at both ends of the pool beginning with a bunch of jumps off the diving board. We went one at a time off the diving board into the deep end, with one person underwater getting shots of people as they broke the surface. After everyone had a turn (or two or three, depending on what they needed) we moved into the shallow end to make use of our costumes and props.
Having the kids know this plan before we even entered the pool area was key in ensuring a smooth and safe operation. The other thing to make kids aware of is how difficult it can be to swim with clothes or costumes on. Kids need to be honest about their swimming abilities. If they’re not strong swimmers, you definitely need to have supervision or help available for them.
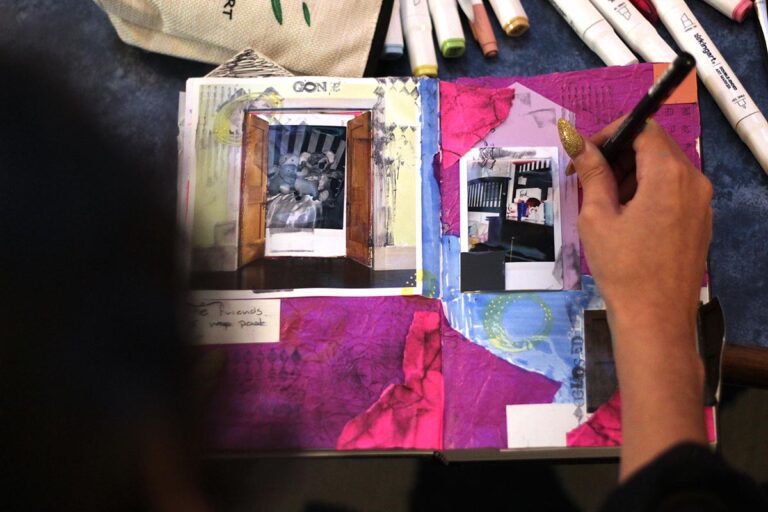
5. Do Some Editing
The kids put together their vision of what they wanted their underwater shots to look like and followed through with the photographs. From there, it only makes sense that they edit their photos for composition, lighting, detail, and accentuating whatever else they may need. These edits should be made with an eye toward the final product, whether that is a drawing, a painting, a digital project, or just the photograph itself.
6. Make Art!
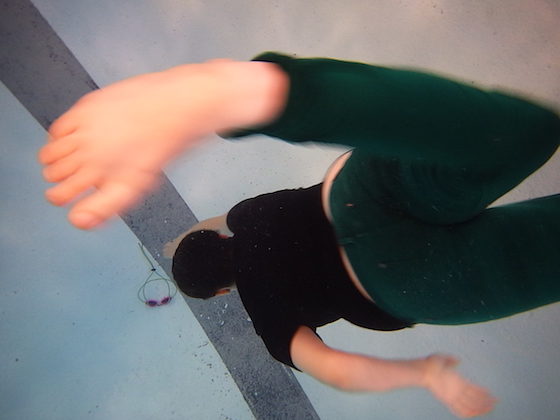
For some, it may only be the photograph. For us, it will be drawings. We have photos that really accentuated perspective, foreshortening, and other situations that made for challenging figure drawings. We also have photos that require great attention to detail, with bubbles, closeups, and the effect of water on three-dimensional forms. These effects create meaningful challenges that students are really excited about drawing.
What kind of final drawings come from this remain to be seen–art club only meets once a week, so we haven’t progressed a lot–but I’m excited about the potential. The bigger takeaway, however, is how a collaborative creative effort led to a memorable and meaningful experience for my students.
What is the most memorable project you have done with your students?
Would you be willing to get in the pool for a quality project?
Magazine articles and podcasts are opinions of professional education contributors and do not necessarily represent the position of the Art of Education University (AOEU) or its academic offerings. Contributors use terms in the way they are most often talked about in the scope of their educational experiences.