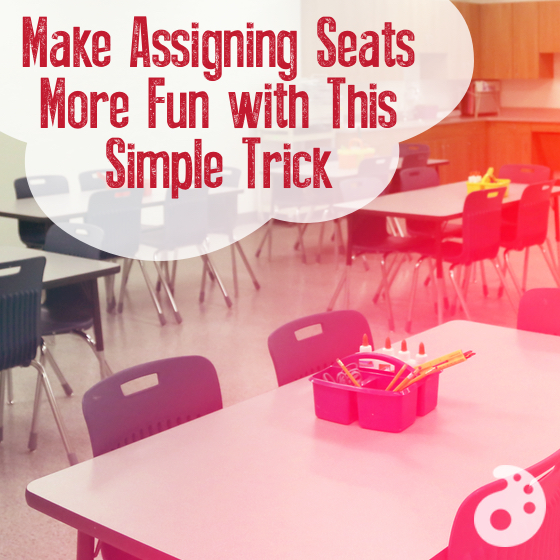
I have a love-hate relationship with seating charts. I love how they help me learn students’ names, but I hate creating the “perfect chart” only to learn that I put kids next to each other that should NOT be together. I love how they help my students have a sense of structure in the art room, but I hate the hours it takes to (re)write 24 different seating charts.
I found that when I was writing the first 6 or 7 seating charts, I paid attention to things like where everyone was sitting, who was side-by-side, and where people sat earlier. However, by the time I got to seating chart number 20, I was just writing down names.
I knew that I wanted to change how I was doing my seating charts… but how?
Introducing Random Seating Charts!
I know it sounds crazy, but creating random seating charts saves me a lot of time. Plus, they are as successful, if not more so than traditional charts, when it comes to putting the “right” kids together.
So how does a random seating chart work?
It is as simple as following these 5 steps.
1. Choose a category, and make a list.
First, choose a category, like “colors,” “shapes,” “artists,” or “art movements.” I like to keep my categories related to art, but you could really do anything. Then, make a list of things that belong in that category. For example, “red, blue, turquoise, yellow, magenta, brown, etc…” You will want an item for each seat in your room. So, if you have 30 seats in your room, you’ll need 30 items on your list. When you have enough items on your list to match the number of seats in your room, you can go to step #2.
Category: Colors
Red
Blue
Yellow
Green
Orange
Purple
Magenta
Turquoise
Pink
etc…
2. Create two matching sets of cards.
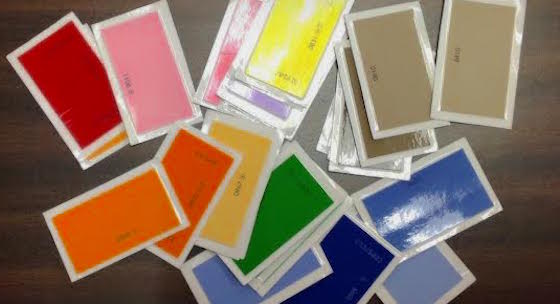
This step can be as simple as printing two matching sets off the printer or as complex as creating laminated cards. If you have more than one seating area, like a reading rug, you could even print a third set. You can choose to keep the same set and reuse them all year or create a new set each time you change the seating chart.
3. Label the tables.
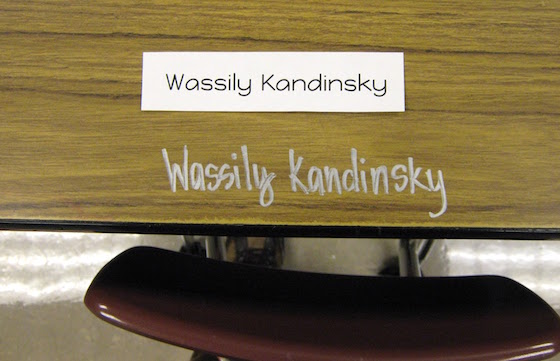
You will use one set of cards to label the tables. Make sure they are taped down well, especially if you are changing seats for all of your classes. Or, you can even write directly on the desks with a Sharpie. I found the idea on Timeouts and Tootsie Rolls. The Sharpie method is great because you don’t have to worry about the table cards getting ruined or going missing.
4. Hand out one set of tags to the students.
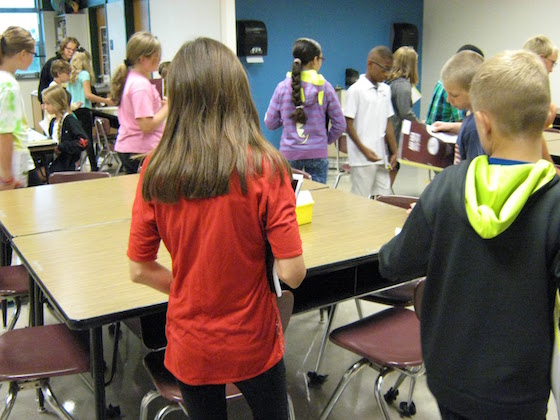
As the students enter the room, I hand each of them one of the second set of tags. Their job is to match their tag to a spot on a table. As they find their spots, they set their tag on top of the other tag so I can check that they match up.
I do have one table that is “overflow” for my larger classes. I like to mark these tags so they can quickly be added or removed based on the size of the class. If anyone needs to move seats, I can do it quickly before I write it down.
5. Write down names while students are working.
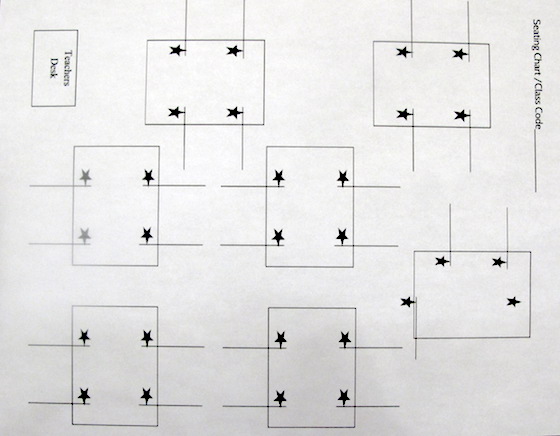
While students are working, I walk around the room writing down the new seating chart. I can see what is happening in the room while creating an effective seating chart. If you teach older students, you could assign this job to one of them. If I find kids sitting together who shouldn’t be, I quickly move them before writing down the names.
I promise this is an easy way to do seating charts. In fact, random seating charts have started to take away the hate part of my love/hate relationship with seating charts. The kids love finding their new seats. I love all the time I save writing seating charts. I love that my first chart and my last chart are equally thought out and successful. I love that all 24 of my classes can easily switch at the same time. I am sure that if you give random seating charts a chance you will love them too.
How do you plan seating charts in your room?
Are there any other good art-related categories you can think of?
Magazine articles and podcasts are opinions of professional education contributors and do not necessarily represent the position of the Art of Education University (AOEU) or its academic offerings. Contributors use terms in the way they are most often talked about in the scope of their educational experiences.