“I would rather come to school not feeling well than have to plan for a sub.”
I’ve heard more than one teacher tell me that exact same statement. So many other professionals out there can simply make a phone call when they are ill and their jobs are literally put on hold until they start feeling better. However, things don’t ever stop when you are a teacher. When you are not feeling well, the very last thing you want to do is put together sub plans.
Awhile back, when I was feeling particularly healthy, I decided to create a Sub Tub that would literally save my life if I contracted whatever illness was spreading around school like wildfire. The Sub Tub takes some time to put together, but once it is in place, it will keep you from worrying if you need to call in a substitute.
Today I’m sharing a step-by-step guide so you can make one of your very own!
Step 1: Gather Your Sub Tub Supplies
To create your own Sub Tub, you will need…
- A large plastic container with a lid
- File folders
- Several typed-up lessons for each grade level
- Laminated construction paper
- Cardboard
- A binder
- Plastic sheet protectors
- A computer, a camera, and printer access
Step 2: Put the Sub Tub Together
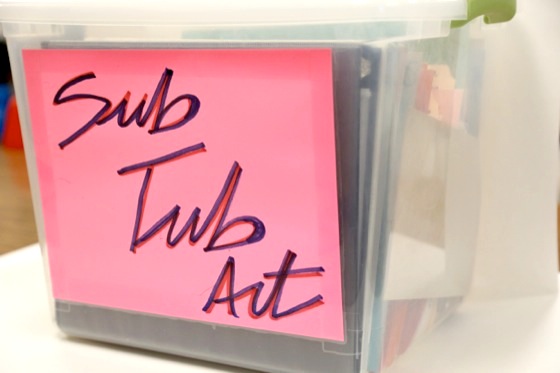
- After you’ve found or purchased a plastic container with a lid, add some bright signage to it so the substitute will easily be able to locate it.
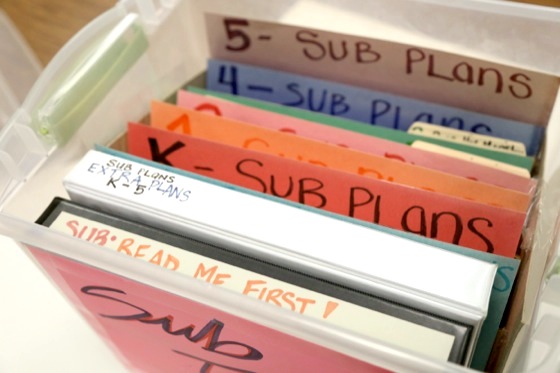
- Use the laminated construction paper and cardboard pieces to create dividers. For each divider, make a tent with the laminated construction paper, write the grade level on it and put it on top of a piece of cardboard. Then slide it into the box. (Tip: Color coding makes it much easier to find what you are looking for.)
- Spend some time collecting, typing out, and printing several sub lesson plans for each grade level. It is helpful to include teacher examples. Each lesson gets its own file folder which is labeled with the grade level and lesson title. (Tip: Need help finding sub plans? Pinterest is a great place to start. Search for “Art Sub Plans” to find some great boards.)
- After adding all the file folders to the correct sections it is time to start on your binder. The binder should be labeled in such a way that the sub knows to read it first.
Step 3: Add a Binder
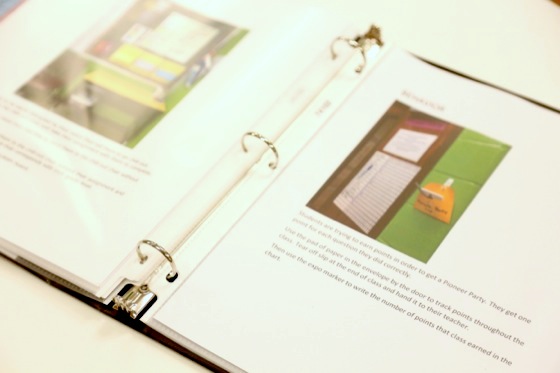
- Take pictures of your room and load them onto the computer. Using the pictures as visuals, type up exactly what you want your sub to know about your room and the way you run it. Make sure your information is organized and labeled. Some other great things to include in the binder are:
- A welcome letter
- Seating Charts
- Crisis Management plans, maps, and procedures
- Weekly schedule including your duty schedule
- Technology Instructions
Place all these items into sheet protectors and put them in the binder. Your binder then gets put in the Sub Tub.
Step 4: Create a Folder to Leave with Your Secretary
It is a good idea to leave a bonus folder with your secretary that directs your substitute to the location of your sub tub and explains how it works. The substitute can easily navigate your classroom and procedures simply by looking through the binder and can choose whichever lessons he or she feels the most comfortable with. All the while you can cozy up in your bed and know the only thing you have to do is to start feeling better.
How do you prepare for a substitute coming into your room?
What’s your plan of action for your classroom when you wake up feeling sick?
Magazine articles and podcasts are opinions of professional education contributors and do not necessarily represent the position of the Art of Education University (AOEU) or its academic offerings. Contributors use terms in the way they are most often talked about in the scope of their educational experiences.