Editor’s Note: Gelli Arts® graciously provided each of our writers with a plate to try. To say that we enjoyed printmaking with our plates is an enormous understatement. Everyone was so inspired and had so much fun. Read on to see what each writer did!
Cassidy
The Gelli printing plate was a huge hit with my middle school students and myself! Three of us experimented, creating multiple prints with various materials and acrylic paint. Materials included cut paper, string, shells, rubber pattern rollers, saran wrap, and bubble wrap.
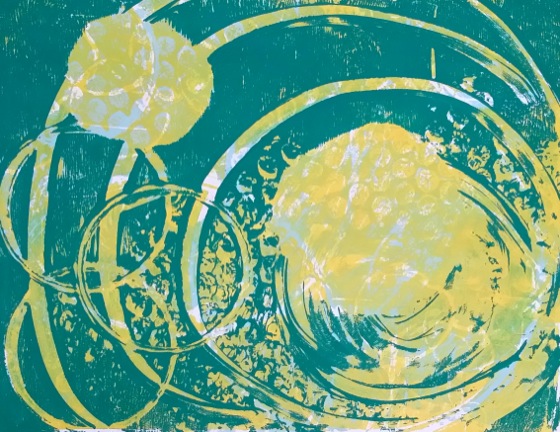
For this print, I printed light to dark. I covered the plate with a light blue paint. I used bubble wrap, string, and shells to create pattern. Next, I used a light yellow paint with the same materials and technique but added additional pattern from crumpled saran wrap. Finally, I used a dark blue-green paint and placed cut circles on the plate, printed circles with the bottom of a cup, drew large circles with my finger, and used bubble wrap to create pattern. I found the Gelli plate to be easy to use, especially when it came to clean up. I plan to leave the printing plate out for my students to use.
Amanda
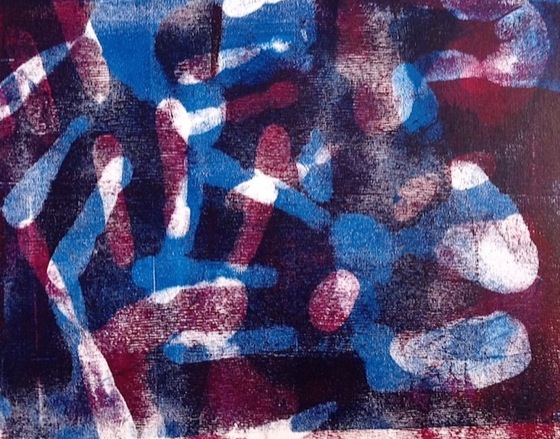
I used nothing more than acrylic paint and my hands for this print. I started by rolling magenta paint onto the plate, then used my hands to stamp a pattern before pulling the print. Then, I rolled the dark blue paint onto the plate and repeated the process. I love the abstract effect this technique created. This type of print could make a great gift or fundraiser for parents, or even be used to create one-of-a-kind wrapping paper!
 Sarah
Sarah
I sat down with Iowa Middle School Art Teacher of the Year Lisa Jorgensen to try some tri-color prints. We created registration marks for both our Gelli plate and our printing paper on a piece of construction paper. Then, we lined up the printing paper on the registration marks and used masking tape on one edge to make a hinge. This way, the paper always stayed in the right place as we printed each color. We placed our Gelli plates on the registration marks, inked, and used various plastic scrapers to incise patterns into the ink and folded the paper over on the hinge to print. We repeated the inking, scraping and printing process for three colors on the same paper. Knowing we wanted to see all the colors we worked heavy to thin with negative space. The process was a blast and the results were beautiful!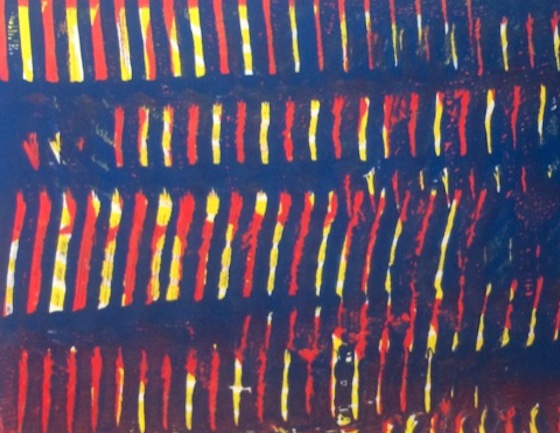
Alecia
So there you have it! 4 different ways to use your Gelli Arts® printing plate!
What would you do with a Gelli Arts printing plate?
Would you go abstract like our team members or create something more realistic?
Magazine articles and podcasts are opinions of professional education contributors and do not necessarily represent the position of the Art of Education University (AOEU) or its academic offerings. Contributors use terms in the way they are most often talked about in the scope of their educational experiences.