There are some concepts we teach in the art room that seem trickier than others. The first example that comes to mind is perspective. The second is positive and negative space.
Something about seeing the “space around an object” can be very challenging for students to grasp. As students move through the different stages of drawing development, they begin to perceive things in new ways. As their sense of perception shifts, so does their ability to work with that new perception in the art room.
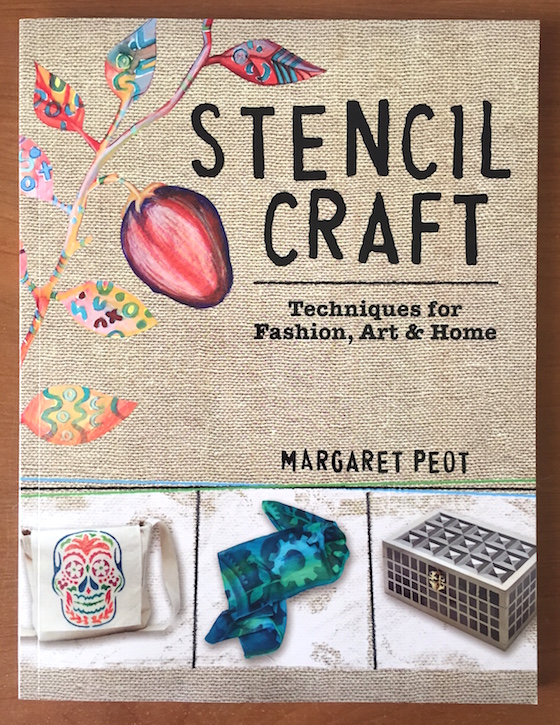
Recently, I came across a book that would be a great resource for teaching positive and negative space in the art room. The book is called Stencil Craft: Techniques for Fashion, Art and Home by Margaret Peot. You may remember that Ian touted one of Margaret’s other books, The Successful Artist’s Career Guide, last year as being a wonderful resource for students pursuing a career in the arts.
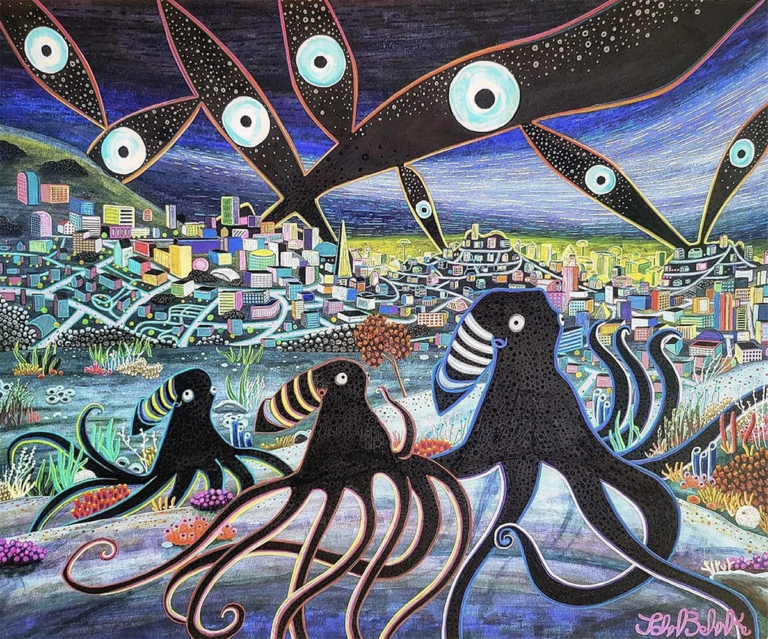
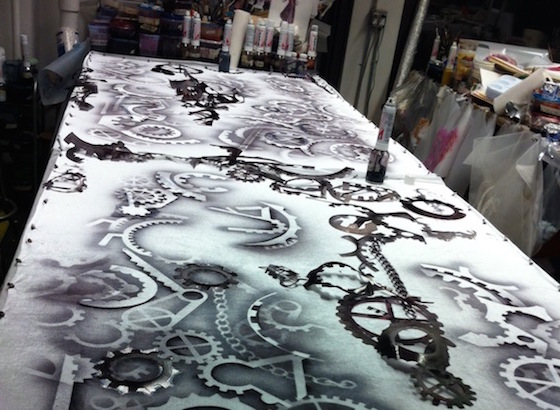
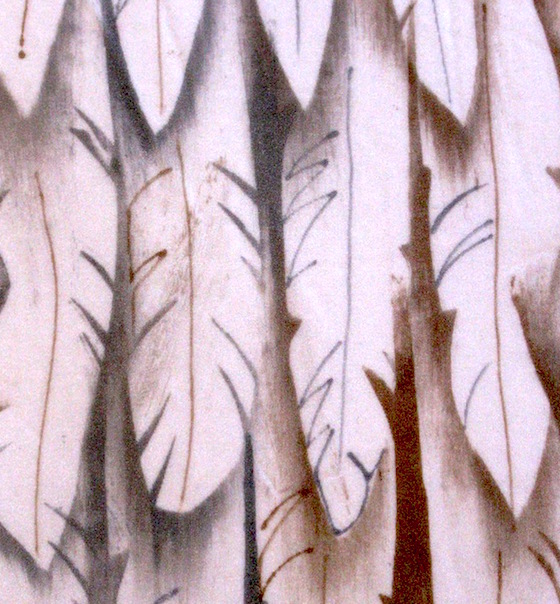
Margaret is a costume designer who often uses stencils when she works. In fact, Margaret told me, “From masking tape, sticker dots, netting and lace to simple and elaborately cut mylar stencils–I can’t think of a project from the past twenty-some years on which I didn’t use a stencil of some sort.” How cool would it be to teach students about this career choice? Check out a few of Margaret’s beautiful pieces below.
I recently spoke with Margaret about her newest book and its application for the classroom.
Stencil Craft is laid out in an easy-to-follow manner and starts with a comprehensive look at stencil materials. Margaret has even gone so far as to recommend specific brands of spray adhesives and plastic sheeting. However, the best part of Margaret’s book is that it shows how we can create stencils using free, everyday objects.

Here’s a fun project from the book that would be a great way to help your students envision the concept of negative space.
Although Margaret demonstrates this technique on a canvas tote bag, you could easily adapt it for the classroom, as I’ve done below.
Lesson: Sprayed Stencils
Materials Needed
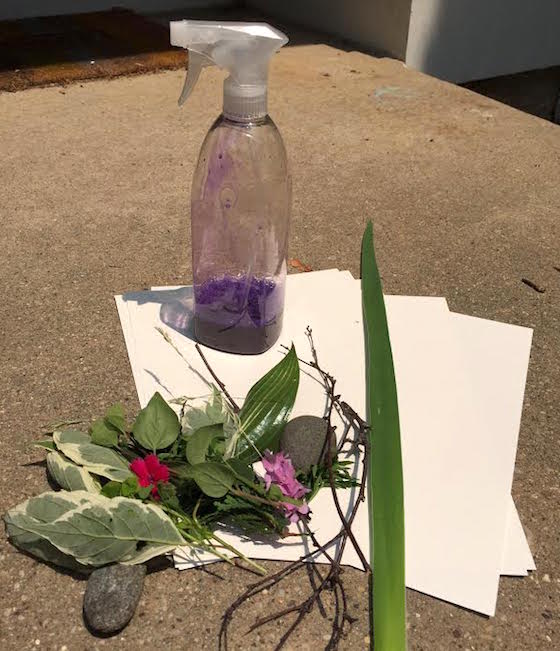
- found nature objects
- watered down paint in spray bottles
- absorbent paper such as watercolor paper or heavy drawing paper
Lesson Steps
1. Take students outdoors to gather natural materials like feathers, sticks, leaves, flowers, rocks and more. Alternatively, have a collection of things for students to choose from in the art room.
2. Have students arrange their objects lying flat on top of the paper.

3. Discuss how the area around the objects is the negative space. Tell students the next step will help them see the negative space more clearly.
4. Spray the objects with the diluted paint.

5. Let the paint dry for a few minutes before removing the objects.
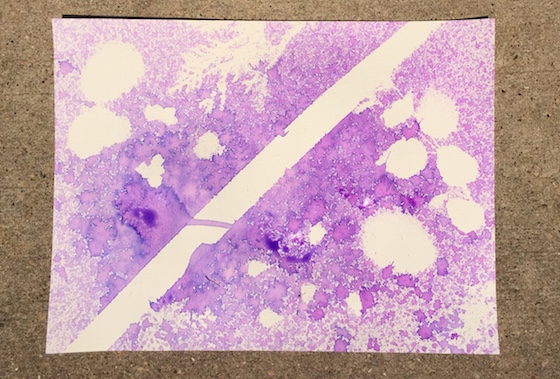
6. Discuss how the negative space was colored by the paint.
Keep In Mind
- If you’re doing this project in the winter, you can always have students use cut cardboard shapes instead of nature materials.
- You could easily turn this project into a fundraiser for your school by having students create compositions on pre-made blank greeting cards and selling them at back-to-school night or parent-teacher conferences!
Once your students start to feel comfortable with the idea of positive and negative space, you can take their knowledge and skills to the next level with the other projects in the book. For example, the Stencil Self-Portraits would be perfect for the secondary crowd.
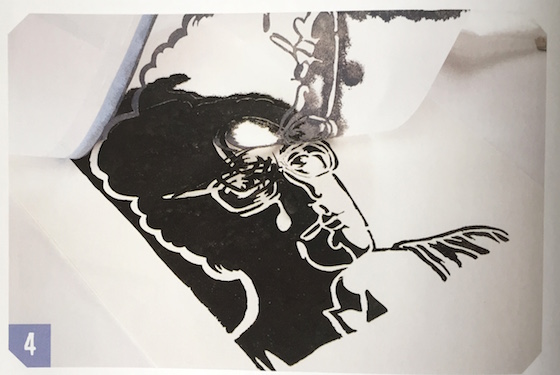
According to Margaret, “Translating a photograph into a one-color stencil forces students to make sense of the abstract elements of light and shadow. They must work with negative space when figuring out how to define the positive (light) parts of the face—like when the night sky defines the shape of the moon.”
Working with a simple stencil is a great way to help your students grasp the idea of negative space. Give it a try in your classroom!
How do you help students think about positive and negative space?
Do you have any great lessons to share?
Magazine articles and podcasts are opinions of professional education contributors and do not necessarily represent the position of the Art of Education University (AOEU) or its academic offerings. Contributors use terms in the way they are most often talked about in the scope of their educational experiences.