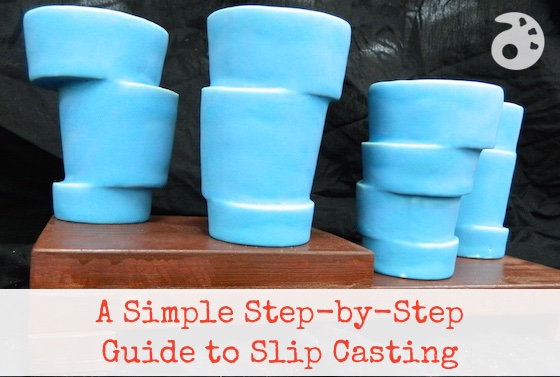
Slip casting, for me, has always been one of the most difficult art-making processes to get right. Through a lot of trial and error with my students, I’ve finally found a process that works in my classroom. I’d like to share it with you today so you may be willing to jump in with your students as well.
I find a one-piece mold of a tapered cup is the easiest way to start. Ideally, the cup would be one that the student has thrown on the wheel or even hand-built. However, if you’re just experimenting or trying slip casting for the first time, you might even want to pick up a cheap cup from the dollar store. What I’m showing you here may not be the most technically clean or correct method, but it is what works in my classroom. Below is our process.
The Mold-Making Process
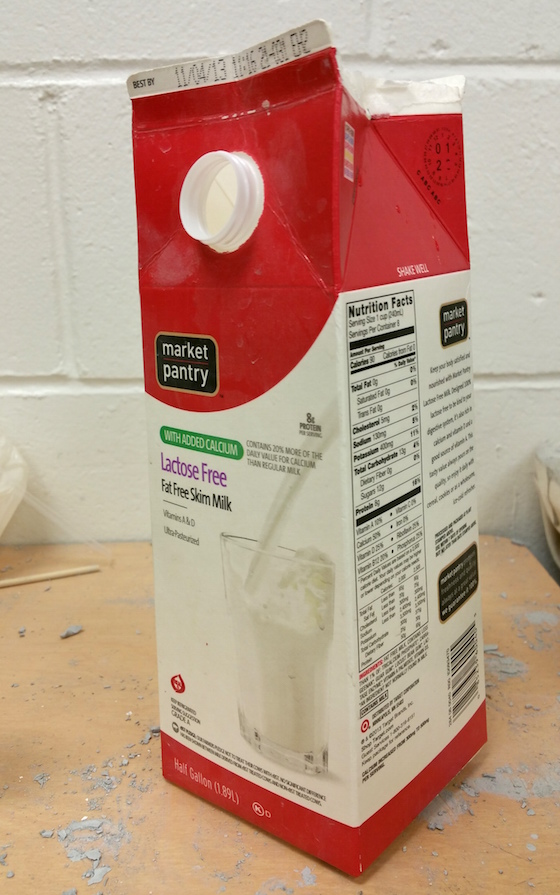
1. Get yourself a box into which you can pour the plaster. A shoebox, a half gallon of milk or juice, whatever. I like cardboard because it separates fairly easily from the outside of the plaster mold.
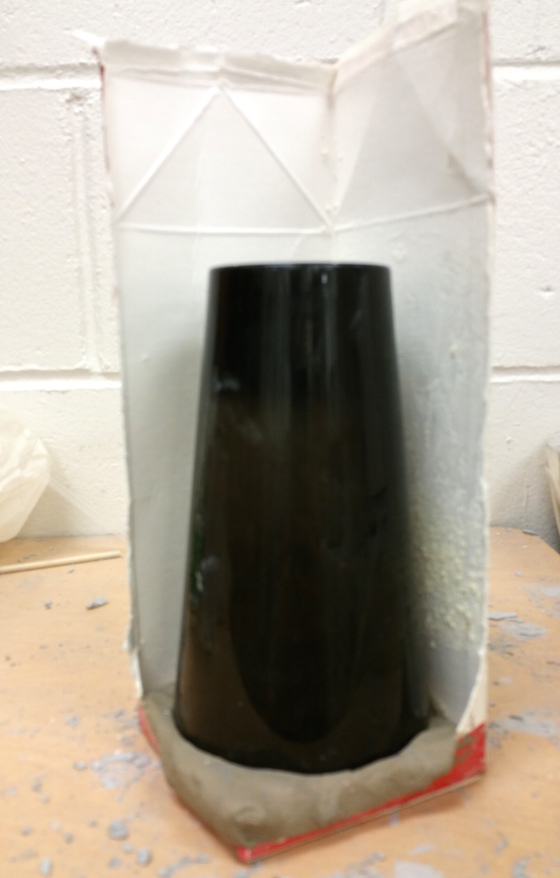
2. Place a small layer of clay in the bottom of the box, flat and even. This will hold the cup in place as you set it upside down inside the container. You can try this without the clay, but I’ve found that sometimes the cup will float to the top of the plaster and ruin the entire process.
Optional: You can cover the cup with vaseline or a silicone spray to make sure the plaster doesn’t stick to the cup. I have not had problems with this happening, but better safe than sorry, right?
3. Mix up your plaster (any type should work), and after it is completely mixed, pour it into the box. Try to pour to the side of the box, rather than directly onto the cup.
4. After the plaster has hardened–I generally wait 24 hours–you can tear the box away from the outside of the mold and remove the cup. You are ready to cast some slip!

The Slip-Casting Process
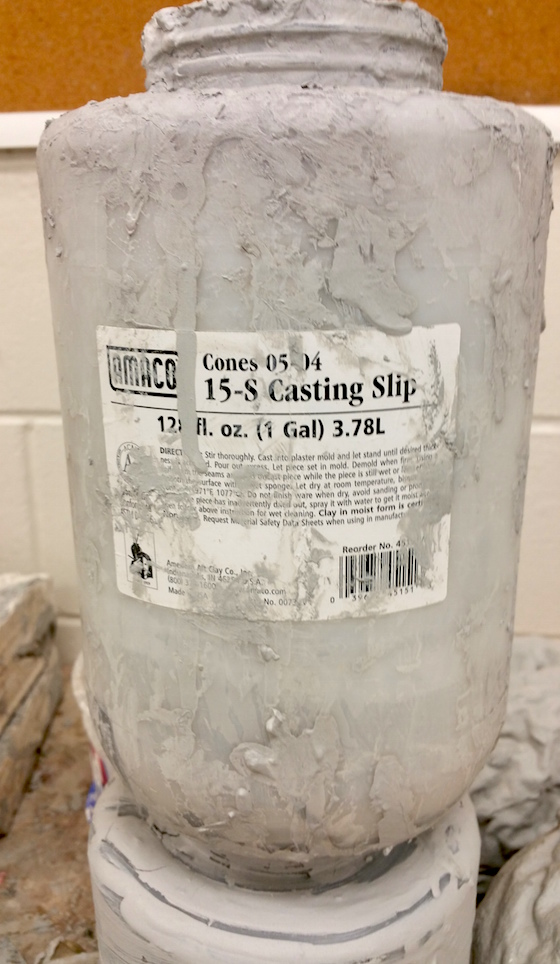
1. Begin by making sure your slip is liquid and easily pourable. If you are using brand new slip, it should be ready to go. If you are recycling slip, I like to use a blender and a little bit of water to achieve the necessary consistency.

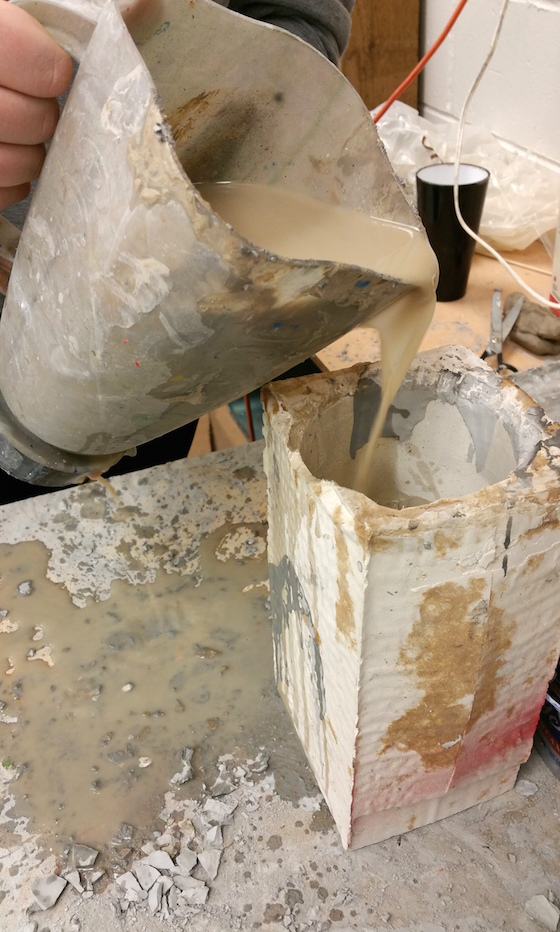
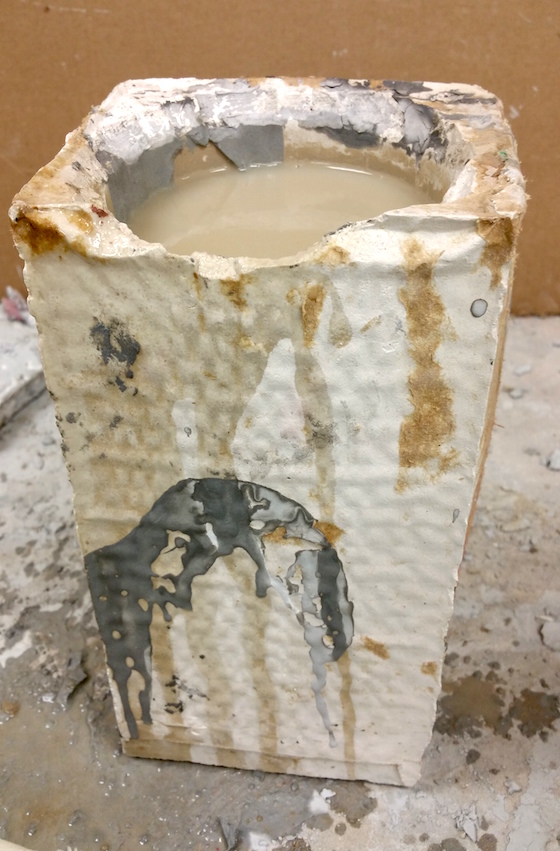
2. Slowly pour the slip into the mold until it reaches the very top. Leave the mold full for approximately 15 minutes, allowing the outer part of the cup to harden. (The time can later be adjusted if you find your finished product is too thick or too thin.)
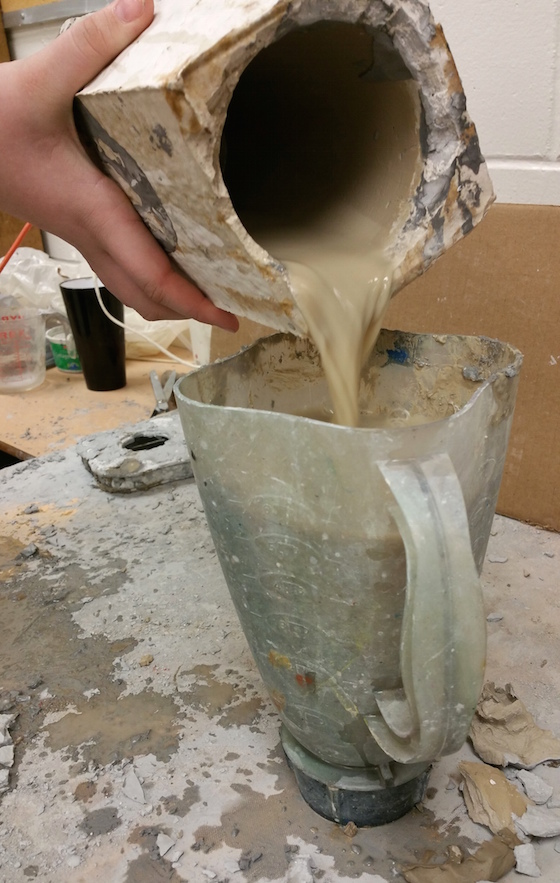
3. You can then pour the rest of the casting slip back into the jar, and that slip can be reused for another cup if it stays clean.
4. Once the cup is leather hard, it will begin to separate from the mold. That’s when you know it’s safe to remove and strong enough to be handled.
5. You can use an X-Acto knife or a green scouring pad to even the top edge and clean up any imperfections. You can carve designs, or just leave it as is for a smooth exterior. After that, you should be finished and your cup is ready for bisque firing!

Now, this one-piece mold is the most simple form of mold-making. It can get a lot more complicated, with two- and three- (or even more!) piece molds . . . but that’s something for another article on another day. Stick to the simple process for now, and when you’re feeling more ambitious and ready for a two-piece mold, send me an e-mail. I’ll be happy to help!
Have you ever tried slip casting in your classroom? How did it go?
What problems (or solutions) would you want to warn about or share?
What other things would you like to know?
Magazine articles and podcasts are opinions of professional education contributors and do not necessarily represent the position of the Art of Education University (AOEU) or its academic offerings. Contributors use terms in the way they are most often talked about in the scope of their educational experiences.