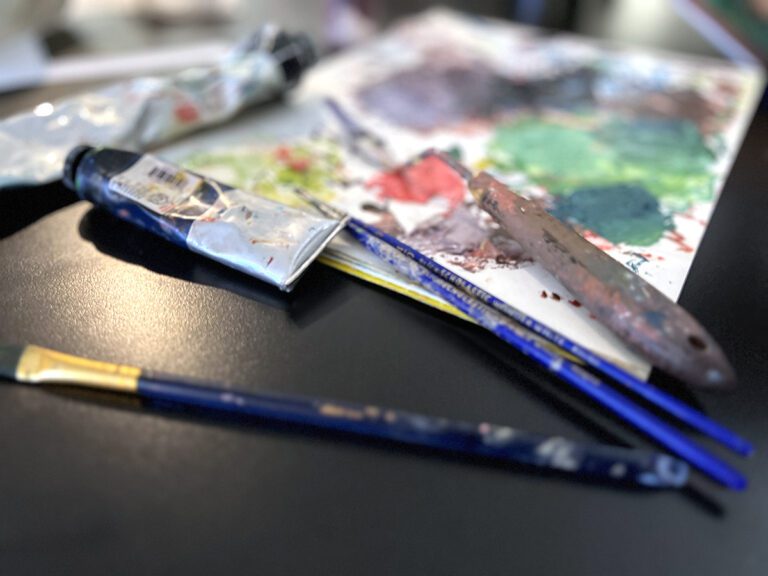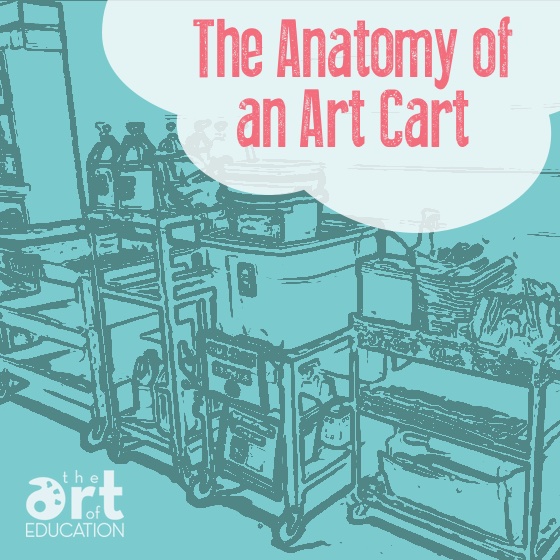
A few months ago, we ran a mini-series about teaching art on a cart that included an in-depth interview, resources and lesson ideas. Today, I want to show you how I use carts within my classroom to keep things organized. The carts help me transfer and store specific materials with ease. You can find 3 tips to get you started along with details about my carts below.
3 Tips for Setting Up Carts
1. Think about the best home for your supplies.
When setting up a cart for a specific medium, think about which supplies will live on the cart and which supplies will live elsewhere. For example, I keep water cups under my sinks instead of on the paint and clay carts because I use them with multiple mediums. Your carts will evolve and change as you figure out what is necessary and works for you and your classes.
2. Organize your space, storage, and materials in a way that makes sense.
Store your materials in a way that is organized and efficient. Keep similar materials together. You should be able to easily grab materials without having to dig around or go on a massive scavenger hunt in your room. Consider how often you use a material or medium. I use my paint cart very frequently, but I use my clay cart much less frequently. I placed what I consider my “messier” and heavier supplies on carts for easy clean-up but also for easy access.
3. Only have one cart? Don’t have any carts? Don’t Fret!
If you have organized your storage space by mediums and tools, you should be able to easily grab and stock your one cart as necessary. Then, you can return any materials to their spots when you are done with them. If you don’t have a cart, consider plastic Sterilite bins and containers. These usually have handles that allow you to carry and transfer materials.
How I Use Carts in My Art Room
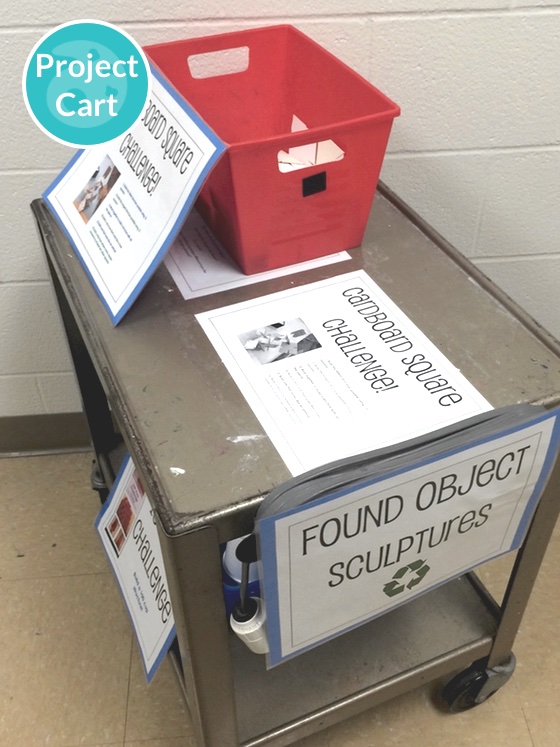
Below are images of my two main carts: the liquid tempera paint cart and the clay cart. The little cart below them is one that I can change out as needed throughout the school year. Currently, it’s working as a home for my found object sculpture center for my third grade architecture unit.
Paint Cart
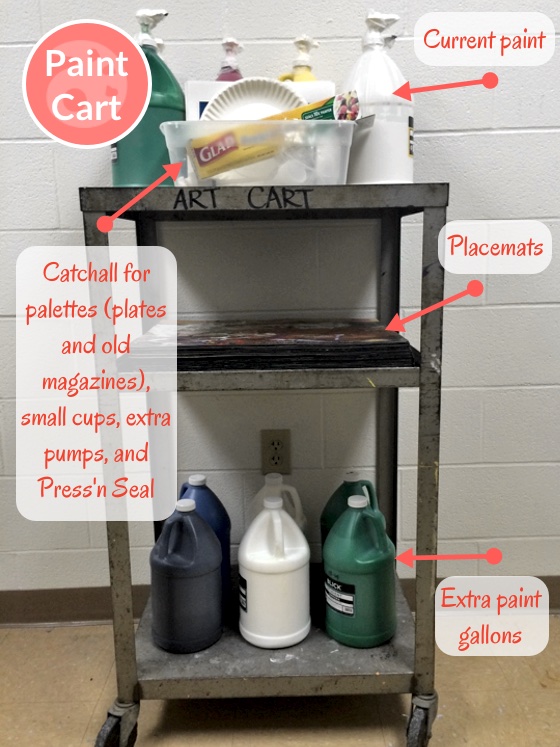
*Special Note – Press’n Seal wrap is my new favorite paint accessory. It was suggested to me a while ago to help prevent my paint pumps from drying up and becoming blocked. It can also be used to seal just about any container!

Clay Cart
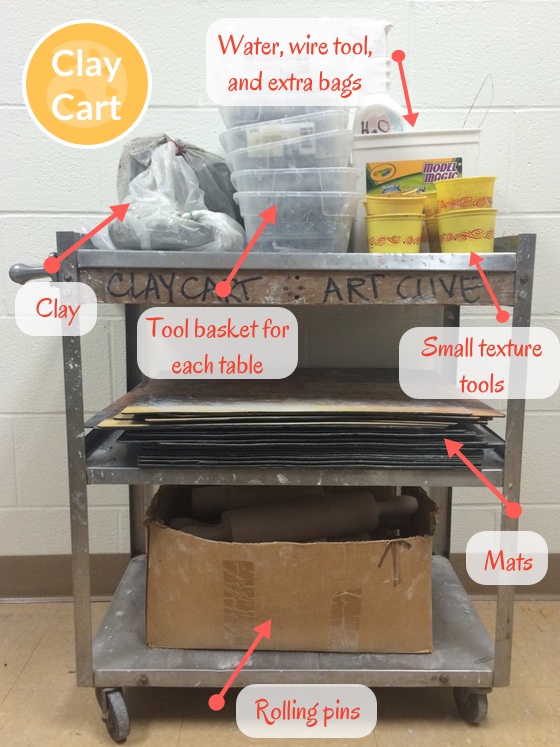
*Special Note – I keep separate mats for paint and clay so there aren’t contamination issues. The mats were donated to my colleague, and the extras were shared with me. They are basically oversized mouse pads. I haven’t had any luck finding out where something similar can be ordered. (Let me know if you do!)
Project Cart
Need another idea? Jessica shares a handy yarn cart in this video.
Whatever you decide to do with your organization and carts, make sure it’s something that works efficiently for you and your students. Efficiency, organization, and preparation truly can make all the difference when planning, creating lessons, and managing the classroom. Please share your tips below!
How do you store materials in your classroom? What does your storage space look like?
Do you use carts to help you stay organized?
Magazine articles and podcasts are opinions of professional education contributors and do not necessarily represent the position of the Art of Education University (AOEU) or its academic offerings. Contributors use terms in the way they are most often talked about in the scope of their educational experiences.