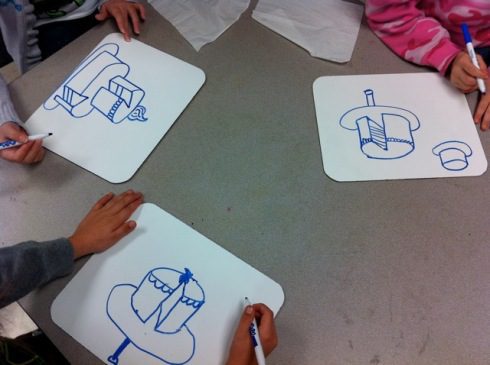
Making your own whiteboards is a great way to save money. Sure, you can purchase something more heavy duty from an art supply catalog, but if you are on a budget, these are a cinch to make!
How to Make Your Own Mini Whiteboards
- Get white paper or card stock cut it to the size you want.
- Send them off to be laminated.
I have found it’s worthwhile to head to an office supply store or professional print shop where they have a thicker lamination then what is offered at my school. - Cut and trim lamination if necessary.
Bam! You have your own set of whiteboards for a fraction of the cost.
The best part is that there are so many ways to use these in your classroom.
You might use them for:
- Reviewing elements and principles
- Reviewing vocabulary
- A quick assessment
- Practice drawing
- “Sketching” out ideas before you start a project
- Make a list of project steps
- As an early-finisher activity
- To create a mind map or for other brainstorming purposes
- Pictionary or other drawing games
- Art review games
If you made even smaller whiteboards or cut larger ones down, students could use them to make their own flashcards or memory game. What a fun way to review concepts in the art room.
How else could you see yourself using a class set of dry erase boards with your students? Do share!
Magazine articles and podcasts are opinions of professional education contributors and do not necessarily represent the position of the Art of Education University (AOEU) or its academic offerings. Contributors use terms in the way they are most often talked about in the scope of their educational experiences.


